
The Butterfly House: Kit Instructions
Instructions for The Butterfly House: Hanging Decoration Kit
In addition to this step by step guide, below are two videos. One shows how I make the paper butterflies, the other demonstrates the method I use to make holes in bark.
I have given lots of detail in these instructions. I recognise that many of you will just skim them, or simply work things out on your own. A word of caution for those of you not using the instructions - please take care when making holes in your bark, as it can break under excessive pressure. Also, remember that air plants do need misting with water at intervals.
If your kit does not come with air plants, you can find them in many garden centres or online. There are many types to choose from. You will also need a tube of air plant fixative. The instructions below assume that you will have air plants and fixative available.
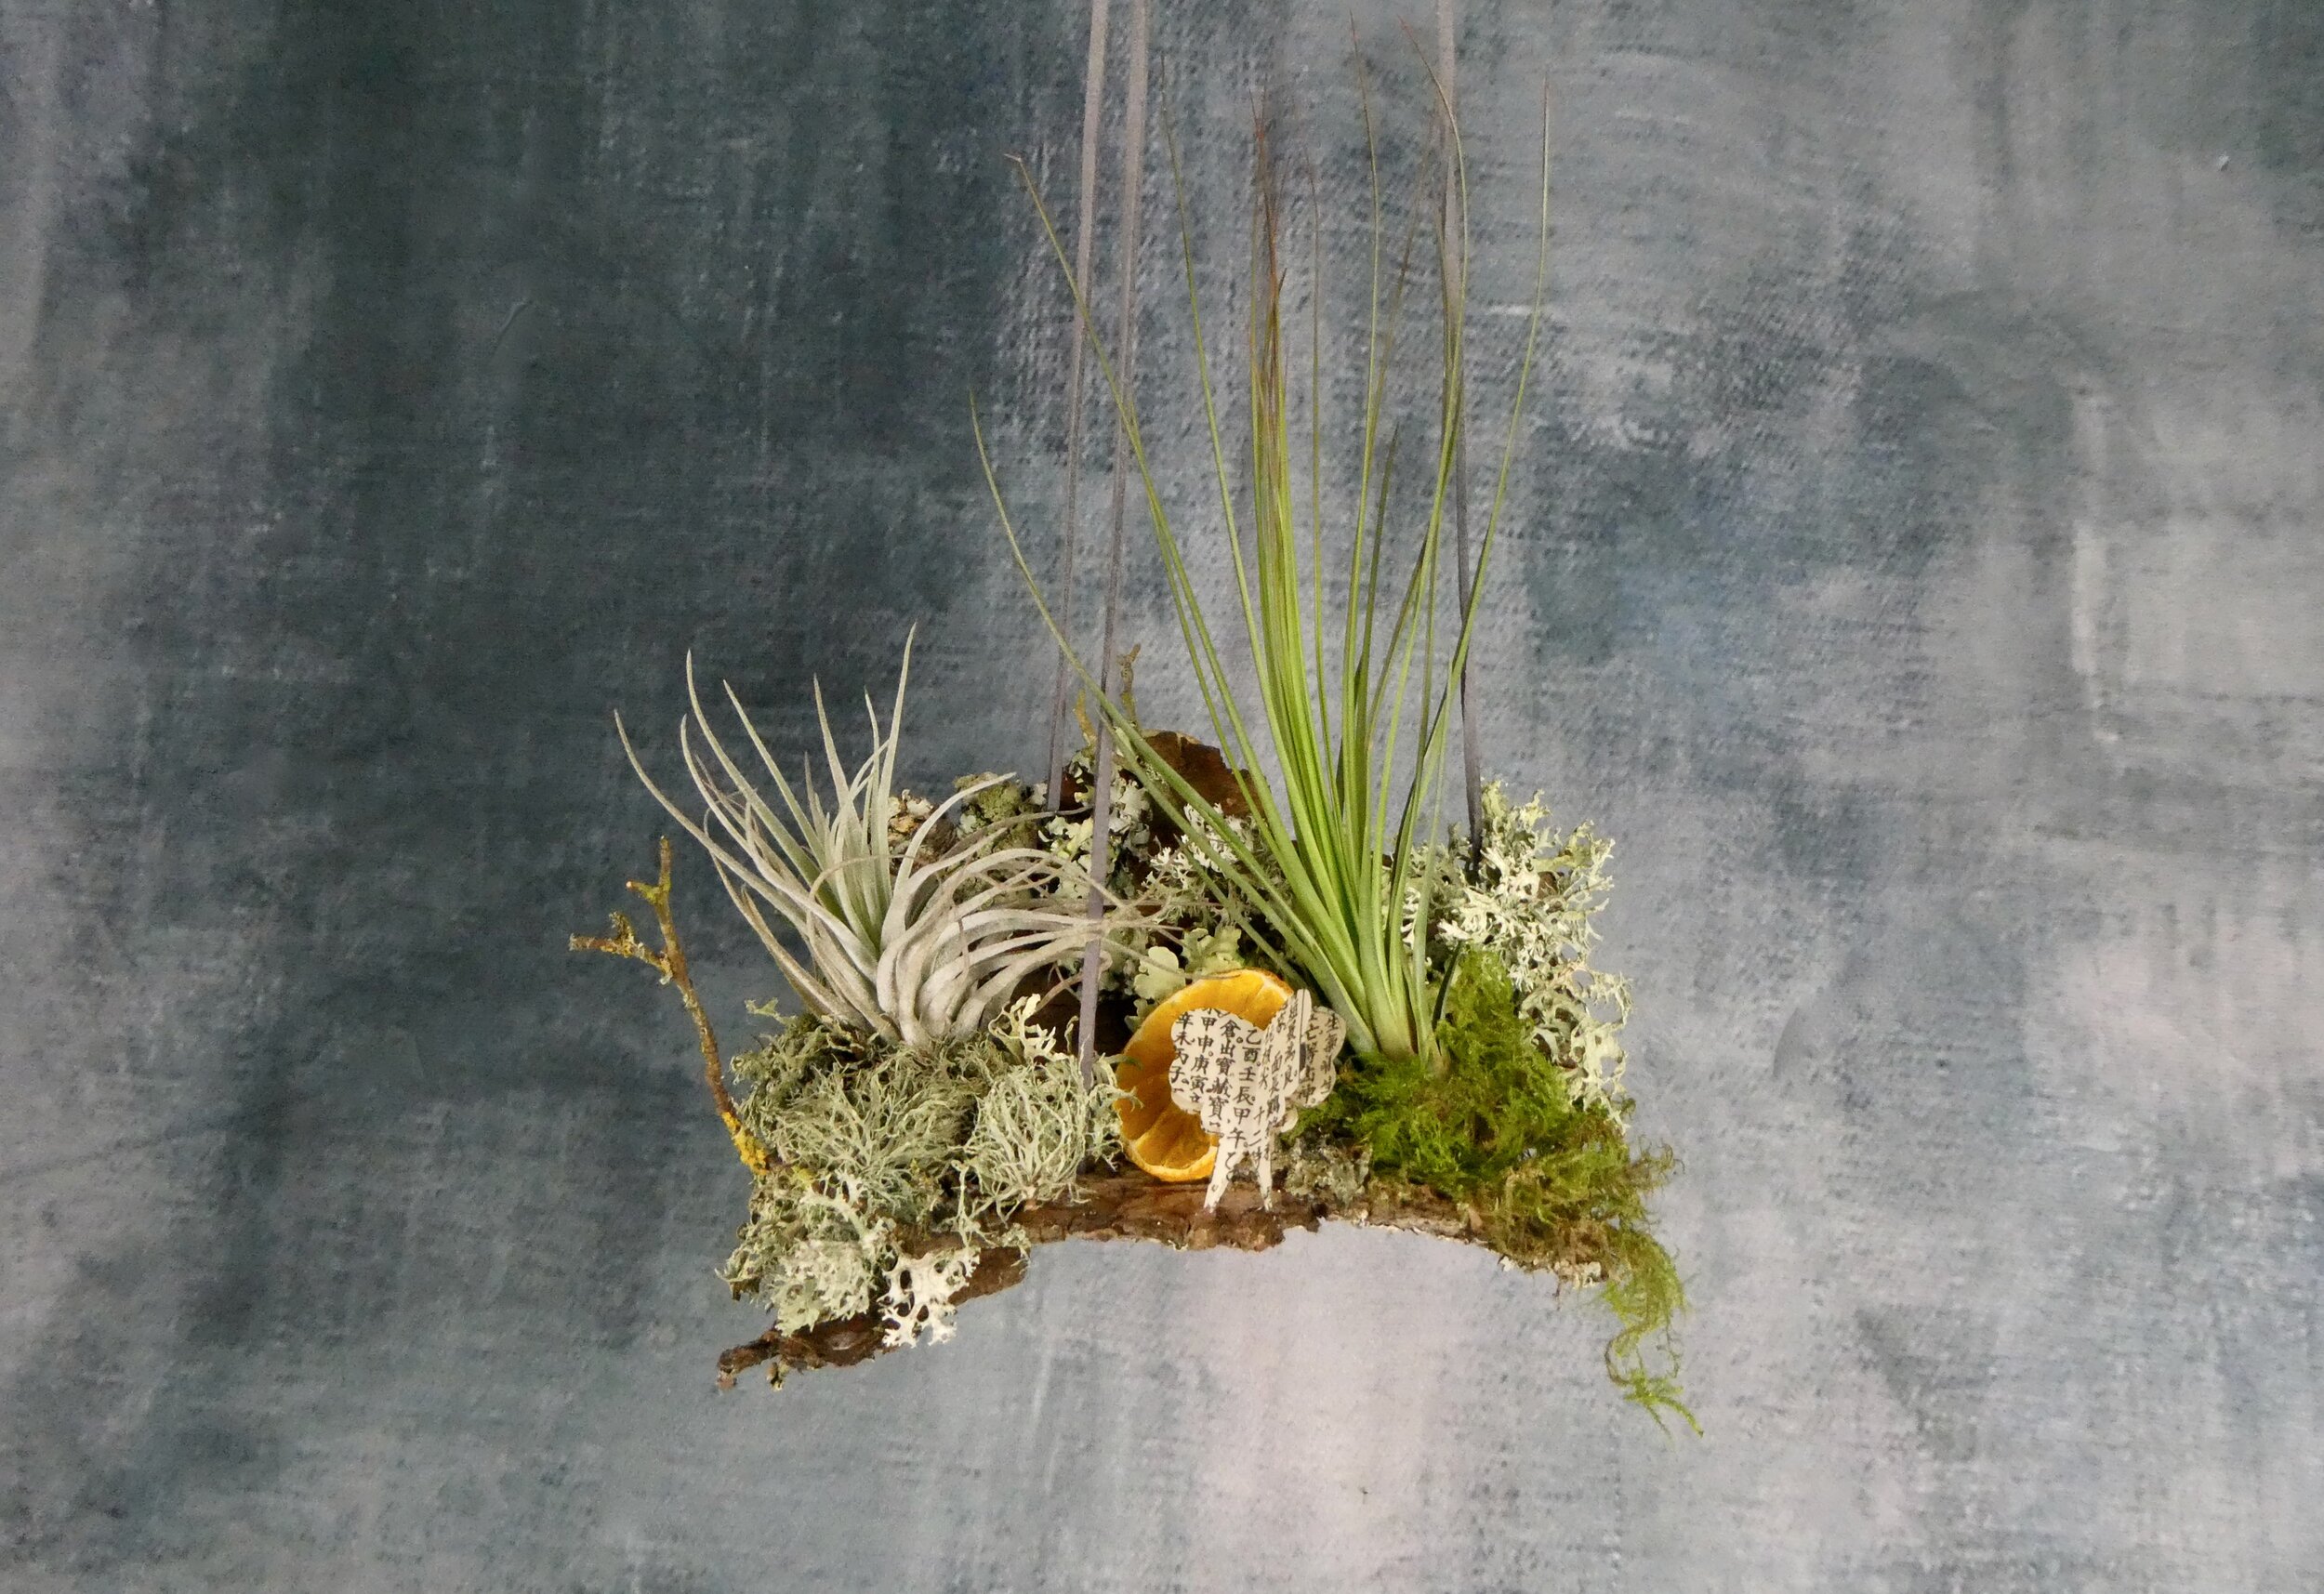
Example of completed decoration, seen from the front
Your kit contains the following:
Two pieces of bark (one for your hanging decoration, plus a spare piece)
Four assorted sheets of paper to make your butterflies
Cord for hanging your decoration
Assorted air plants (if included in your kit)
Tube of air plant fixative (if included in your kit)
Paper sealant (tub labelled P)
Dehydrated fruit slices
A selection of small moss and
lichen covered sticksAssorted dried moss
Assorted lichen
Air plant care instruction leaflet.
In addition you will need:
Clear drying glue e.g. PVA
A sharp, narrow object (e.g. a bradawl). You will use this to make pilot holes in your bark through which the hanging cord will be threaded
A cross head screwdriver, or similar implement. This is to widen the pilot holes to the correct width to take the cord
A very fine paintbrush
Small, sharp scissors
Somewhere to hang your completed decoration e.g. a hook or bracket.
Making Your Base
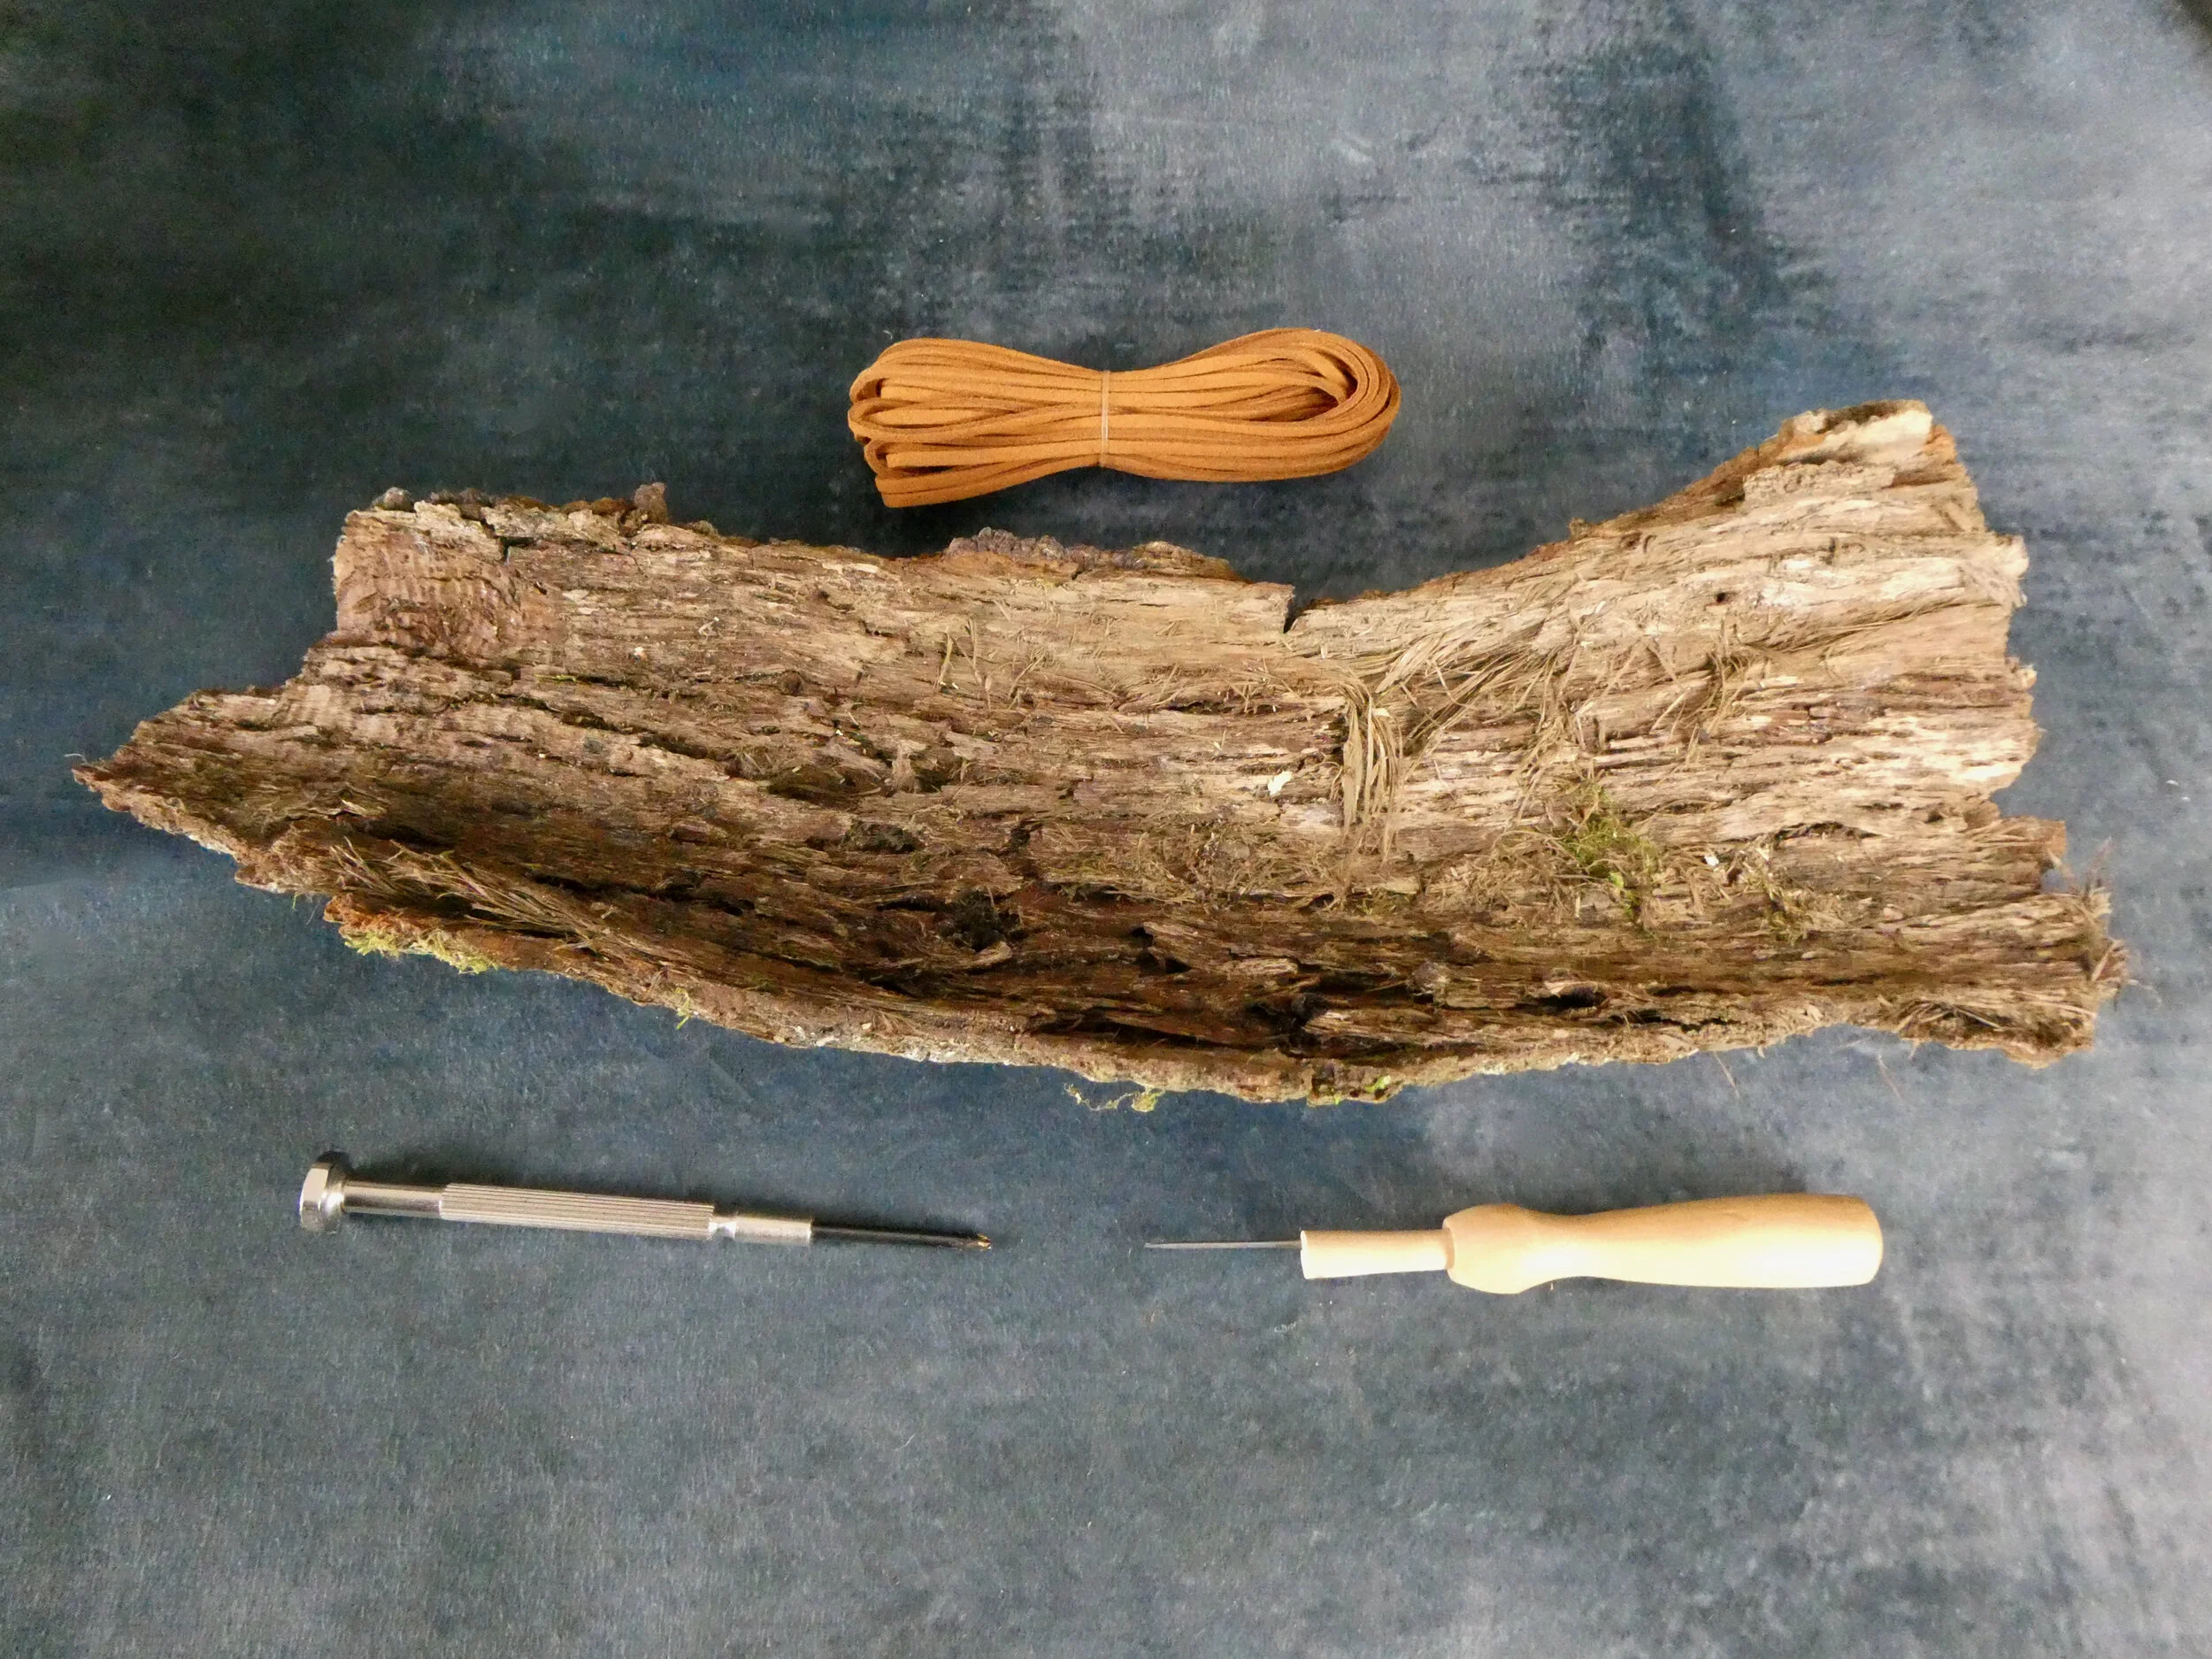
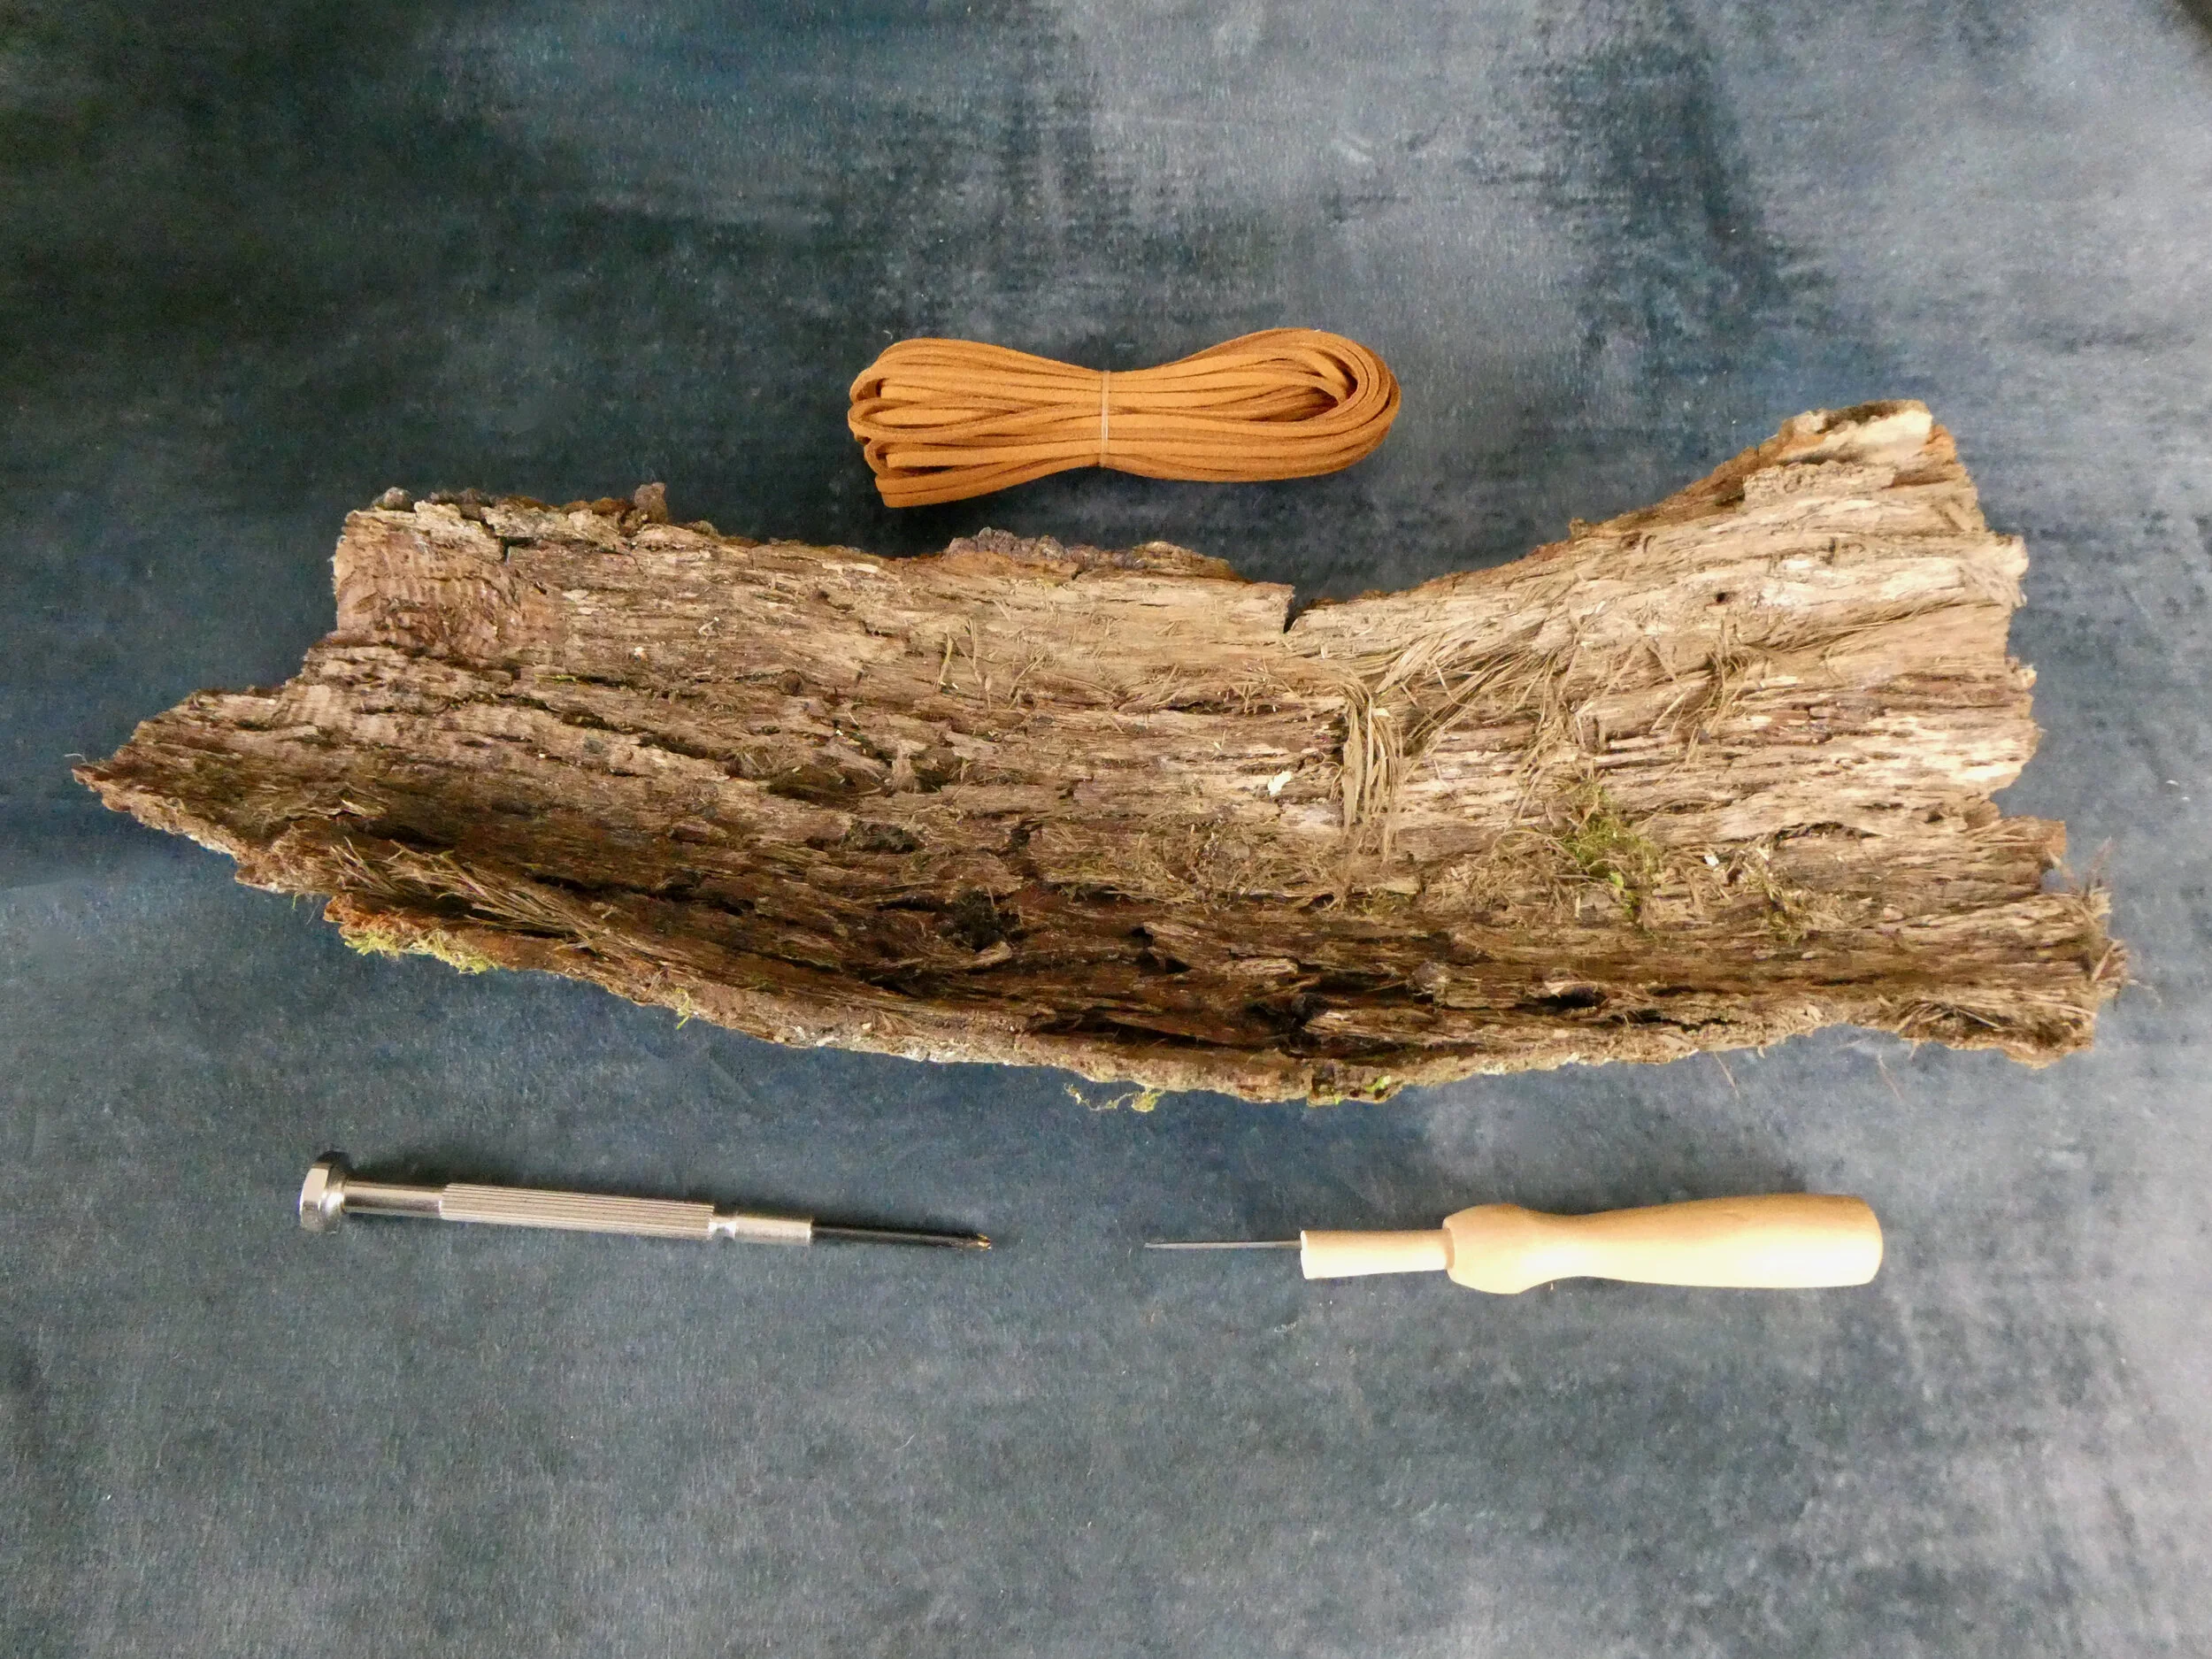
Example of a piece of bark, inner side upwards - where you will place your air plants etc. You can also see the implements I use to create holes in the bark and an example of hanging cord
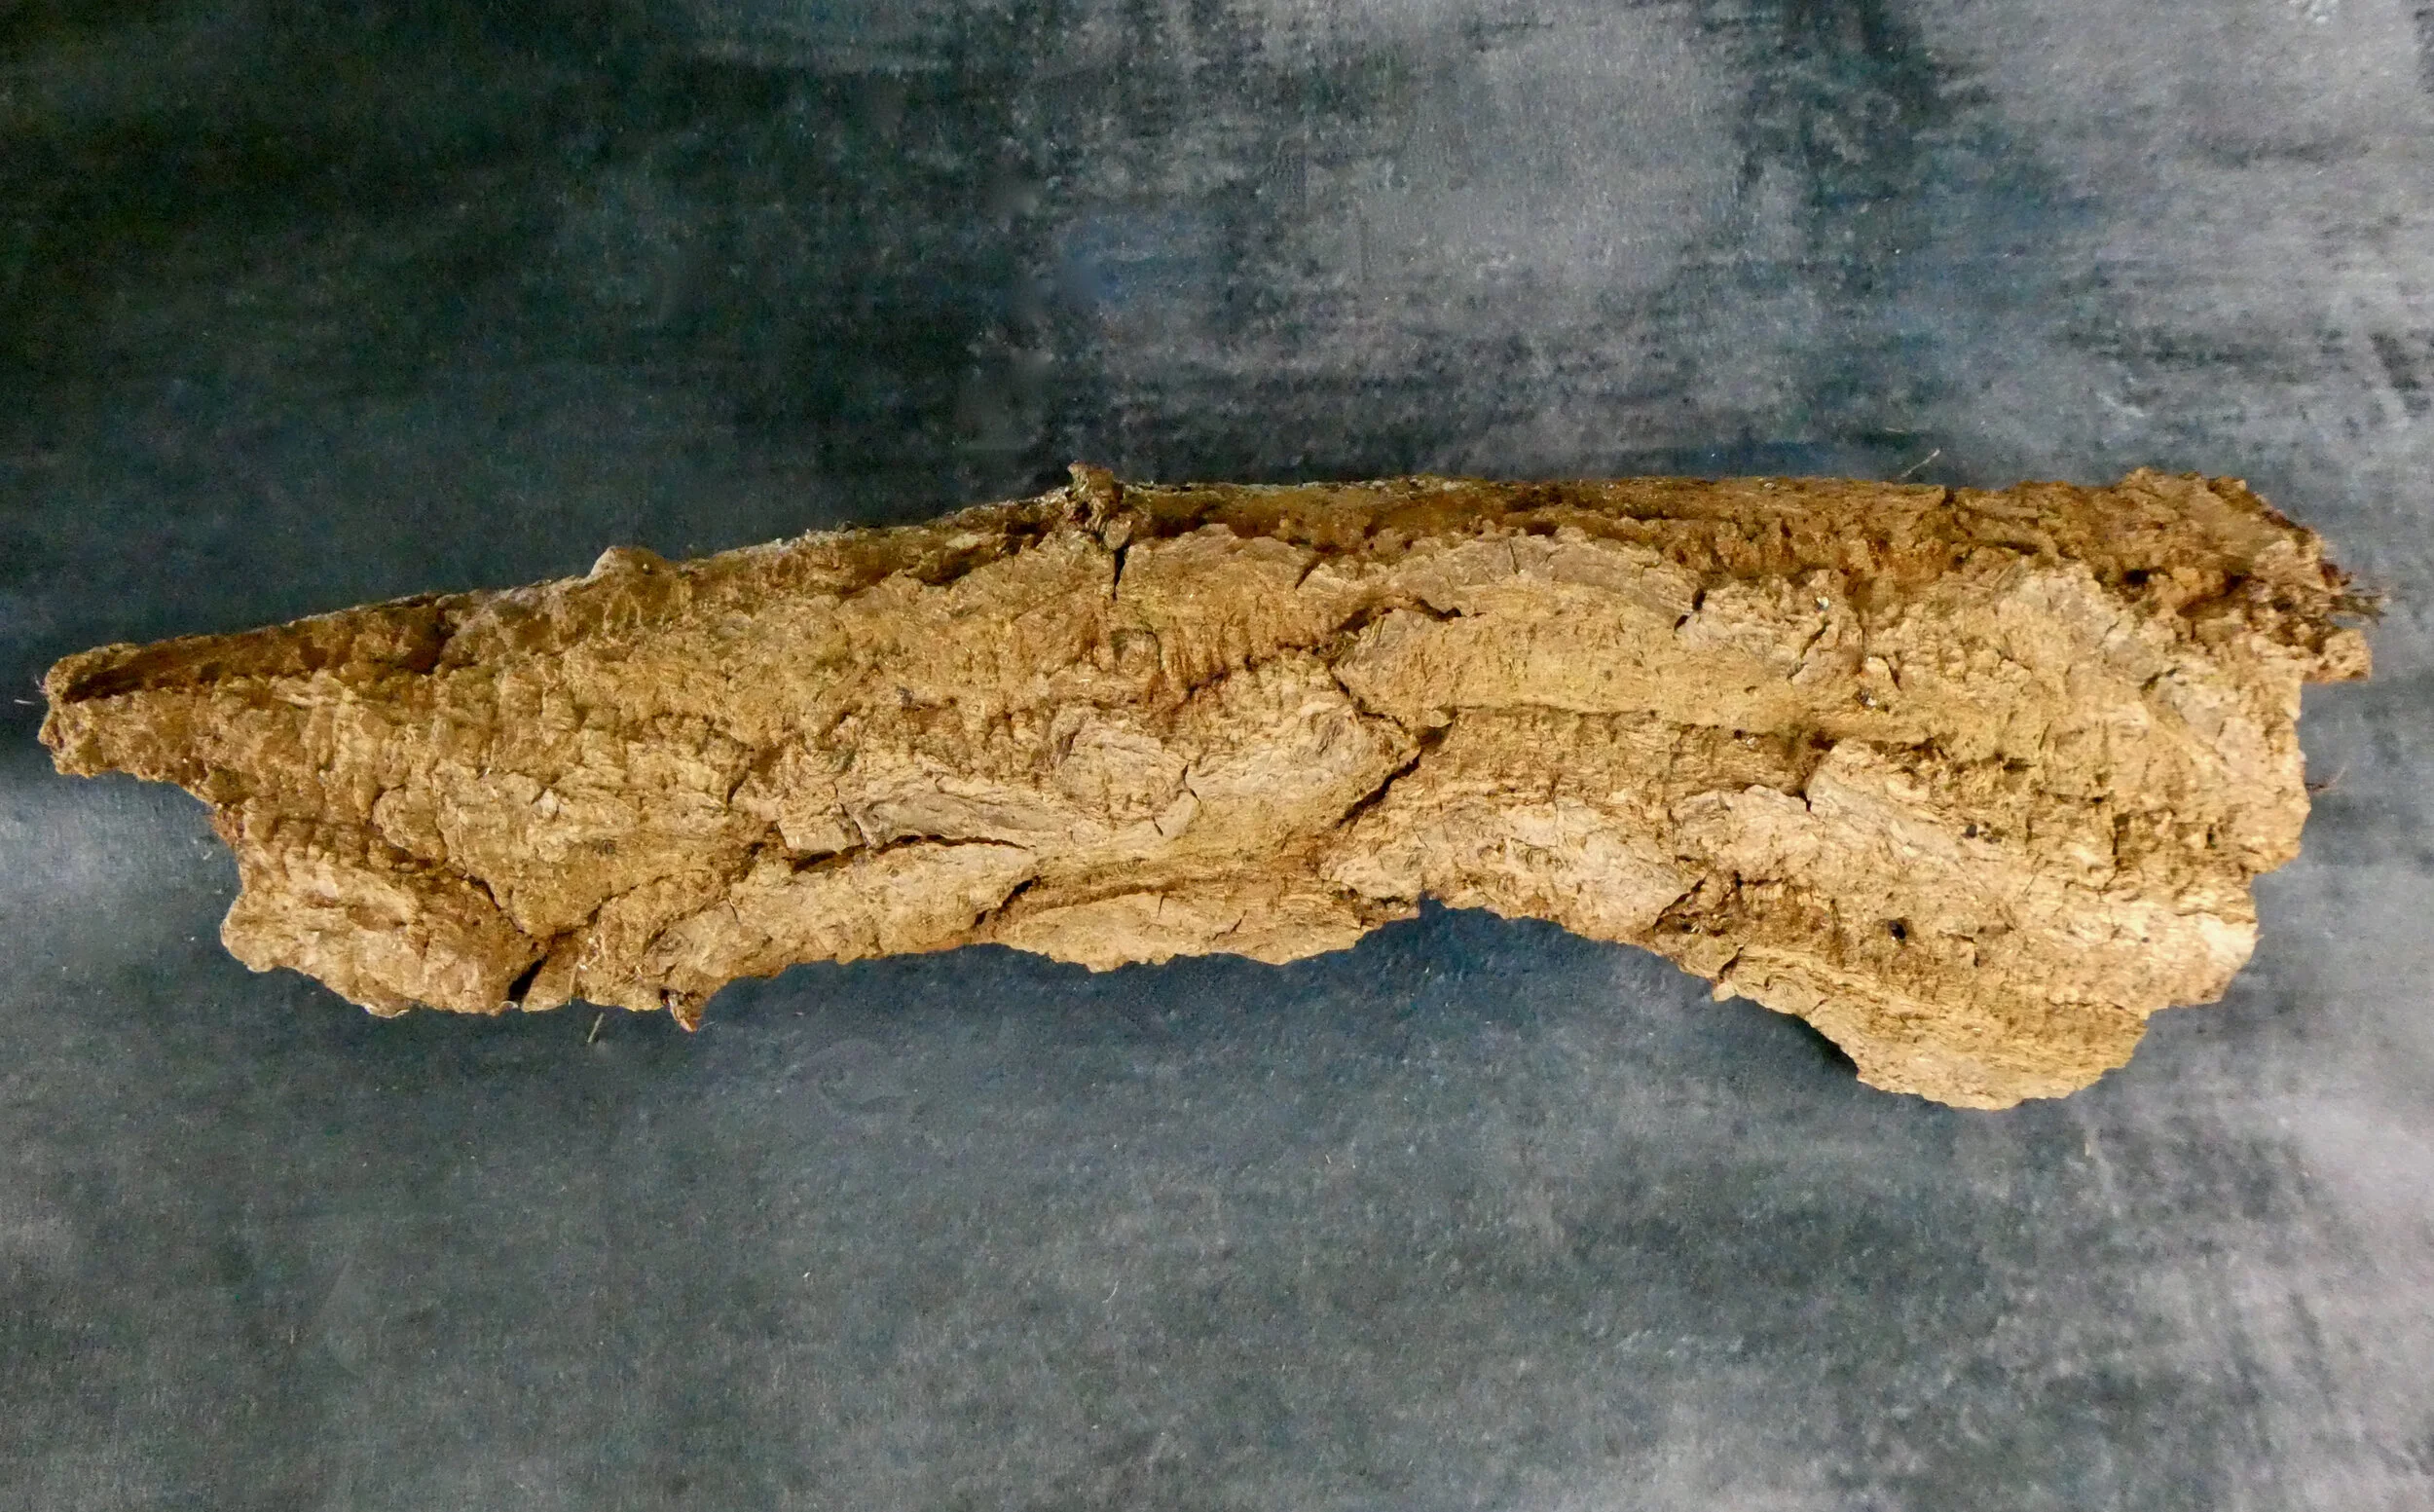
The same piece of bark, showing the side which will form the underneath of your decoration
Look through all the materials in the kit and lay them out. Think about how your decoration could look. You might take a similar approach to the example, or change things to suit your own preferences.
Select the piece of bark to use. This will be the foundation of the hanging decoration, on which everything is mounted. The image above shows an example piece of bark with its inner side upwards (the side originally attached to the tree). This is the side where you will place your air plants and most of your decoration. You can also see an example of the cord for hanging your decoration and the tools that I use to make holes in bark. The second image shows the same piece of bark with its outer side upwards. This side will form the underneath of your decoration.
Decide whether your hanging decoration should have three or four cords to suspend it from a bracket or hook when it is finished. The example has three cords in a triangular arrangement. These have been cut at different lengths, in order to suspend the decoration at angle. This helps show off the bark underneath, as well as the top side.
Next, decide where you will make the holes for your cord. Look closely and take into account the characteristics of your bark. For example, avoid making holes too near the edge, as the bark could crumble if you don’t allow some space. Also, if there are natural fissures or cracks in the bark, consider whether they would help you make a hole, or might lead to the bark breaking. See below for a video demonstration - start the video ay 1.19 minutes in.
When you are ready to make the holes, take a sharp, narrow object, such as a bradawl and carefully make a pilot hole. Use a twisting motion to ‘drill’ into the bark. Concentrate on the bark as you work. You should feel the change in the material under your fingers if it begins to crack or break. If you think that might happen, reduce the amount of pressure and work more slowly and gently. If you are having problems, try to find a narrower or sharper implement. Take your time and keep going until you make a hole all the way through the bark. Repeat this process for the remaining holes.
When your pilot holes are complete you may need to make them wider to accommodate the hanging cord. Something like a cross head screwdriver of a slightly larger diameter that the cord can work well for this. Using the same circular motion as for the pilot holes, apply gentle pressure to wear away the bark. Widen each hole until you can pass the cord through.
If your bark does break or crack you may still be happy with the shape you end up with. If not, you have a spare piece of bark. Should you still struggle with making the holes (which is the most challenging part of making the decoration) please email me at hello@dormousewood.co.uk.
Divide your cord into equal lengths. You need one cord for each hole you made in the bark. Thread a piece of cord through each hole. You can simply knot the cord ends underneath the bark to hold them in place and support the decoration, as in the example. Alternatively, you could leave a length of cord dangling below the bark and add your own choice of decoration. For example, if you added coordinating glass or wooden beads (not included) they would give weight to the cords, so they would hang neatly underneath your decoration and add a further element of interest and movement.
Leave the cords on the upper side of the bark long for the moment. You can decide whether to cut them shorter once you have finished your decoration and tried it out in the place it will be displayed.
The Butterflies
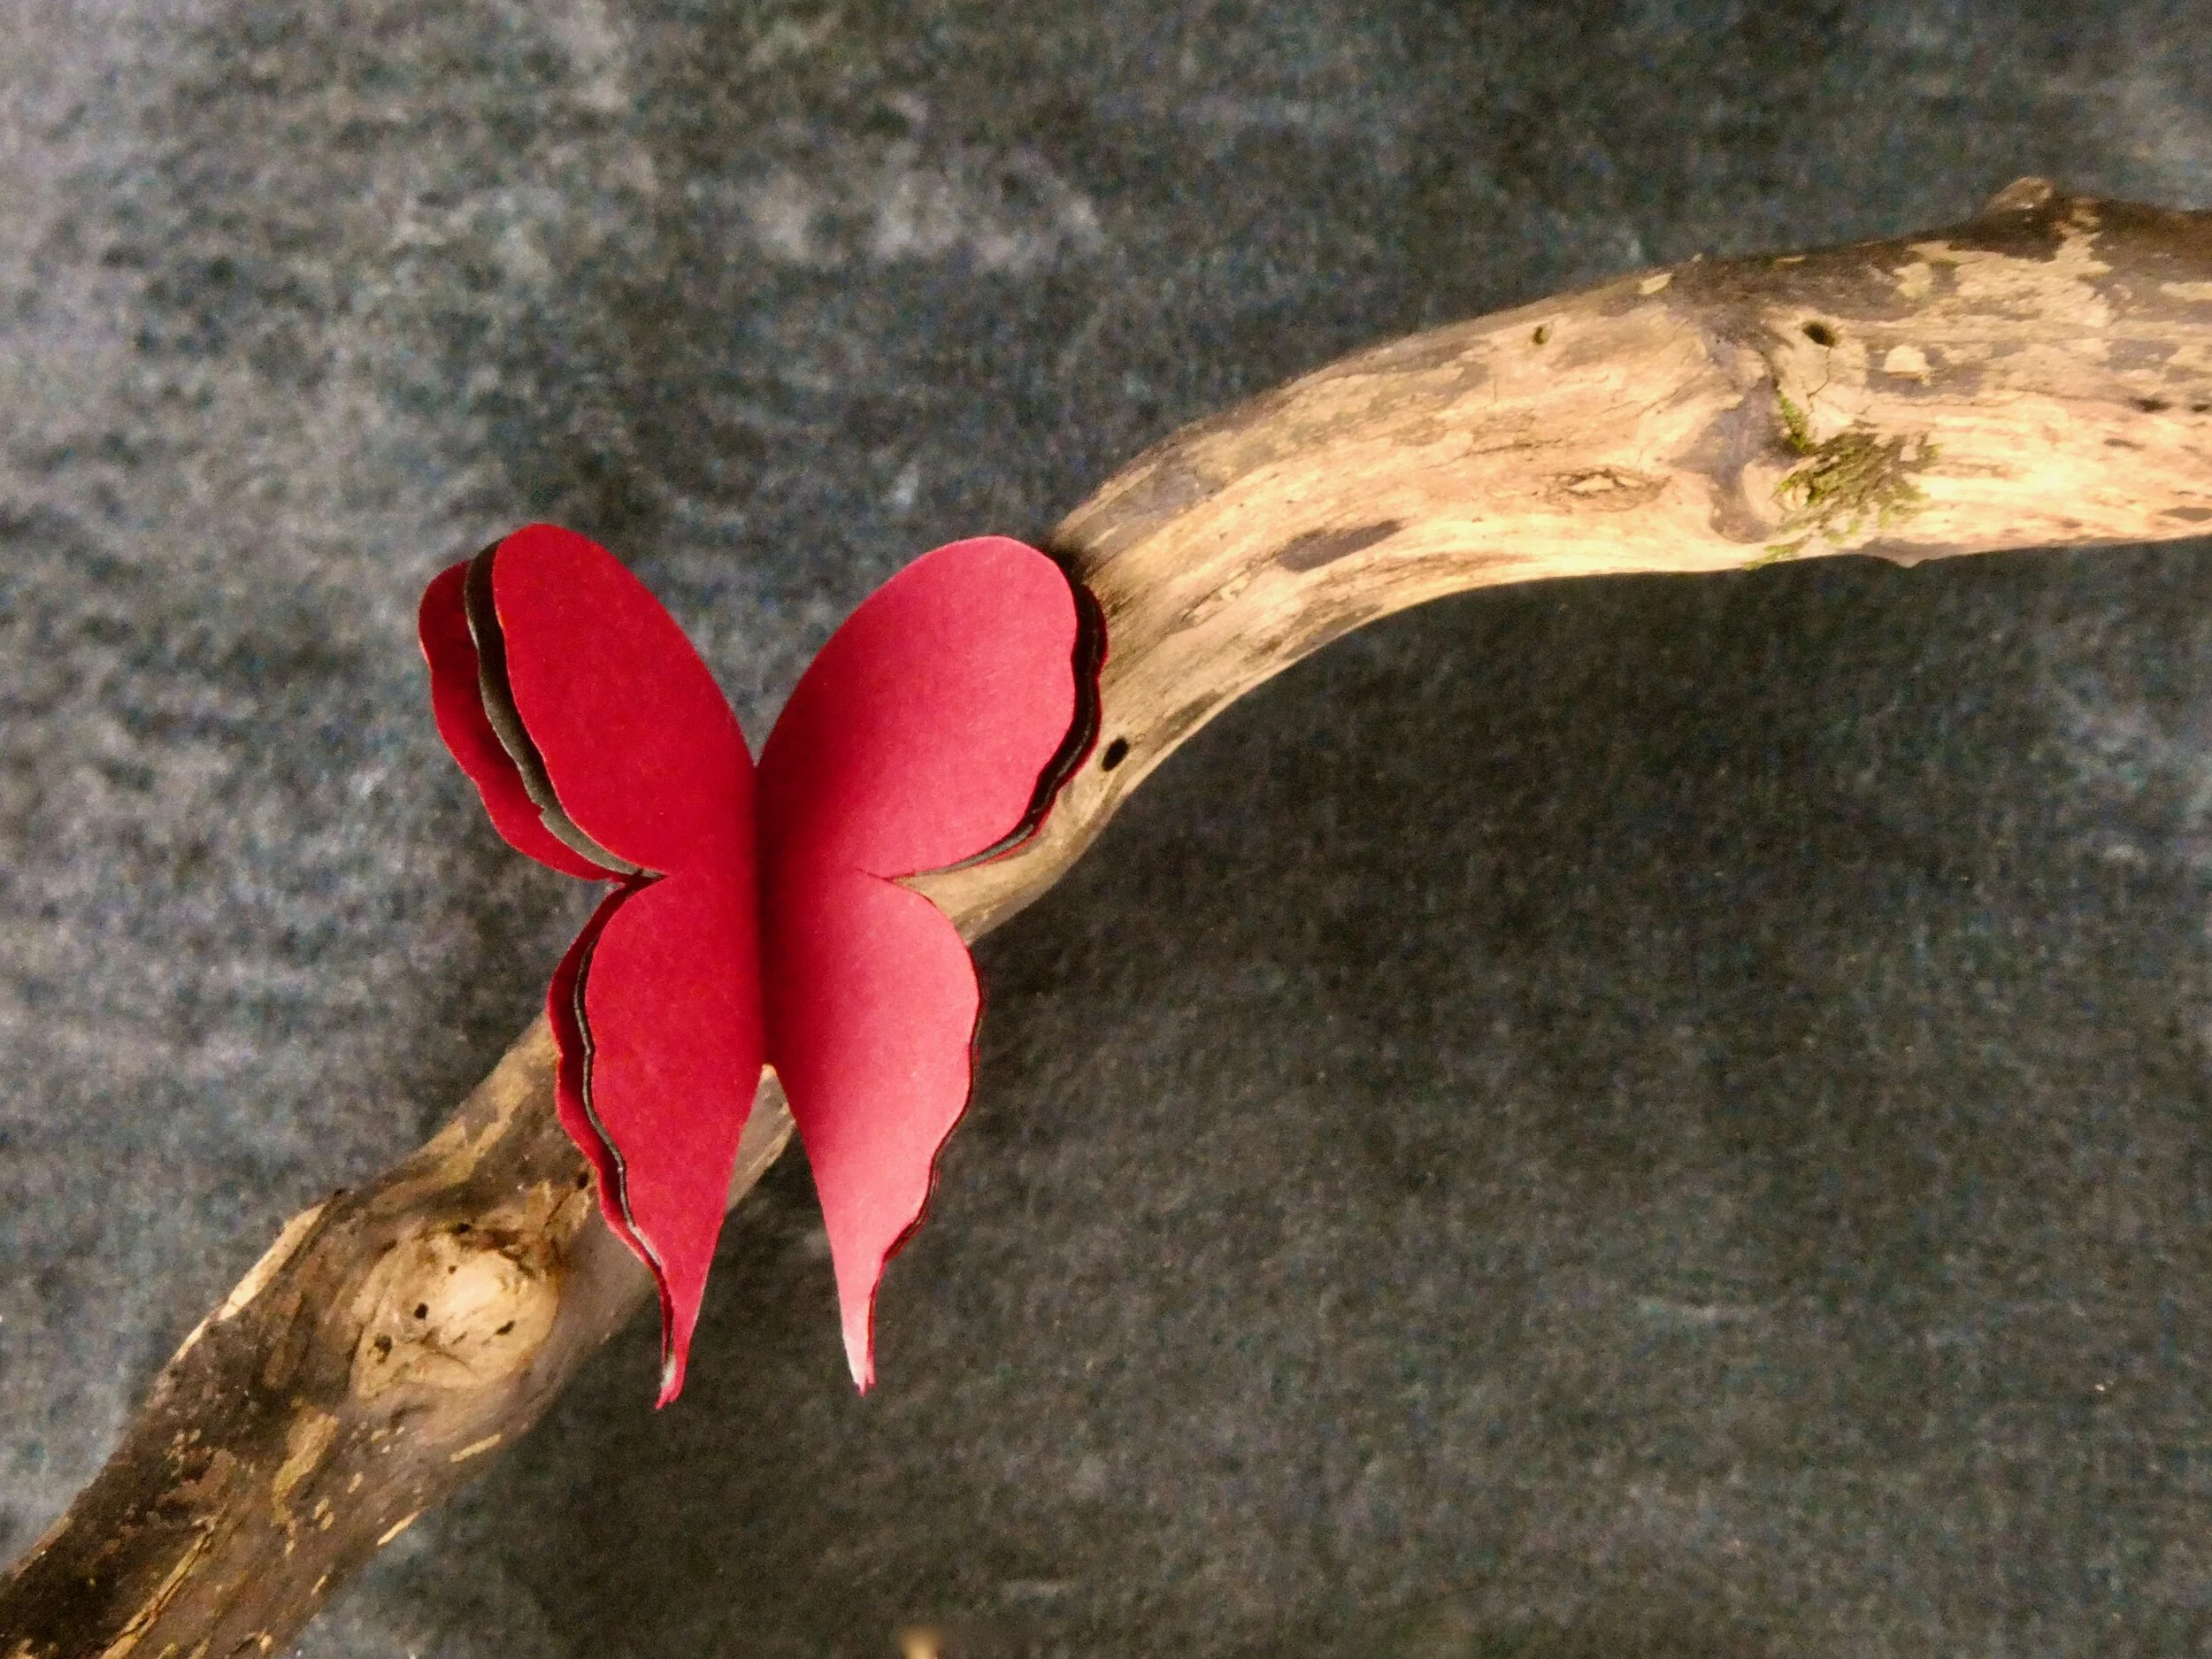
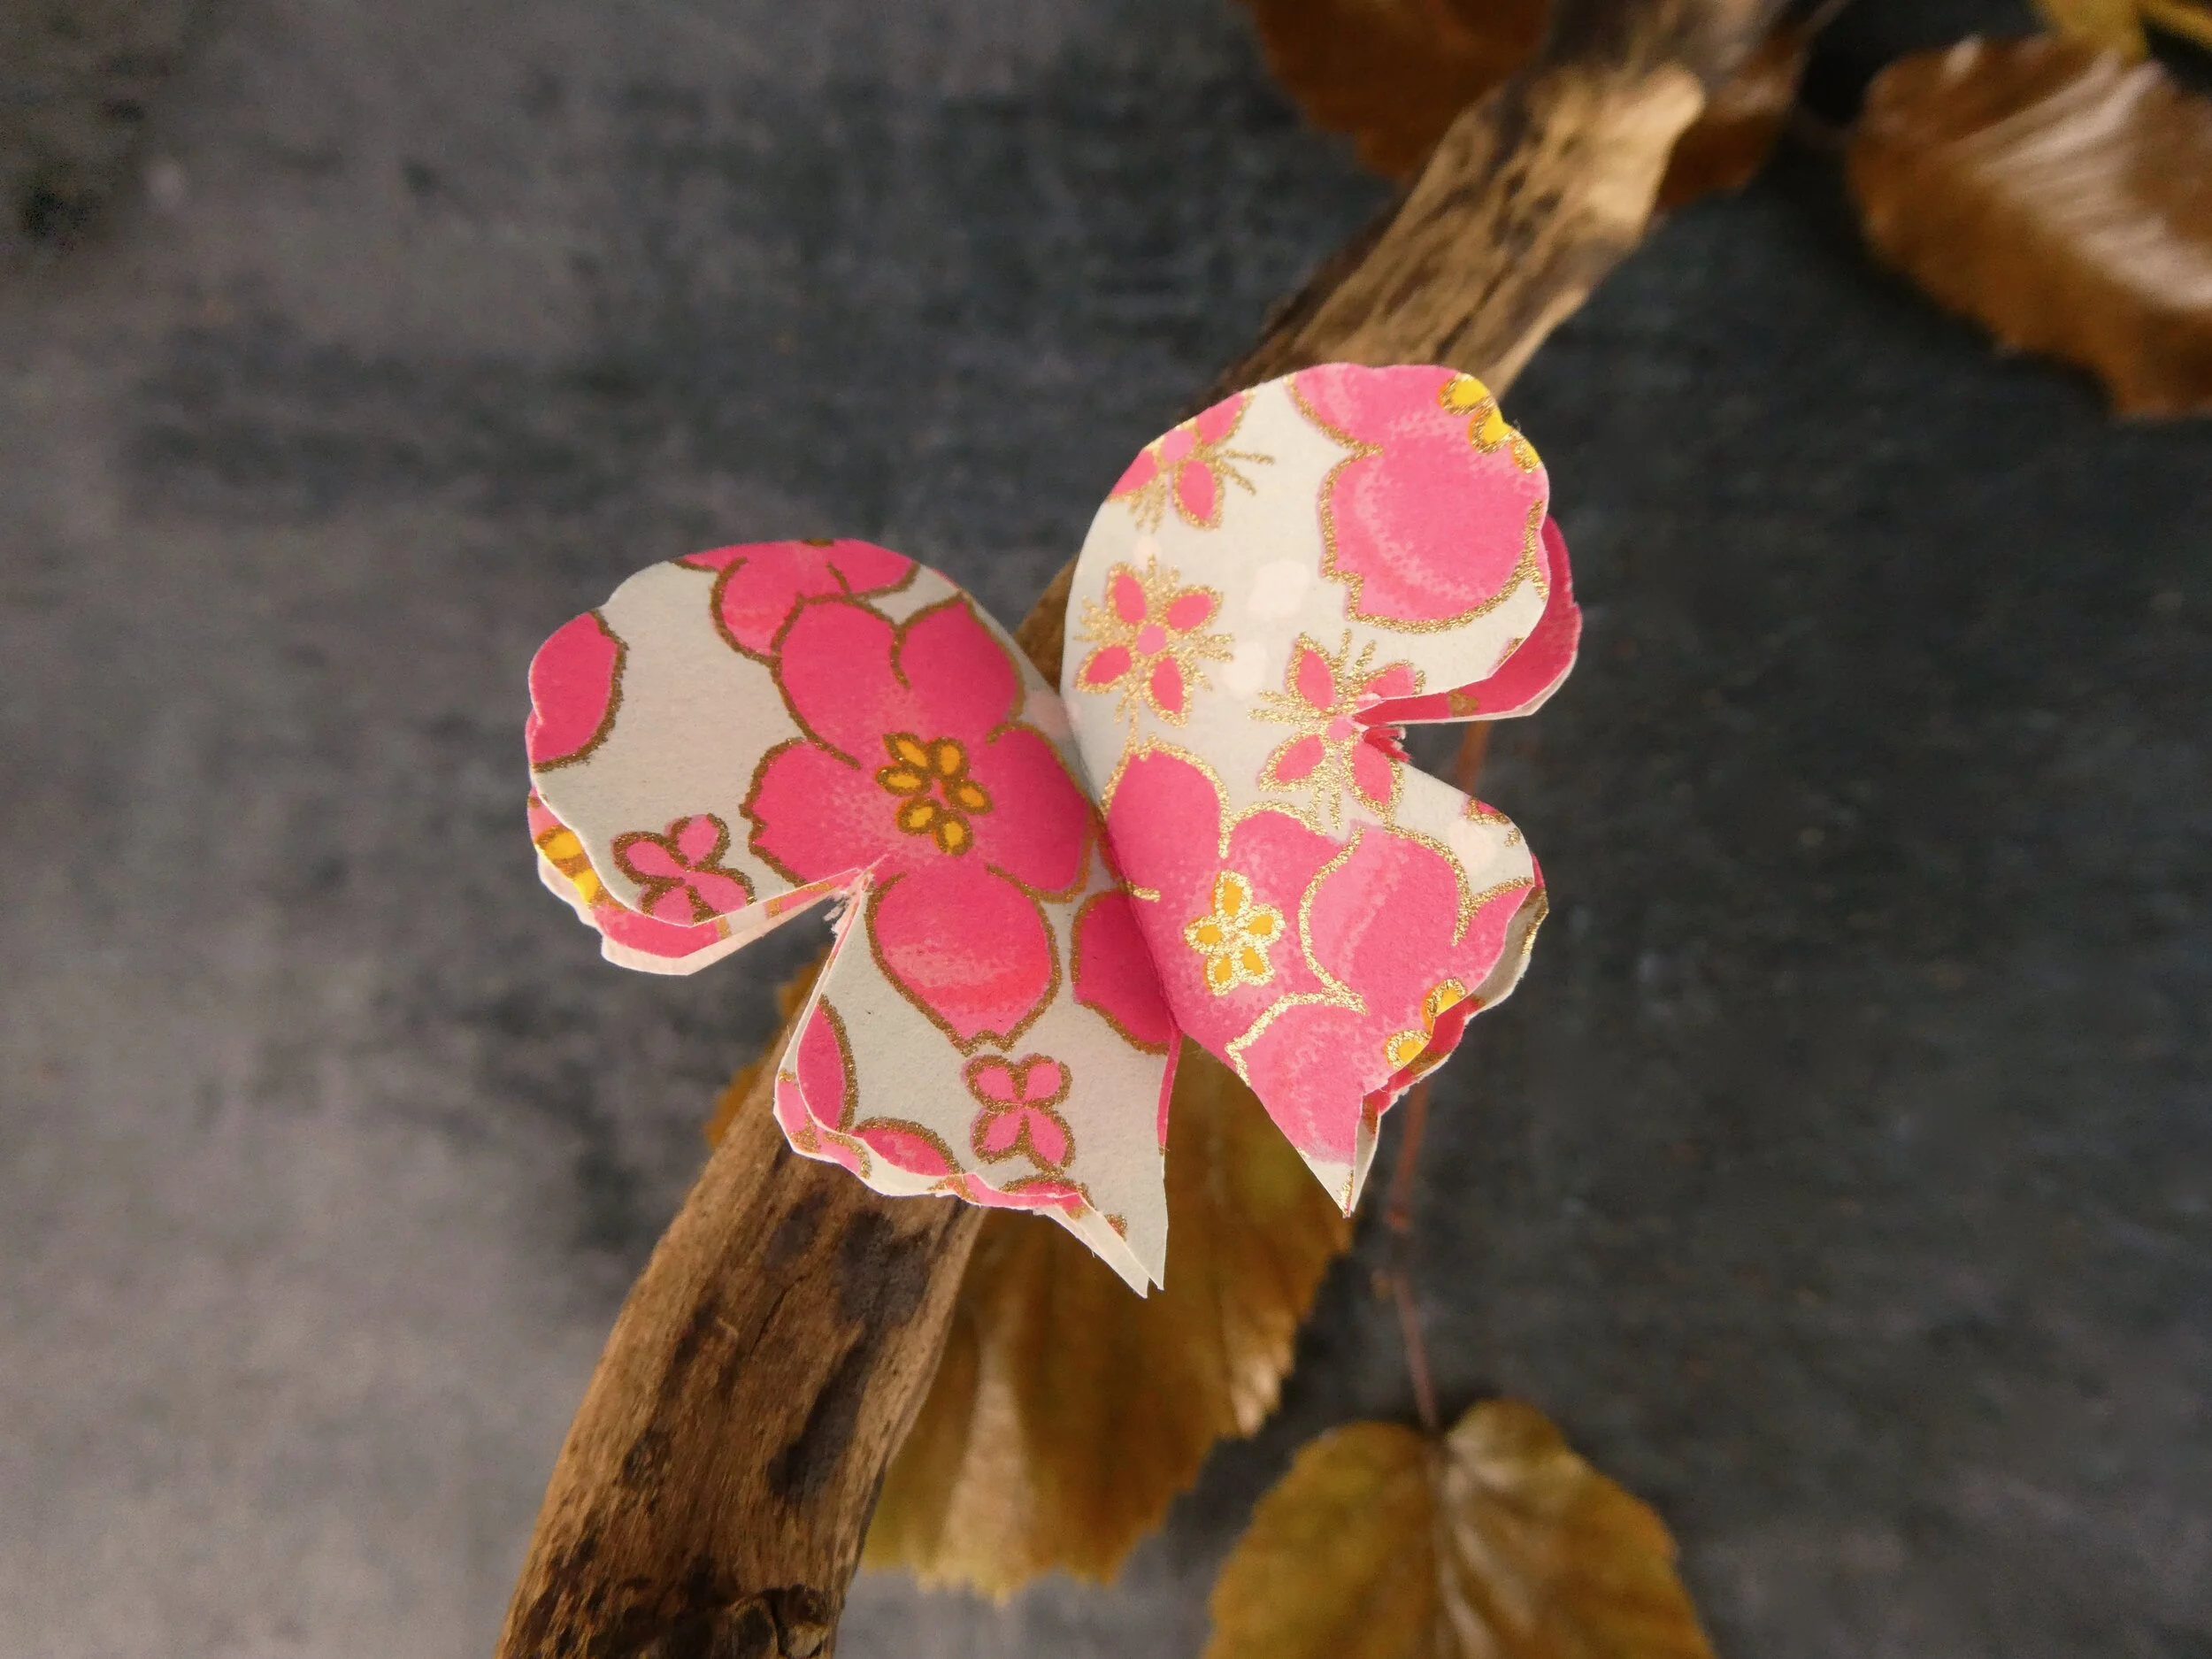
Example of a butterfly made with plain origami paper - note the use of two colours
Now the base of your decoration is completed you are ready to make your make your butterflies using the paper provided in your kit, plus a little glue. There is a video below showing how I make my paper butterflies. Take a look at the choice of paper in your kit. Consider how many butterflies you want, what combination of patterns and colours you would like and the approximate sizes of your butterflies. Make your butterflies and allow the glue to dry.
The final step before assembling your decoration is completing the water resistance of your butterflies. The paper in the kit has been pre-sprayed with a clear protective coating to help your paper butterflies resist any water they encounter when you mist your air plants. However, cutting out your butterflies will leave you with unprotected edges. To overcome this, use the contents of the small white tub, labelled P. This contains Paverpol, a water based textile harder. Brush this onto the cut edges of your completed butterflies to give additional protection. Simply thin the Paverpol down to the desired consistency with a little water. Then, using a very fine paint brush, cover the cut edges with the Paverpol. The Paverpol will dry clear. You only need a very small amount, as you do not want to spoil the crisp paper edges you have created. I suggest you seal the edges of a test butterfly and let it dry before completing them all, to ensure you are happy with the result. You could also coat your entire butterfly in Paverpol to give additional water protection. Just take care to make the coating very thin, or your butterflies may lose their delicate quality, as the Paverpol will stiffen them. You should have plenty of paper for experimentation, so you get exactly the results you want.
IMPORTANT: whilst your butterflies are somewhat protected from water, they are still made of paper and may suffer if they get very wet. As you put together your design, consider this aspect. For example, if you want butterflies very near the air plants you could attach them lightly, so they can easily be removed for watering and replaced afterwards. You may also want to make a couple of spare butterflies, just in case. I have looked after several Butterfly House air plant arrangements since early October (i.e. almost three months) To date I have suffered only one paper butterfly casualty. I removed it and pressed it under a light weight as it dried. This avoided the paper curling from the water. It was successfully reattached the next day. FYI, patterned origami paper tends to be more water resistant than the plain versions or the mulberry paper as it is heavier.
Once your butterflies are finished you are ready to assemble your decoration.
Assembly
Lay out all your remaining materials and try out different arrangements until you are satisfied. It is very likely that you will not use everything in your kit - you may have enough left to make an additional decoration, using the second piece of bark as a base. You might like to try making one of the smaller hanging decorations shown in the video below on making holes in your bark.
I find that starting with the placement of the air plants is helpful. Once you know where these will go, you can then consider how to enhance the arrangement using the other materials, including the moss, lichen, sticks, fruit and butterflies. You will probably want to cut your moss into smaller pieces and remove any woody sections. You may also decide to break some of your twigs into smaller pieces.
Once you have decided approximately how your decoration should look, begin by sticking down the air plants, using the fixative provided. Give them time to set and then, using your choice of glue, begin adding the other elements.
When you put your butterflies into place, which is usually the last thing I do, ensure they sit upright so you can see both sets of wings and that the three wing layers are slightly spread. You may need to gently hold each butterfly in place for a few minutes to achieve this.
Once you are happy, let the glue dry completely.
Hang up your Butterfly House decoration and look at it from all angles. Make any final changes or additions, including adjusting the length of the hanging cord, if necessary making them different lengths to alter the angle at which your decoration will sit.
Then you are done. Simply take care of your air plants, as recommended in the enclosed leaflet.
If you experience any problems, please email me at hello@dormousewood.co.uk.
How to make holes in bark: start video at 1.19 minutes
How to make paper butterflies