
Weaving a Wreath from Hazel
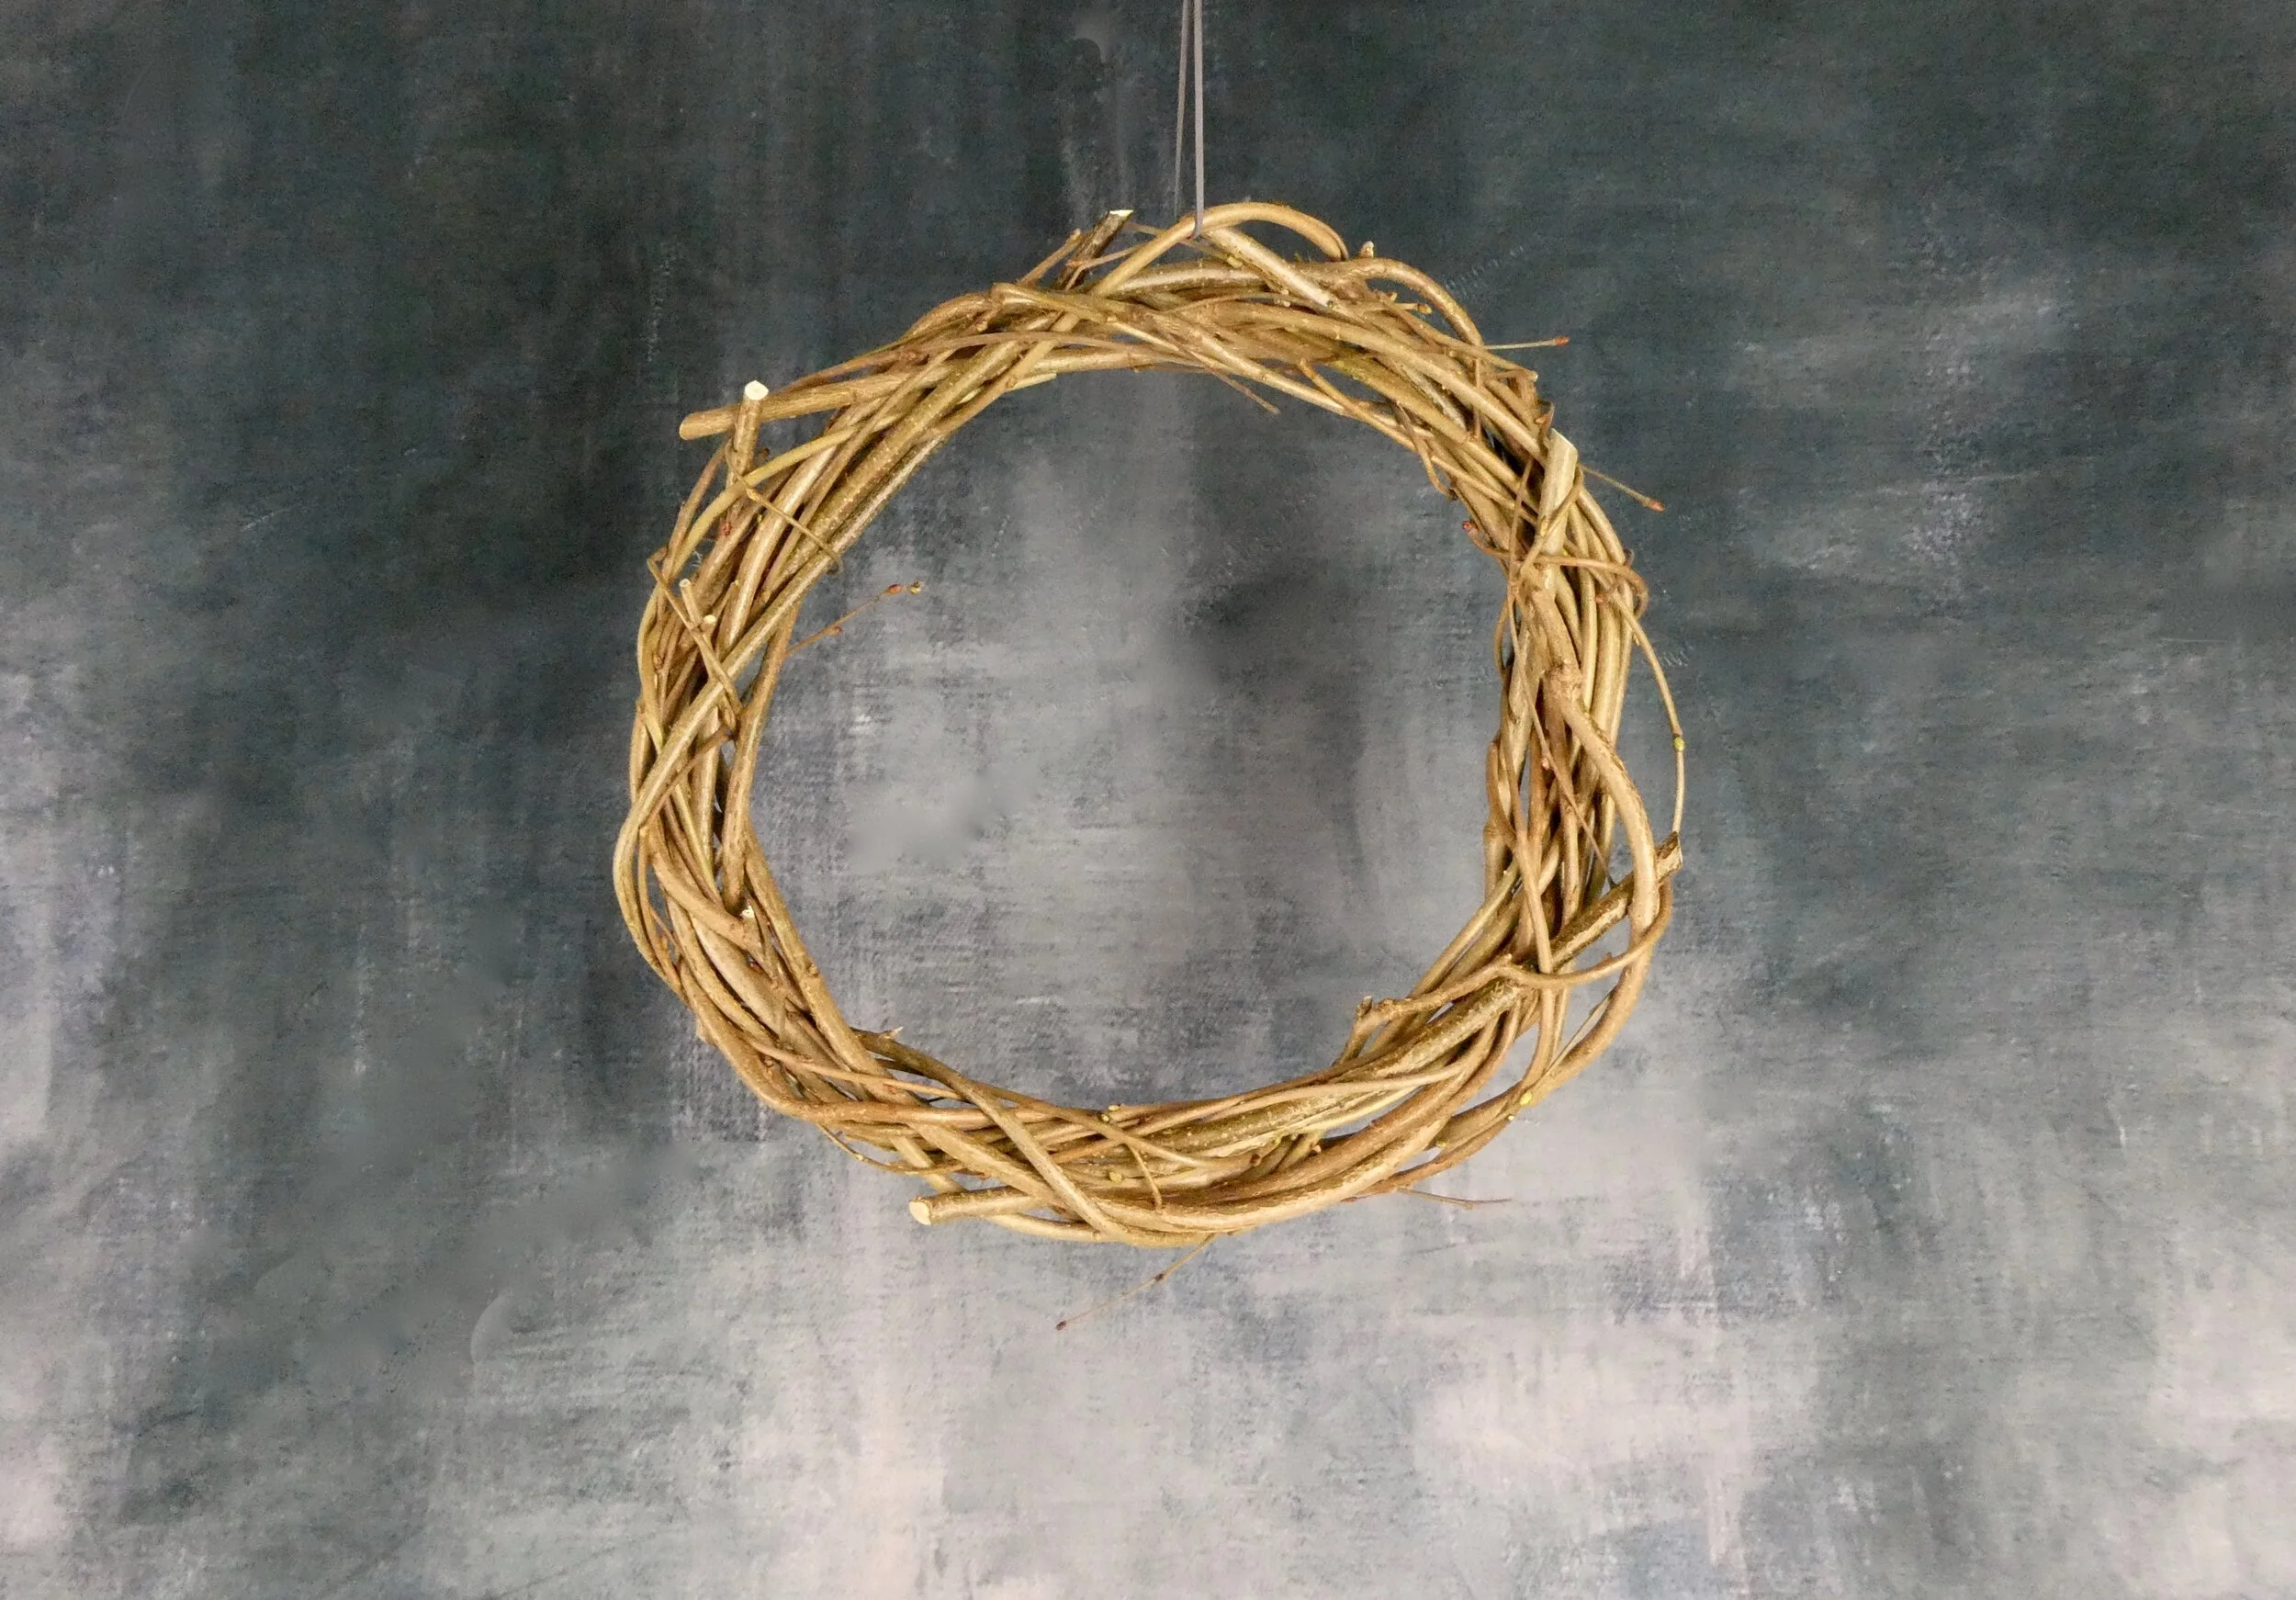
A wreath made from natural hazel is a lovely base for many designs, including those incorporating several different sizes, to create a three dimensional hanging decoration. A hazel wreath will sit happily, either outdoors or inside and unlike most man-made options, its shape and texture can be integrated into your creation rather than needing to be hidden away. If you want to incorporate fresh greenery simply integrate natural moss into your wreath. It will look good and help retain moisture, keeping everything fresh for longer. After the celebrations are over (be it Christmas, a wedding, an anniversary, or perhaps a seasonal festive occasion, such as Halloween) just remove the decorations and put away your hazel wreath until you want to use it again.
These wreaths are quite quick and easy to make, you simply need to remember a few key points:
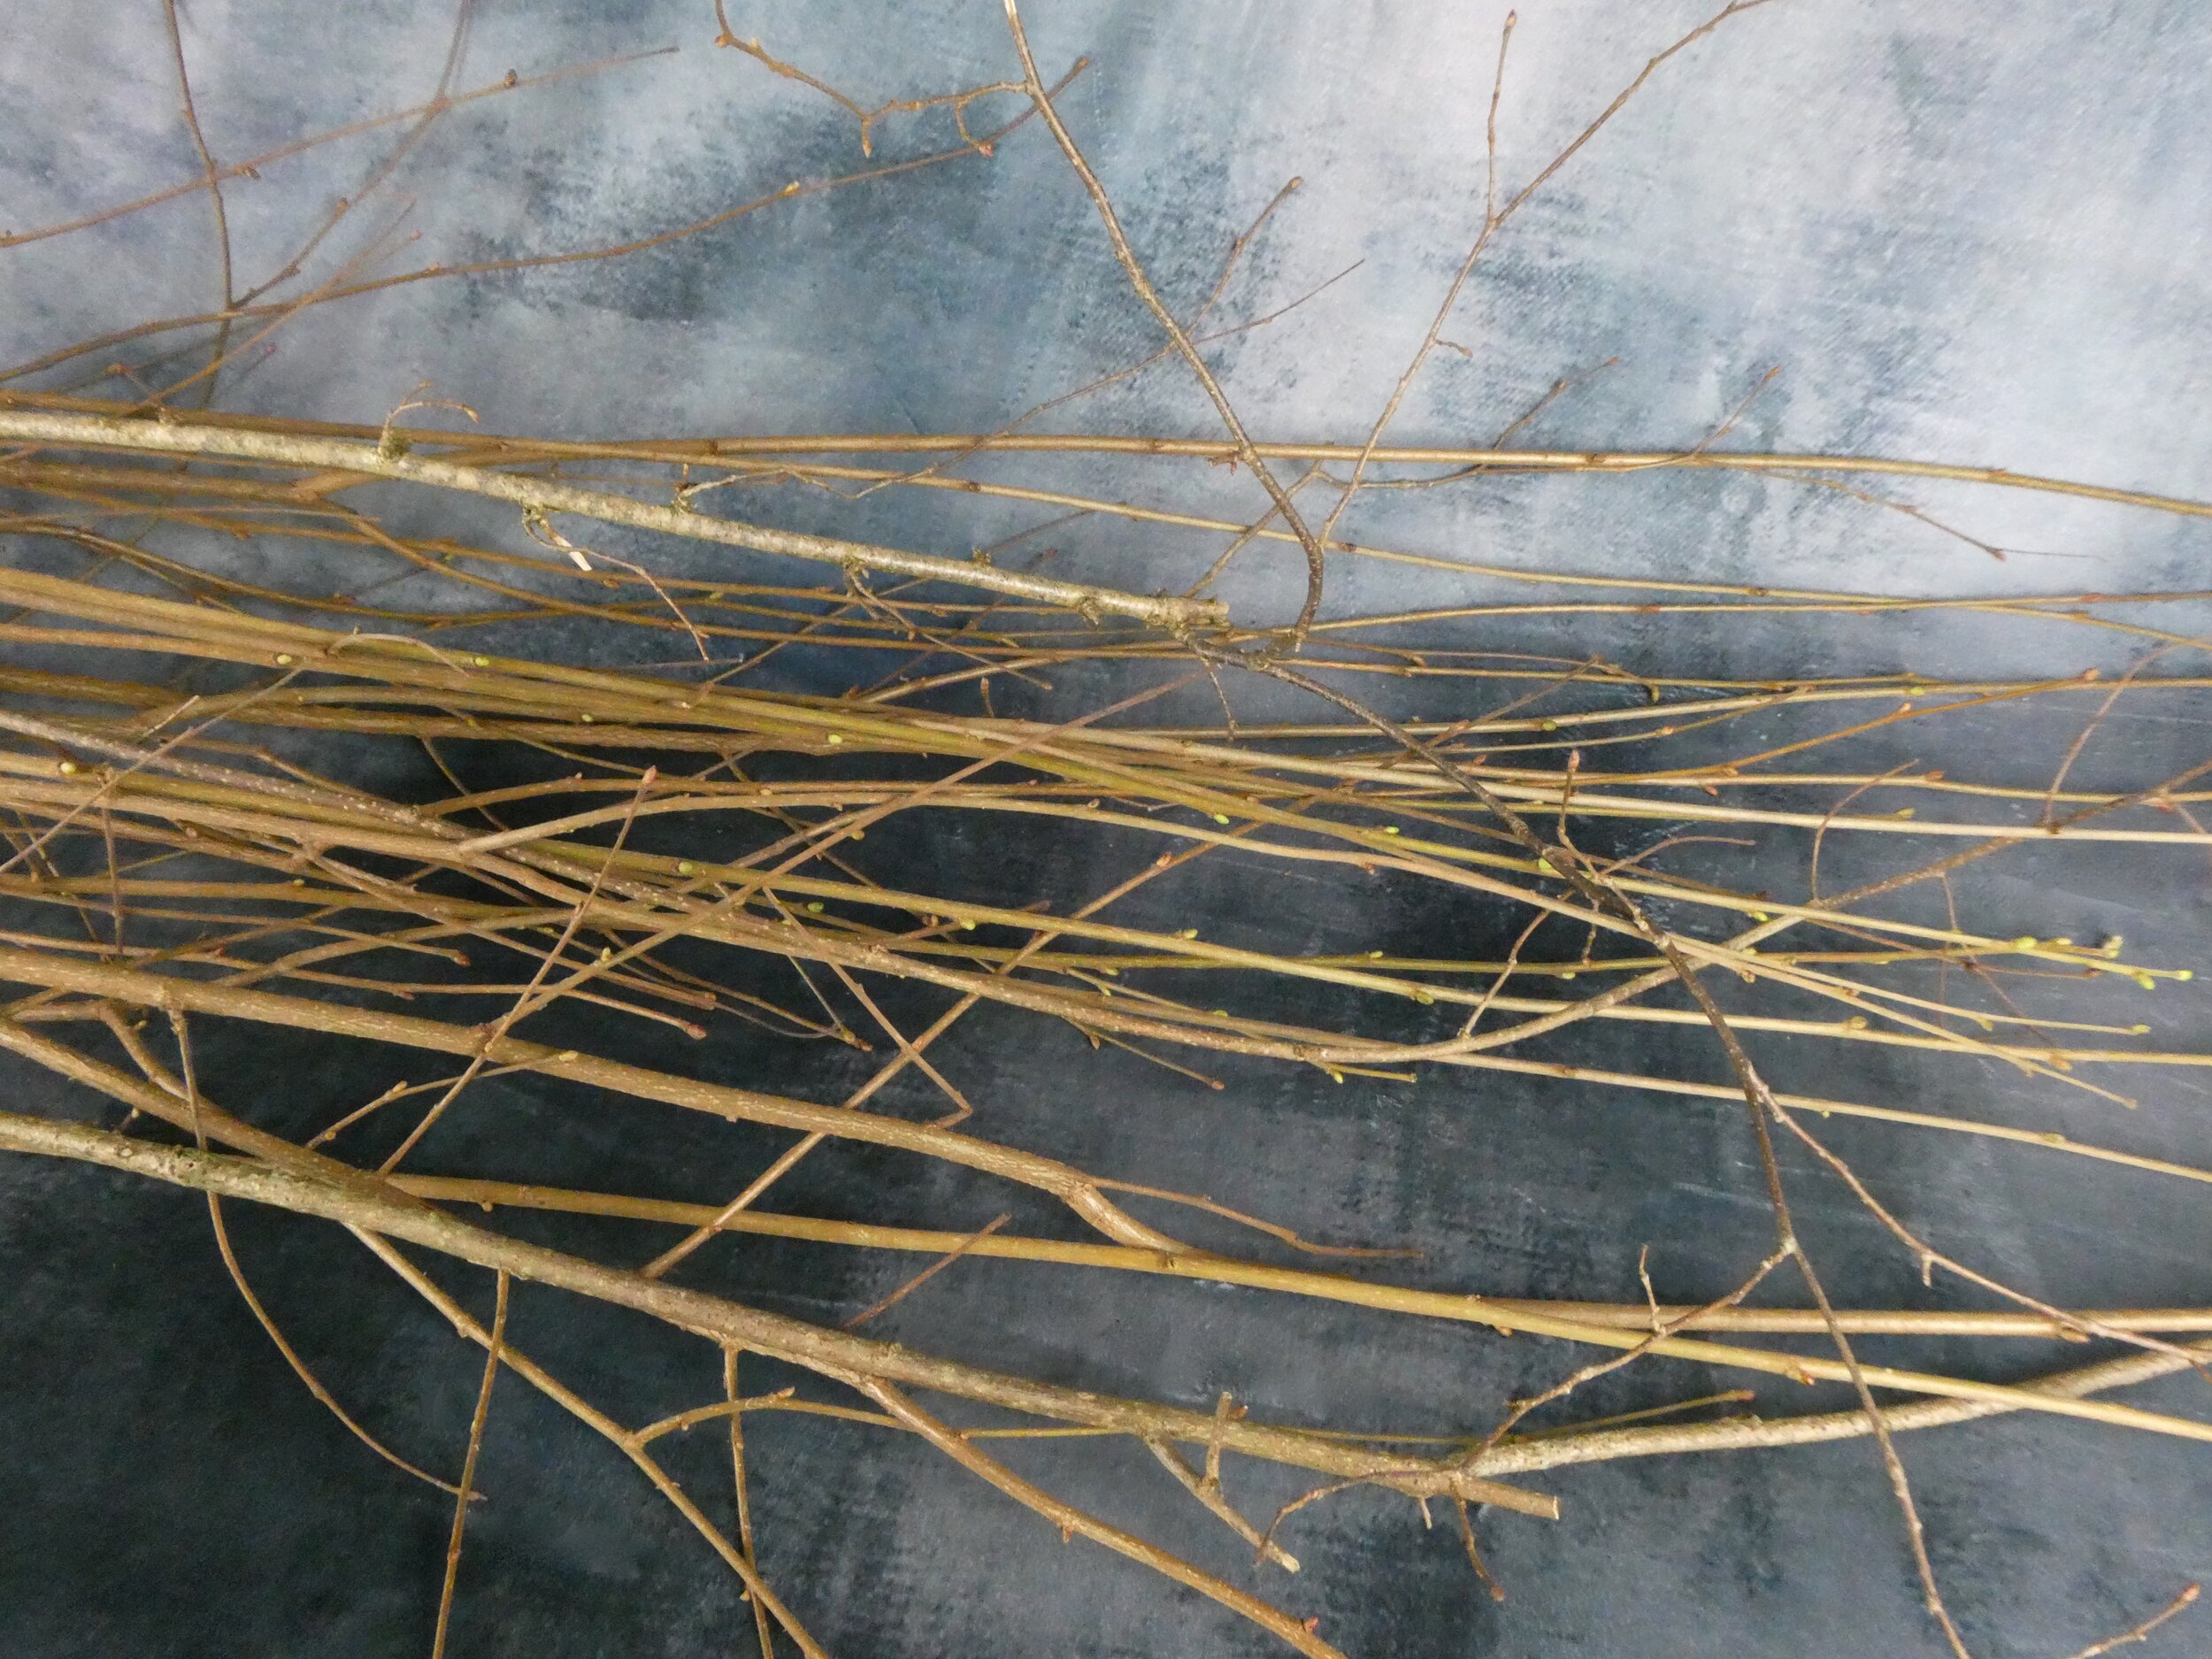
Ensure your hazel is pliable enough to bend. If it keeps breaking too easily, soak it in water for 24 to 48 hours (more information is at the end of this page).
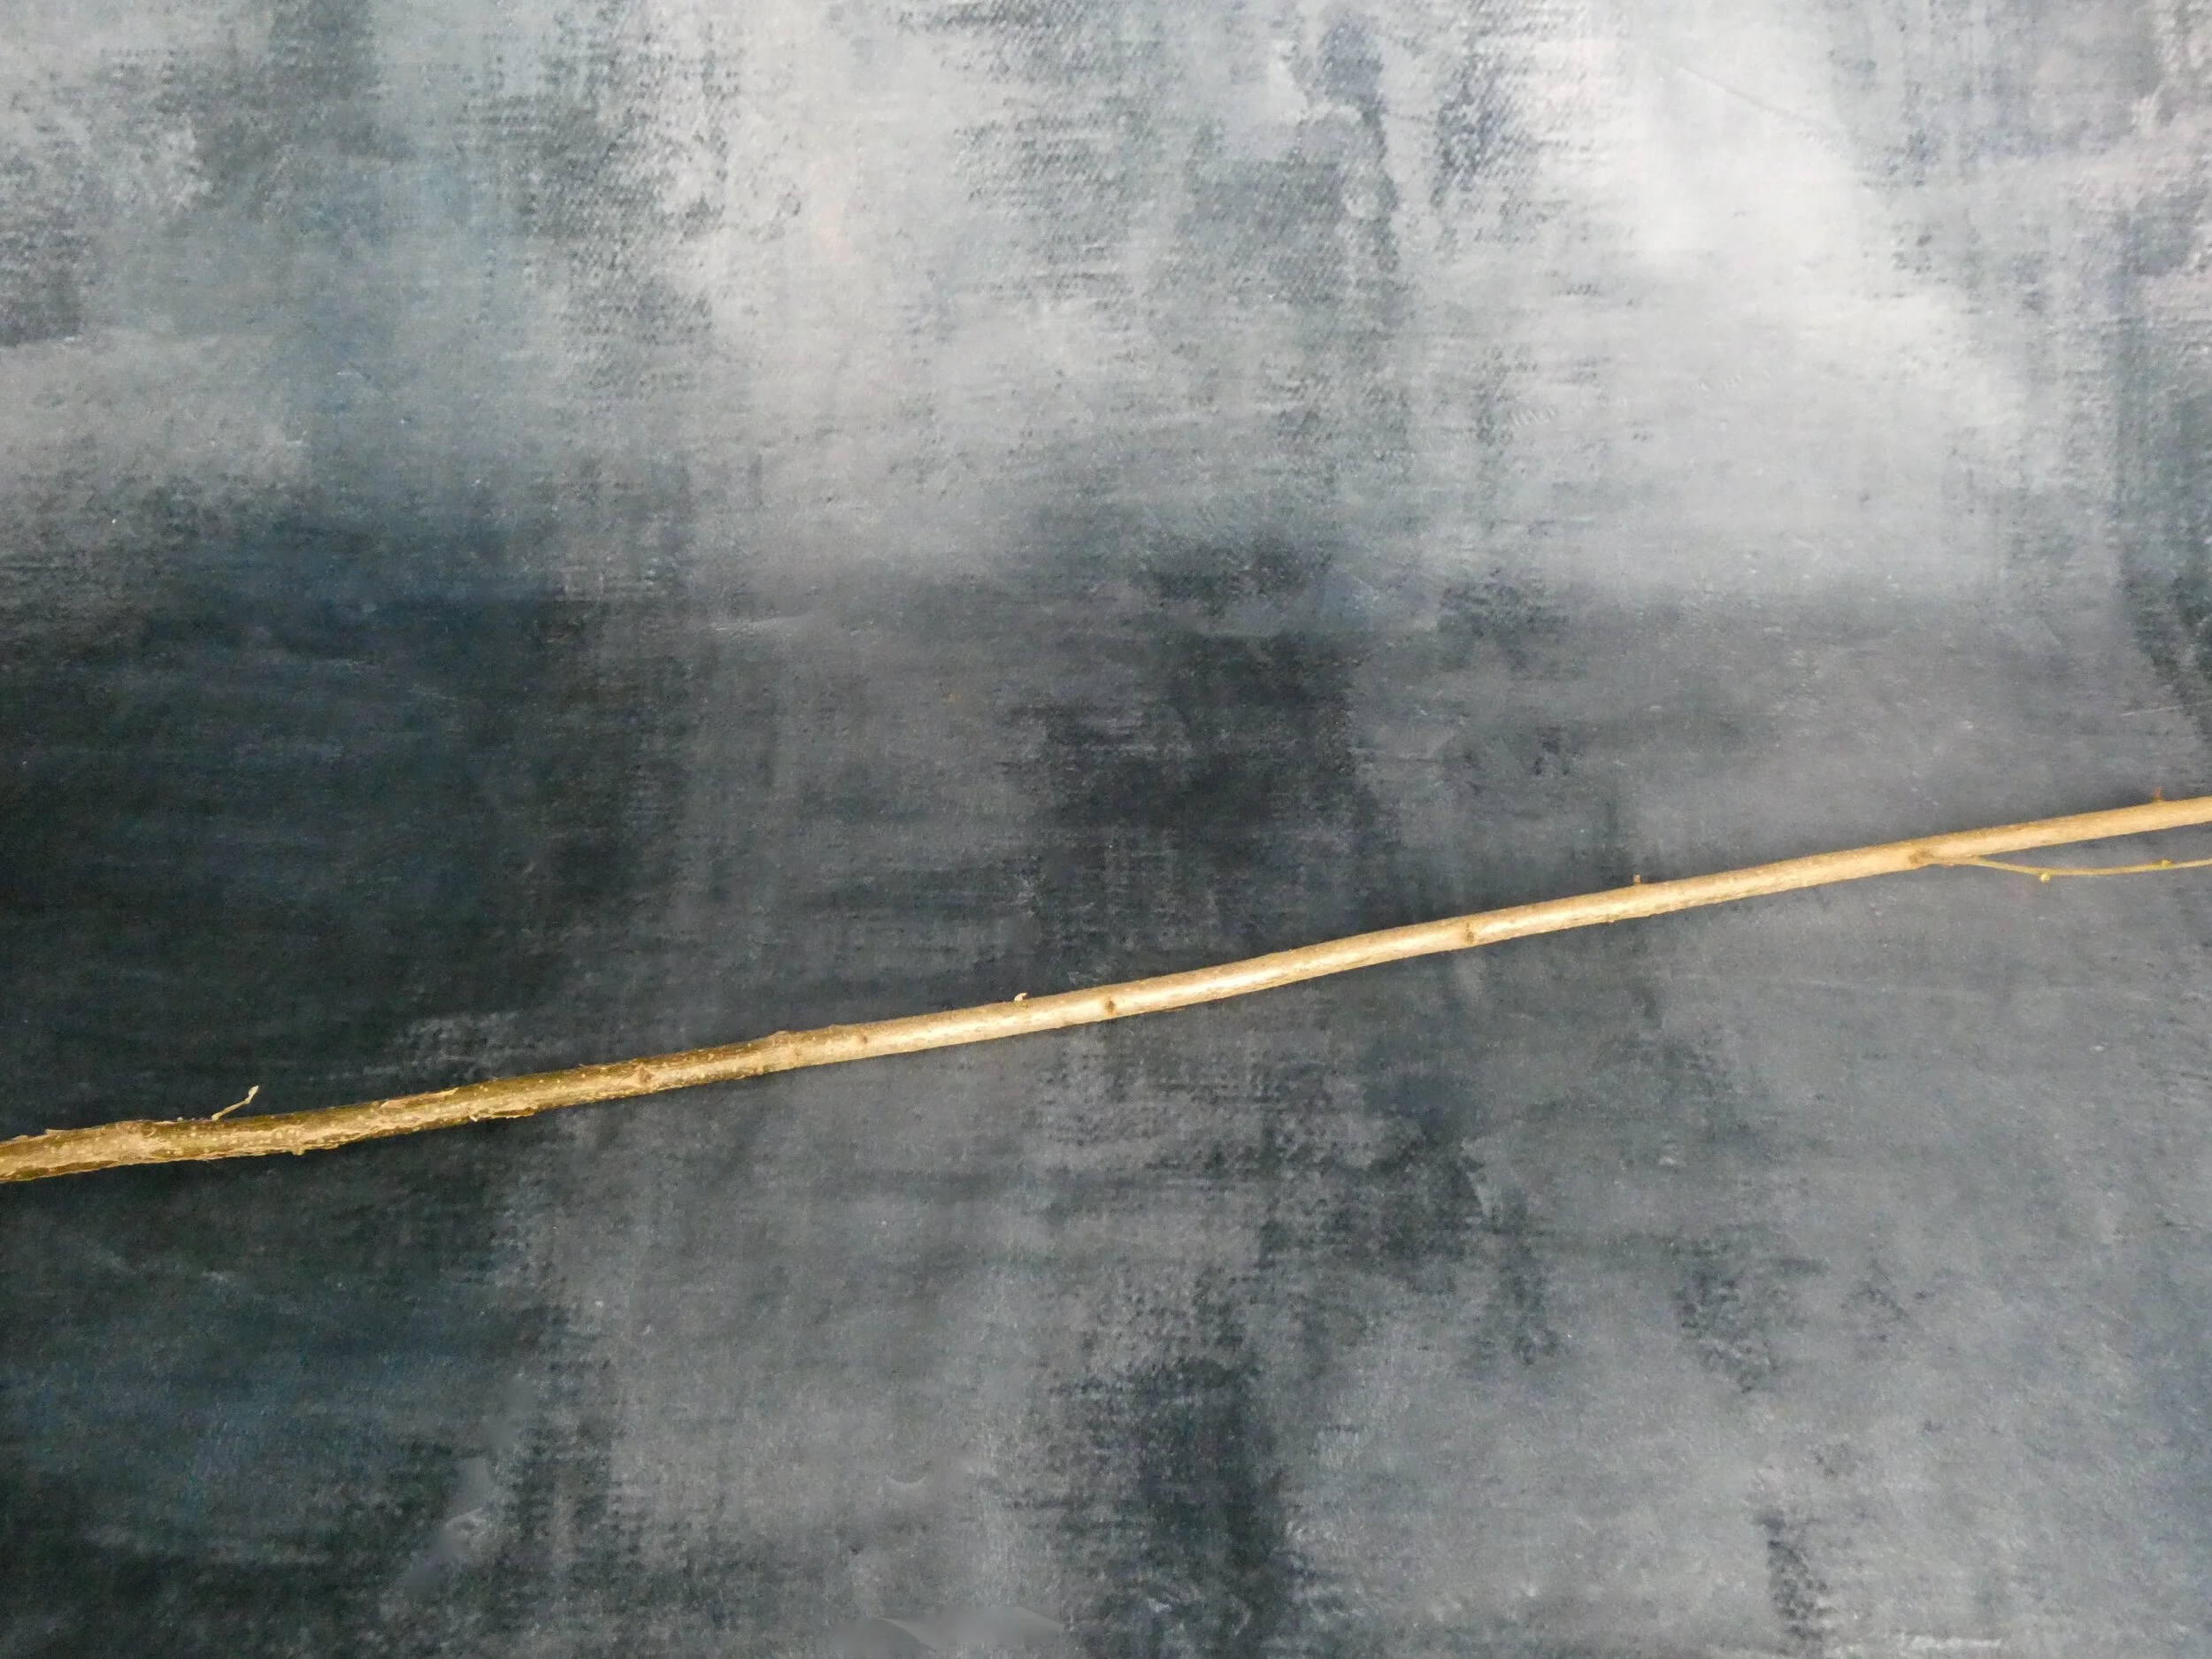
Chose hazel stems which are suitable for the size of circle you want. Thicker for a large circle, thinner for a small one.
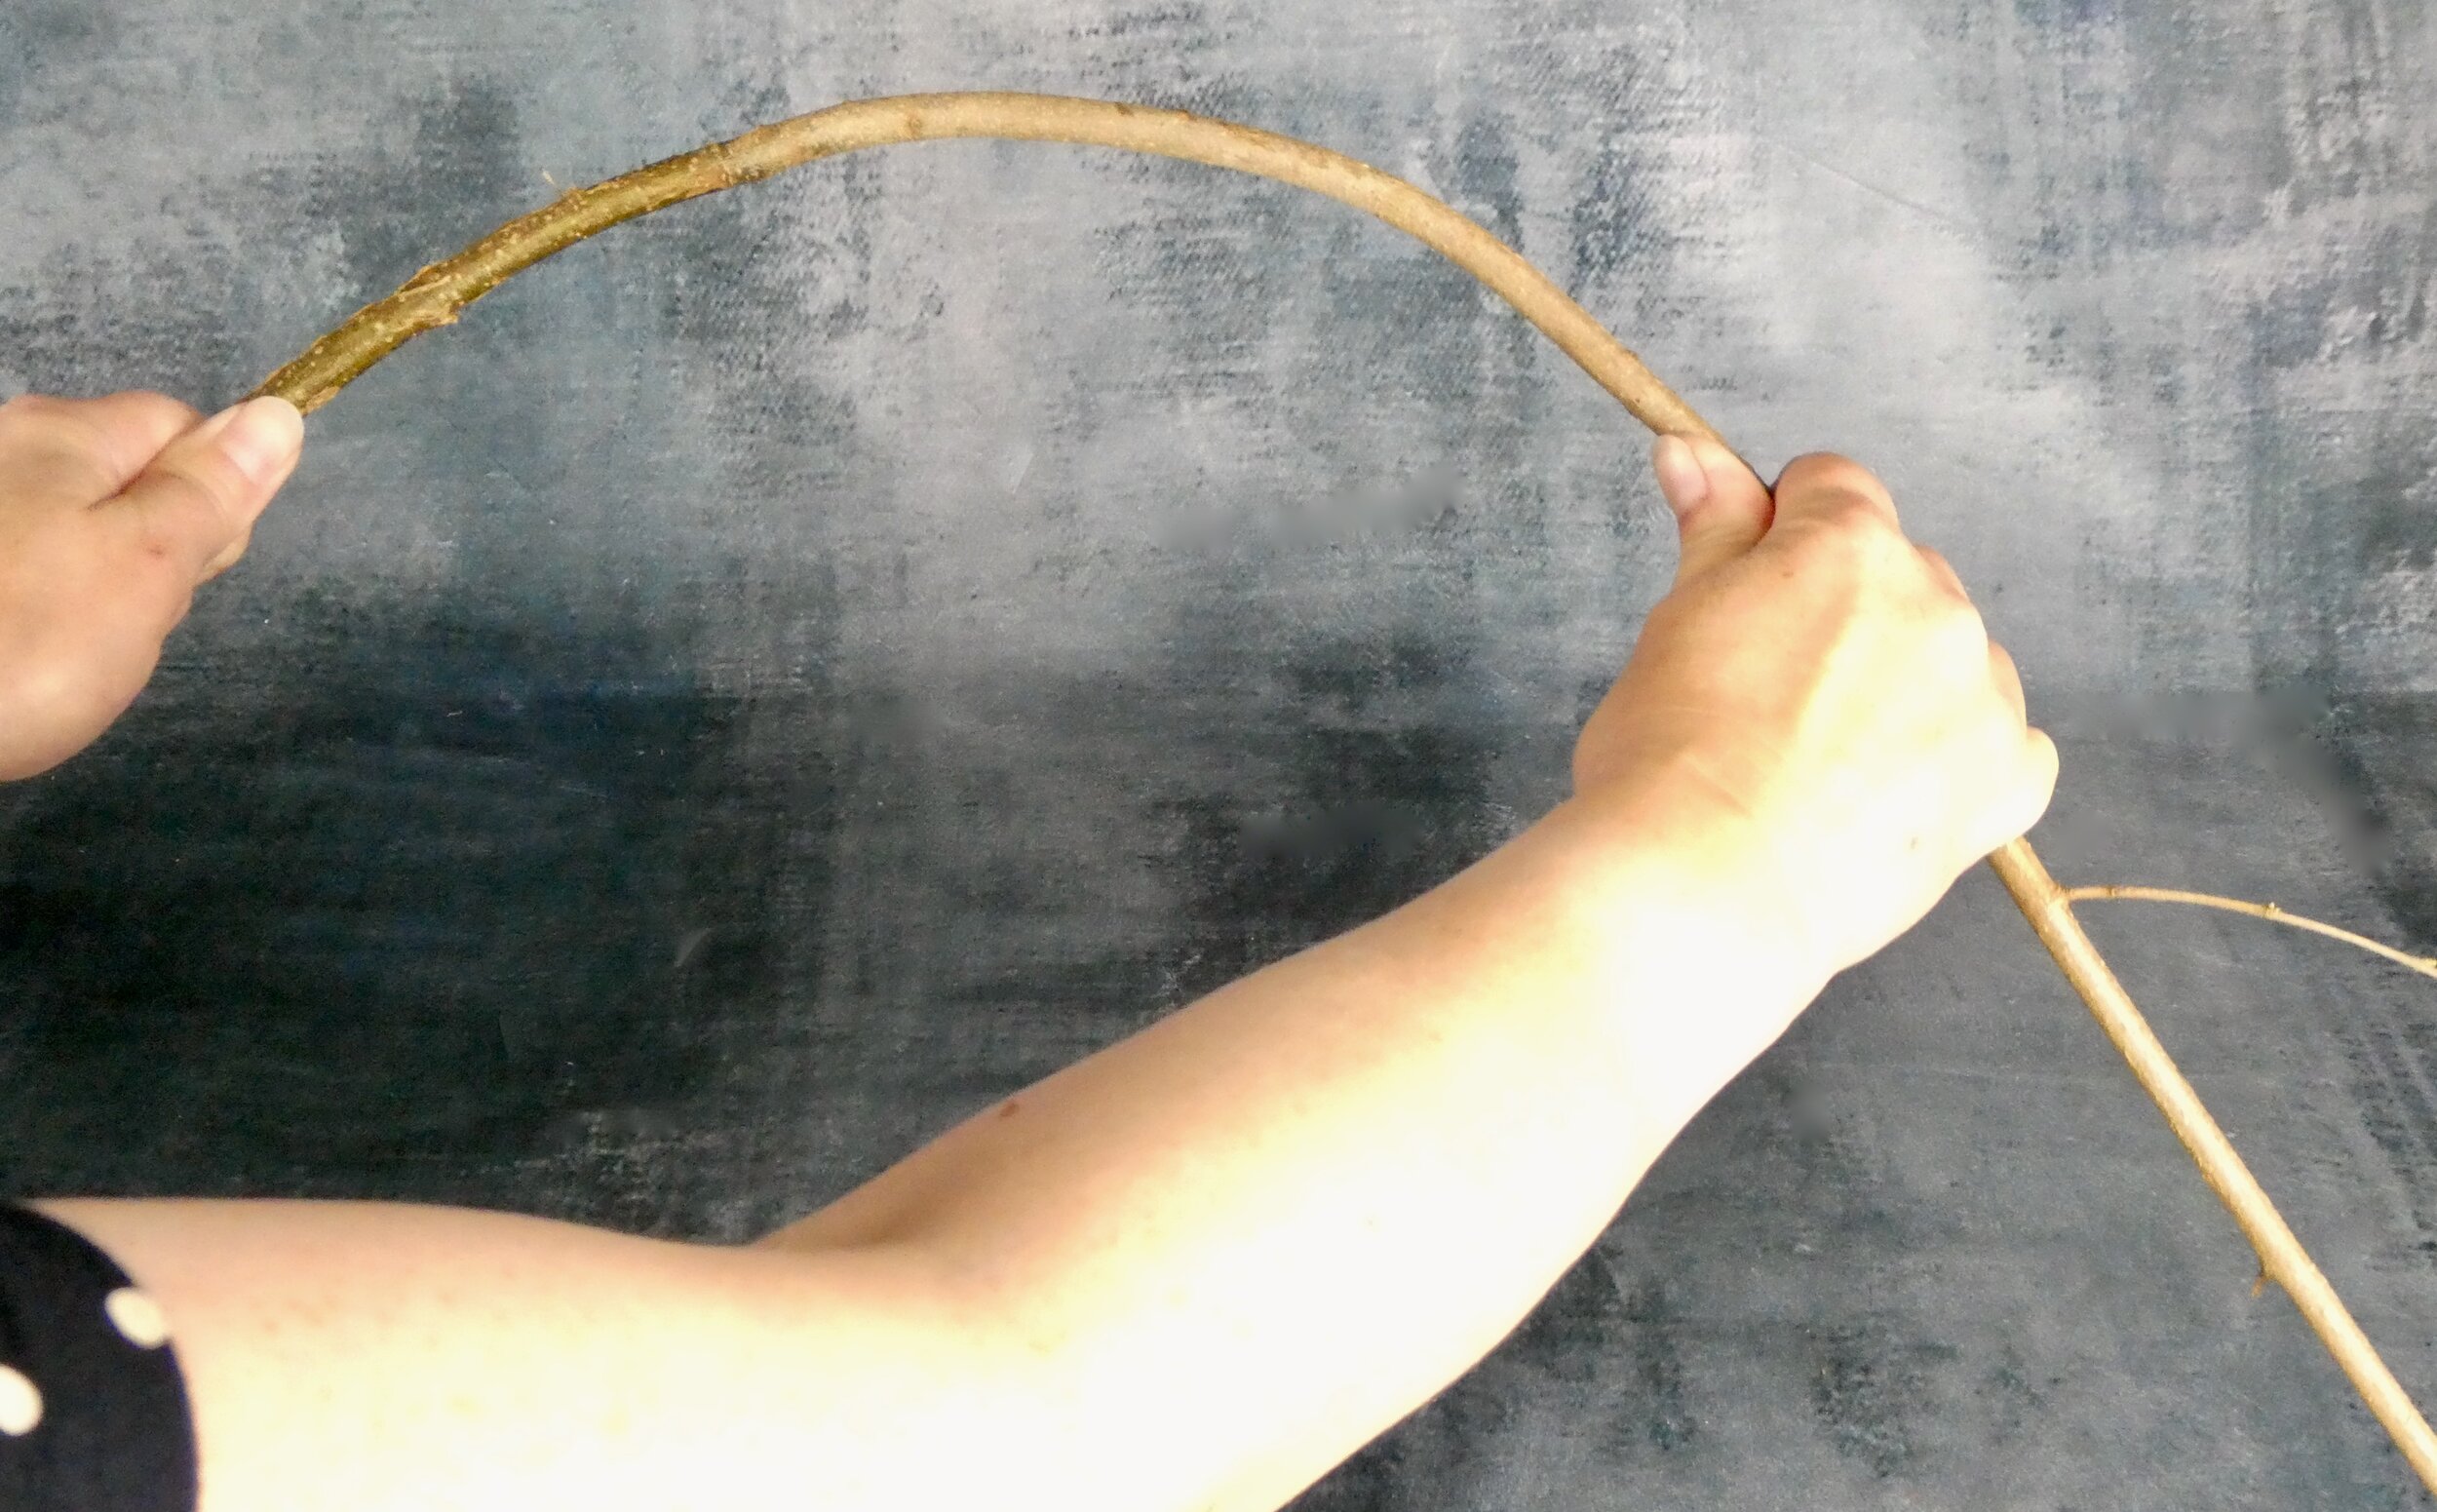
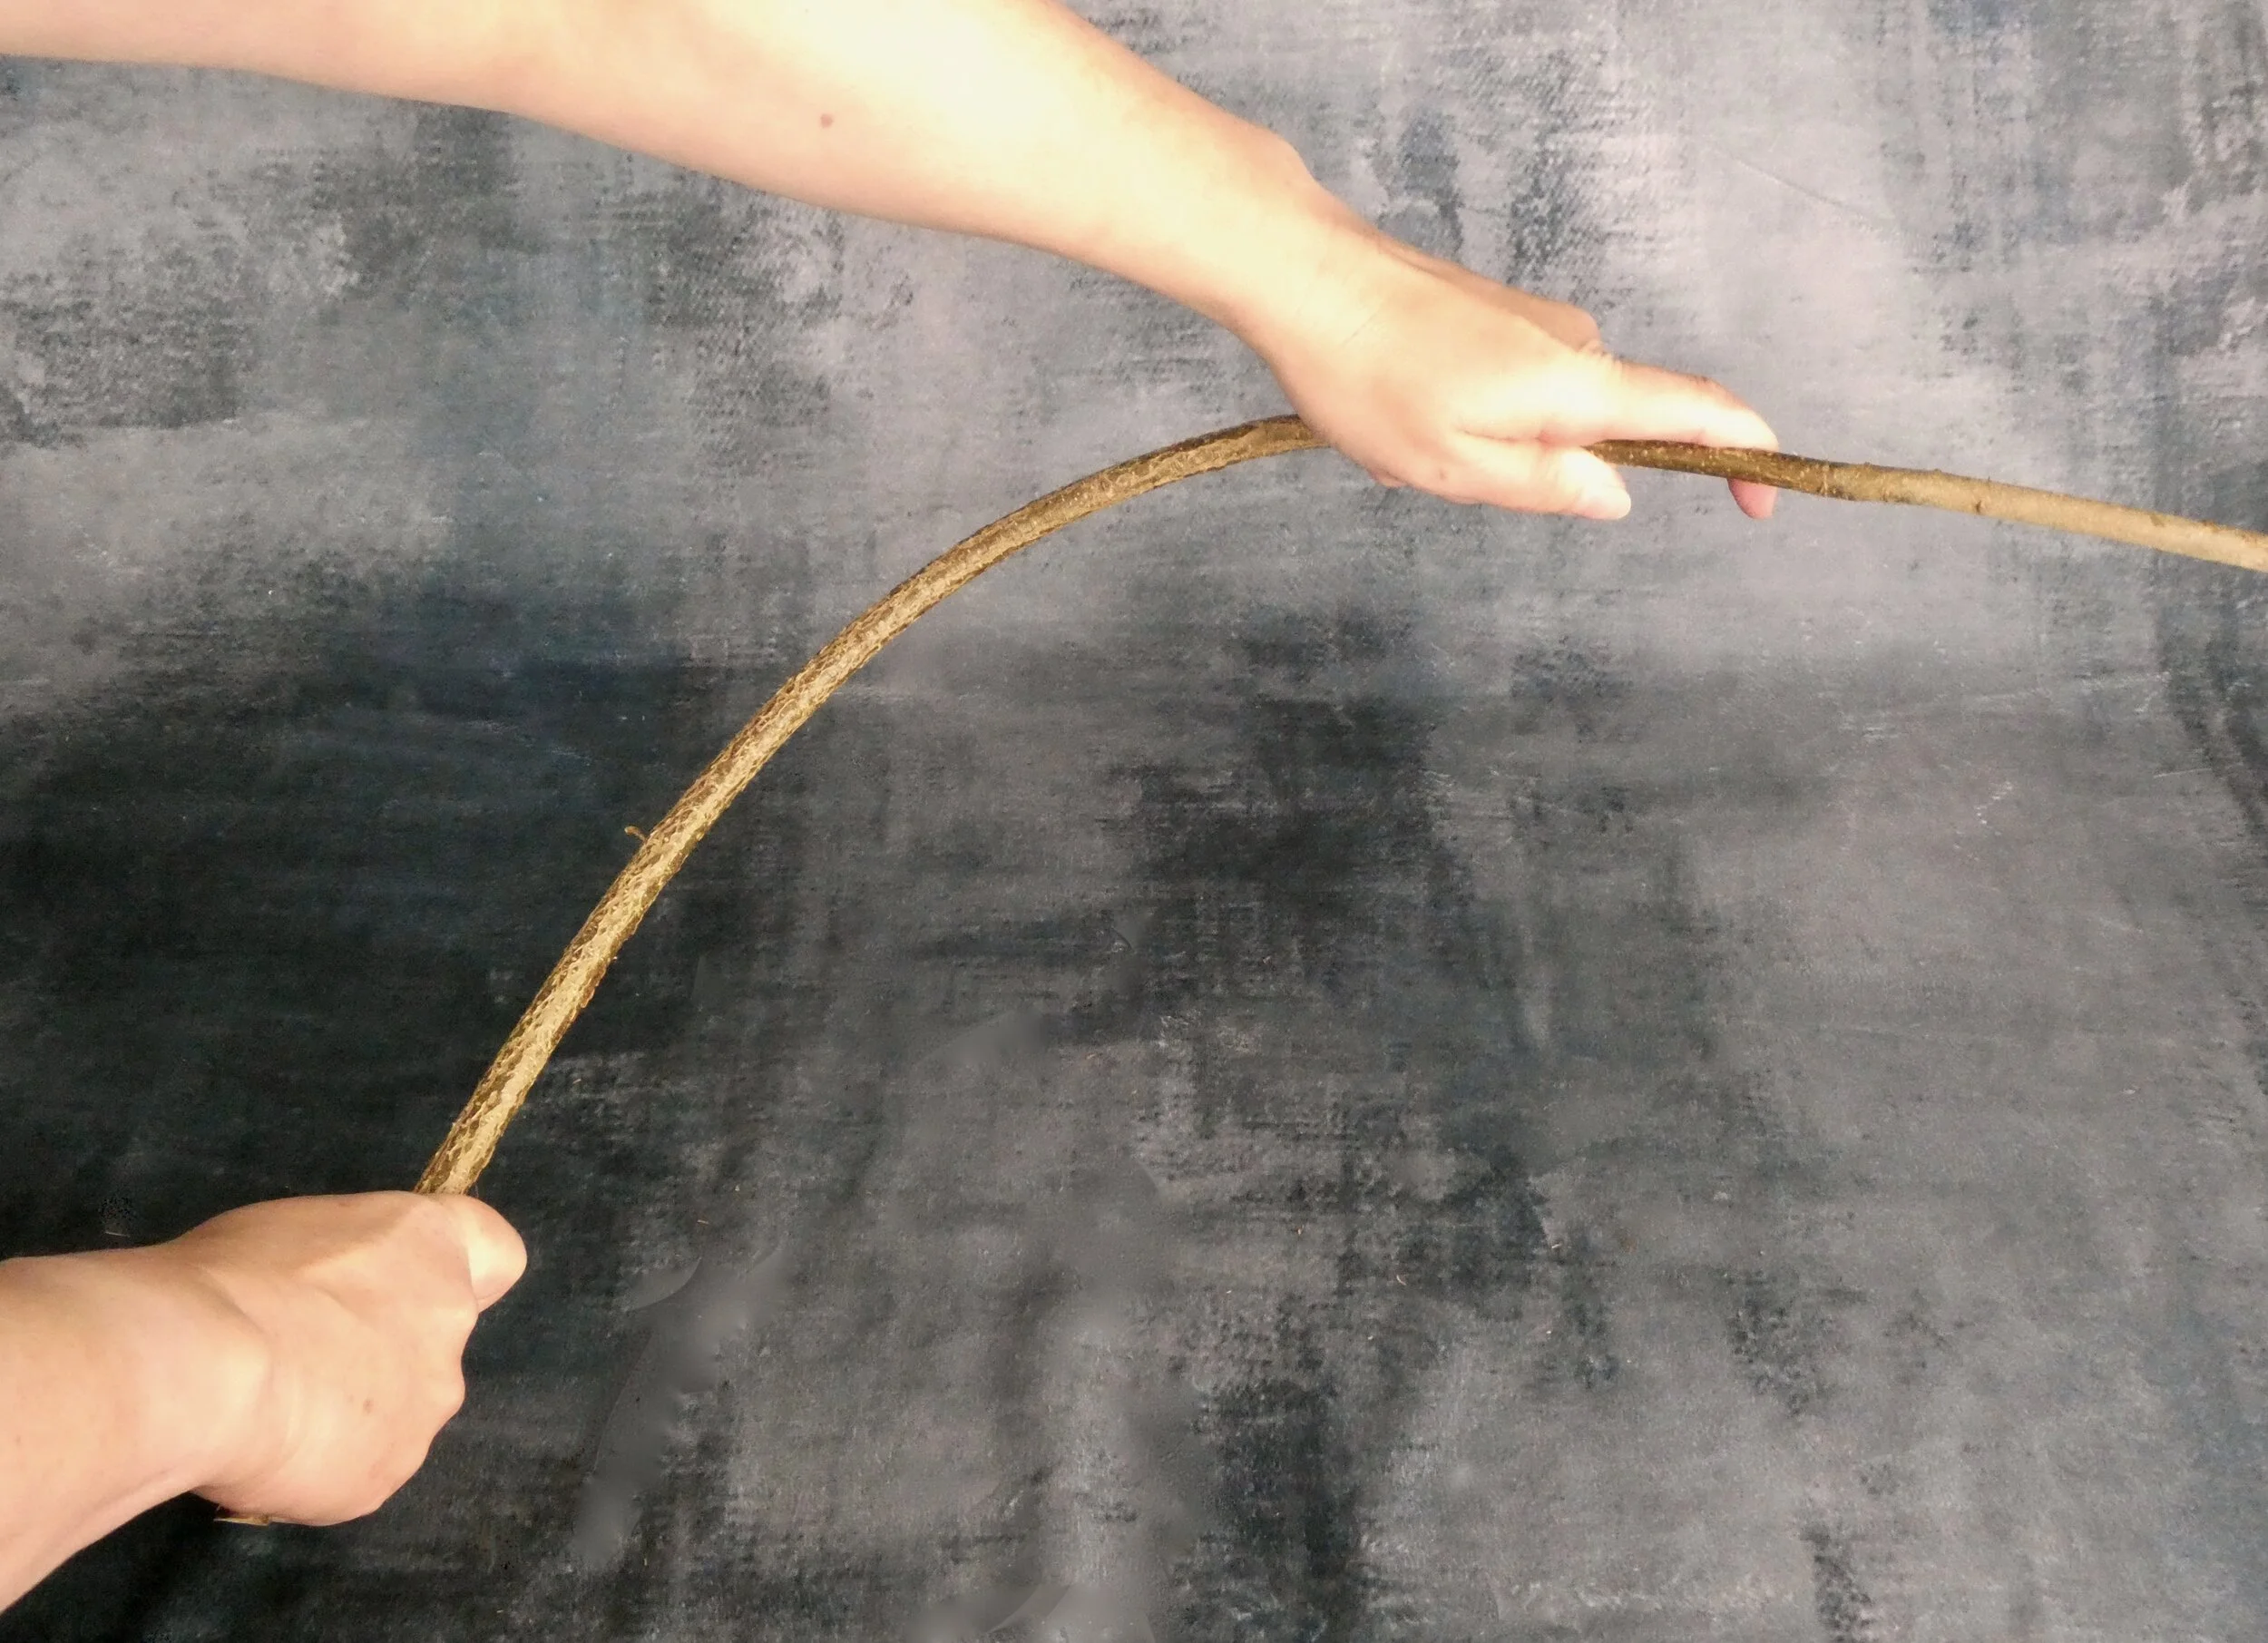
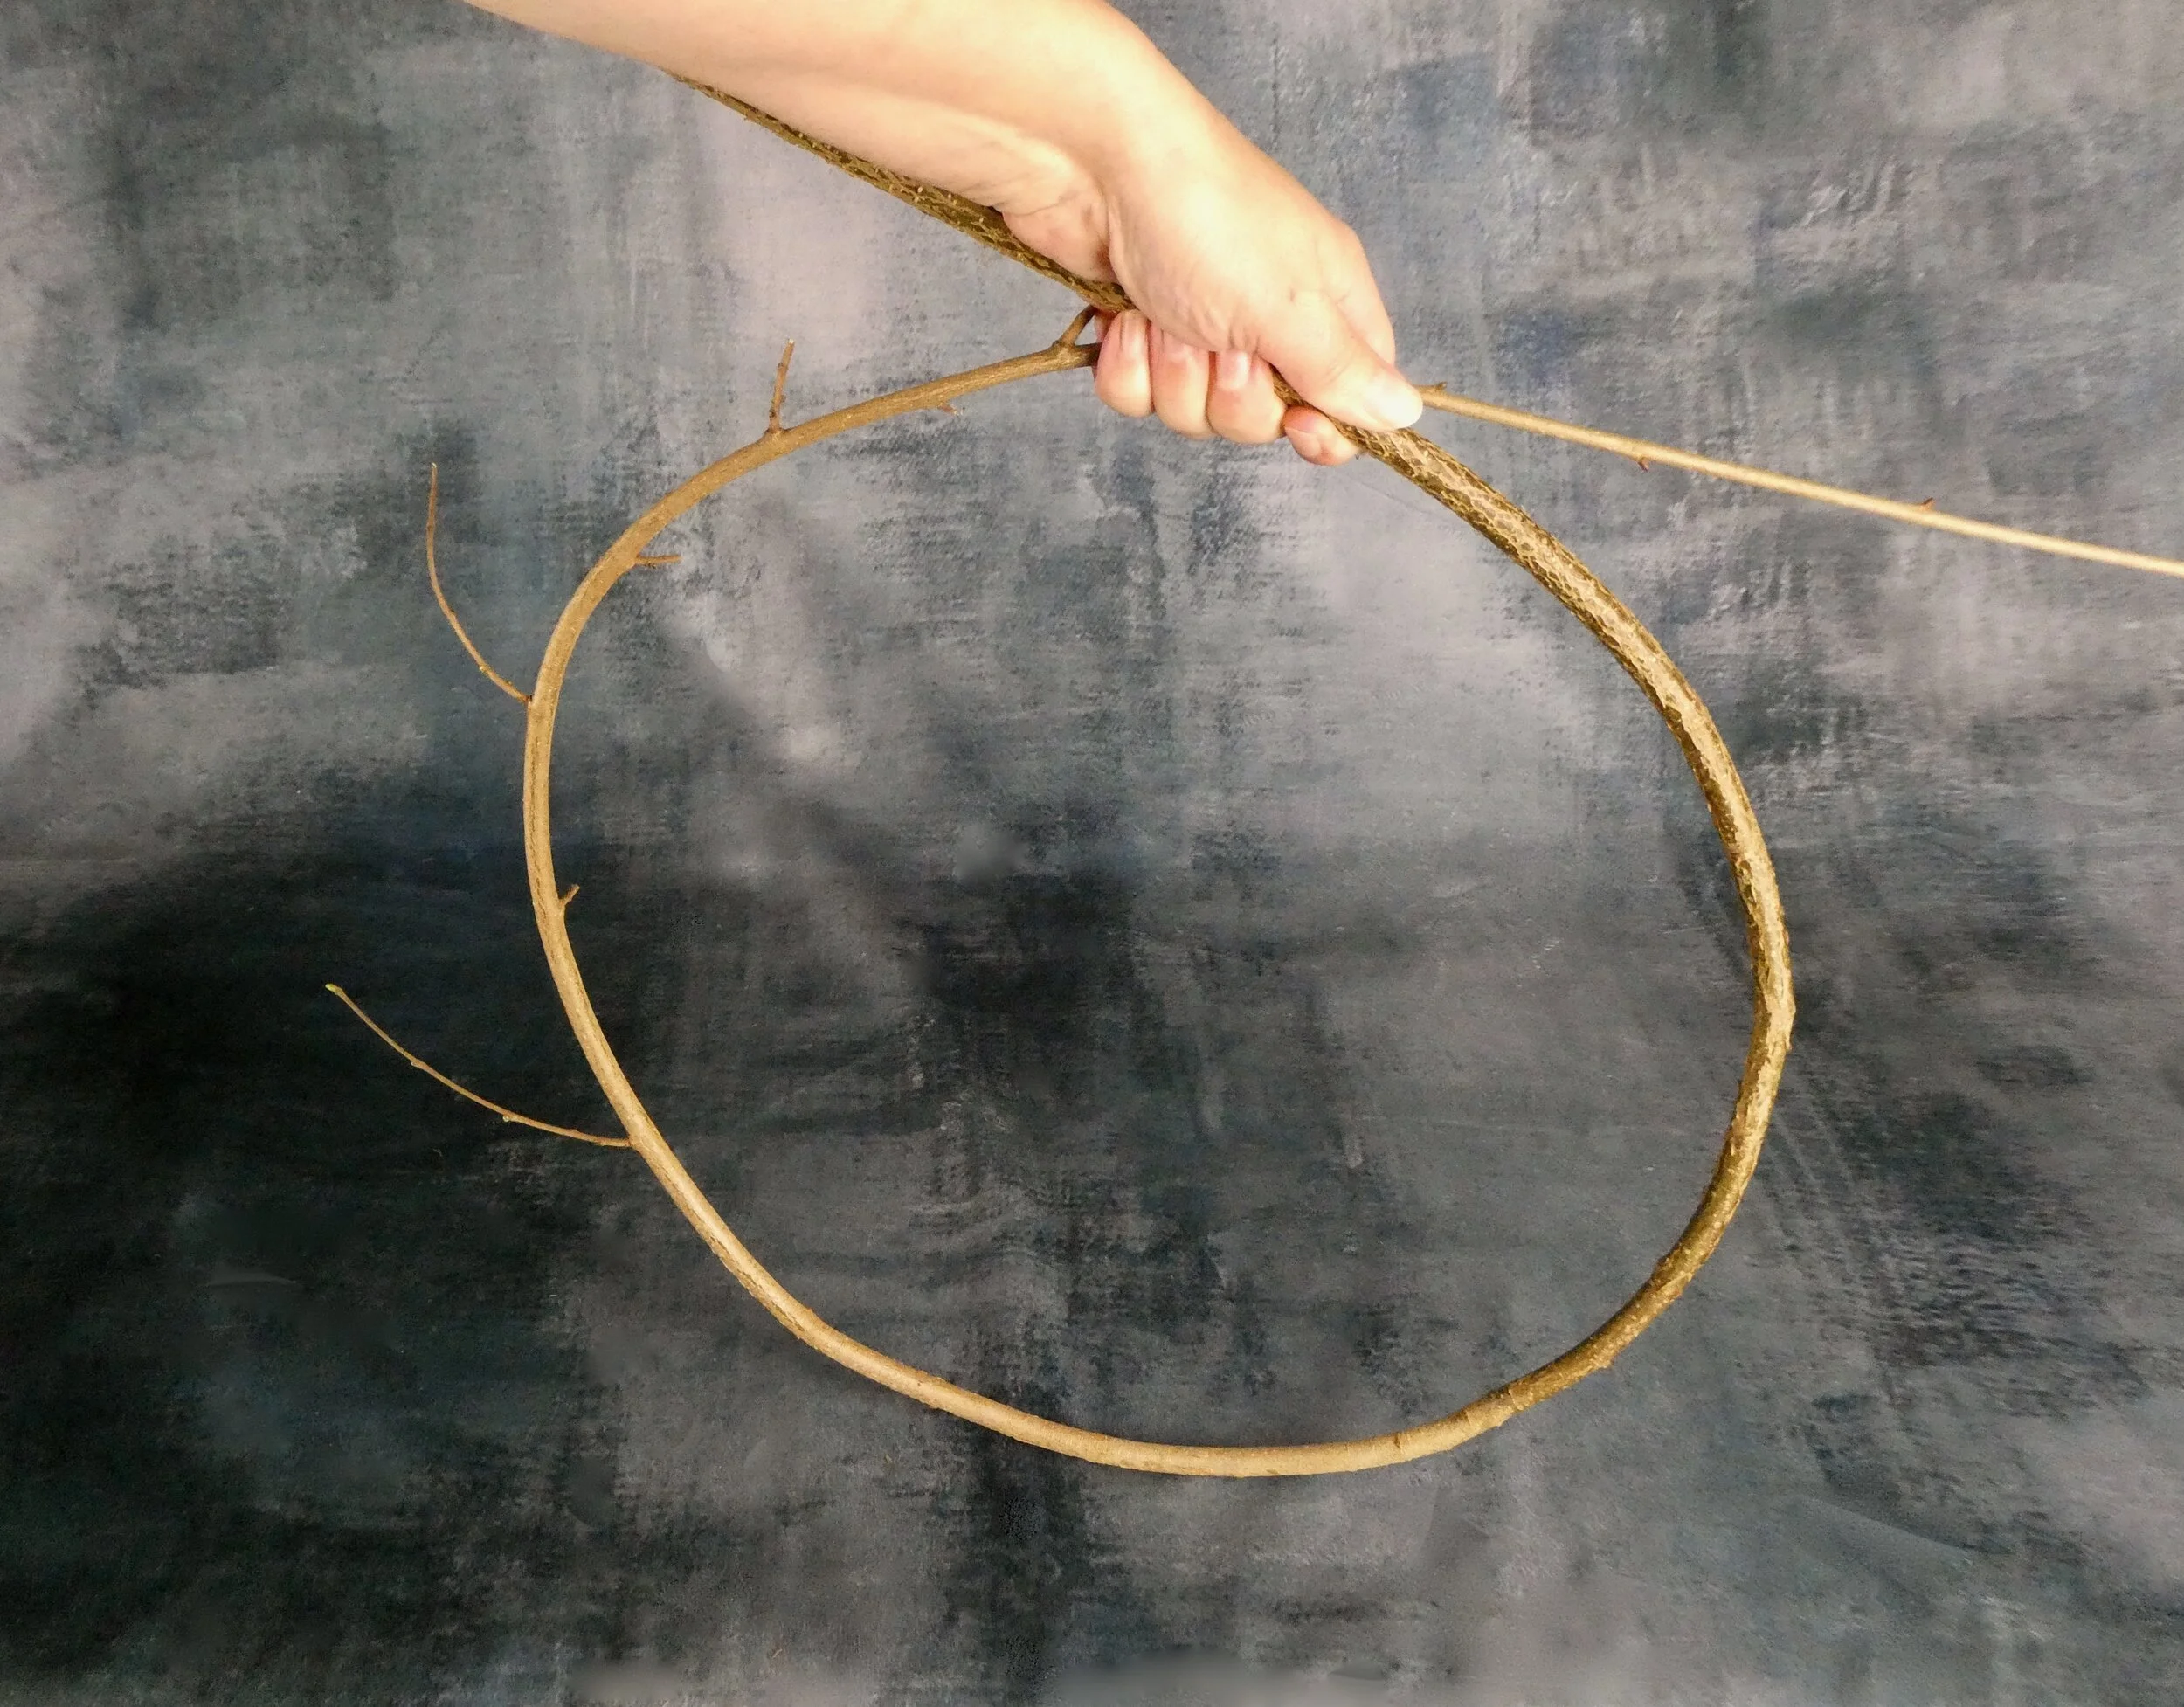
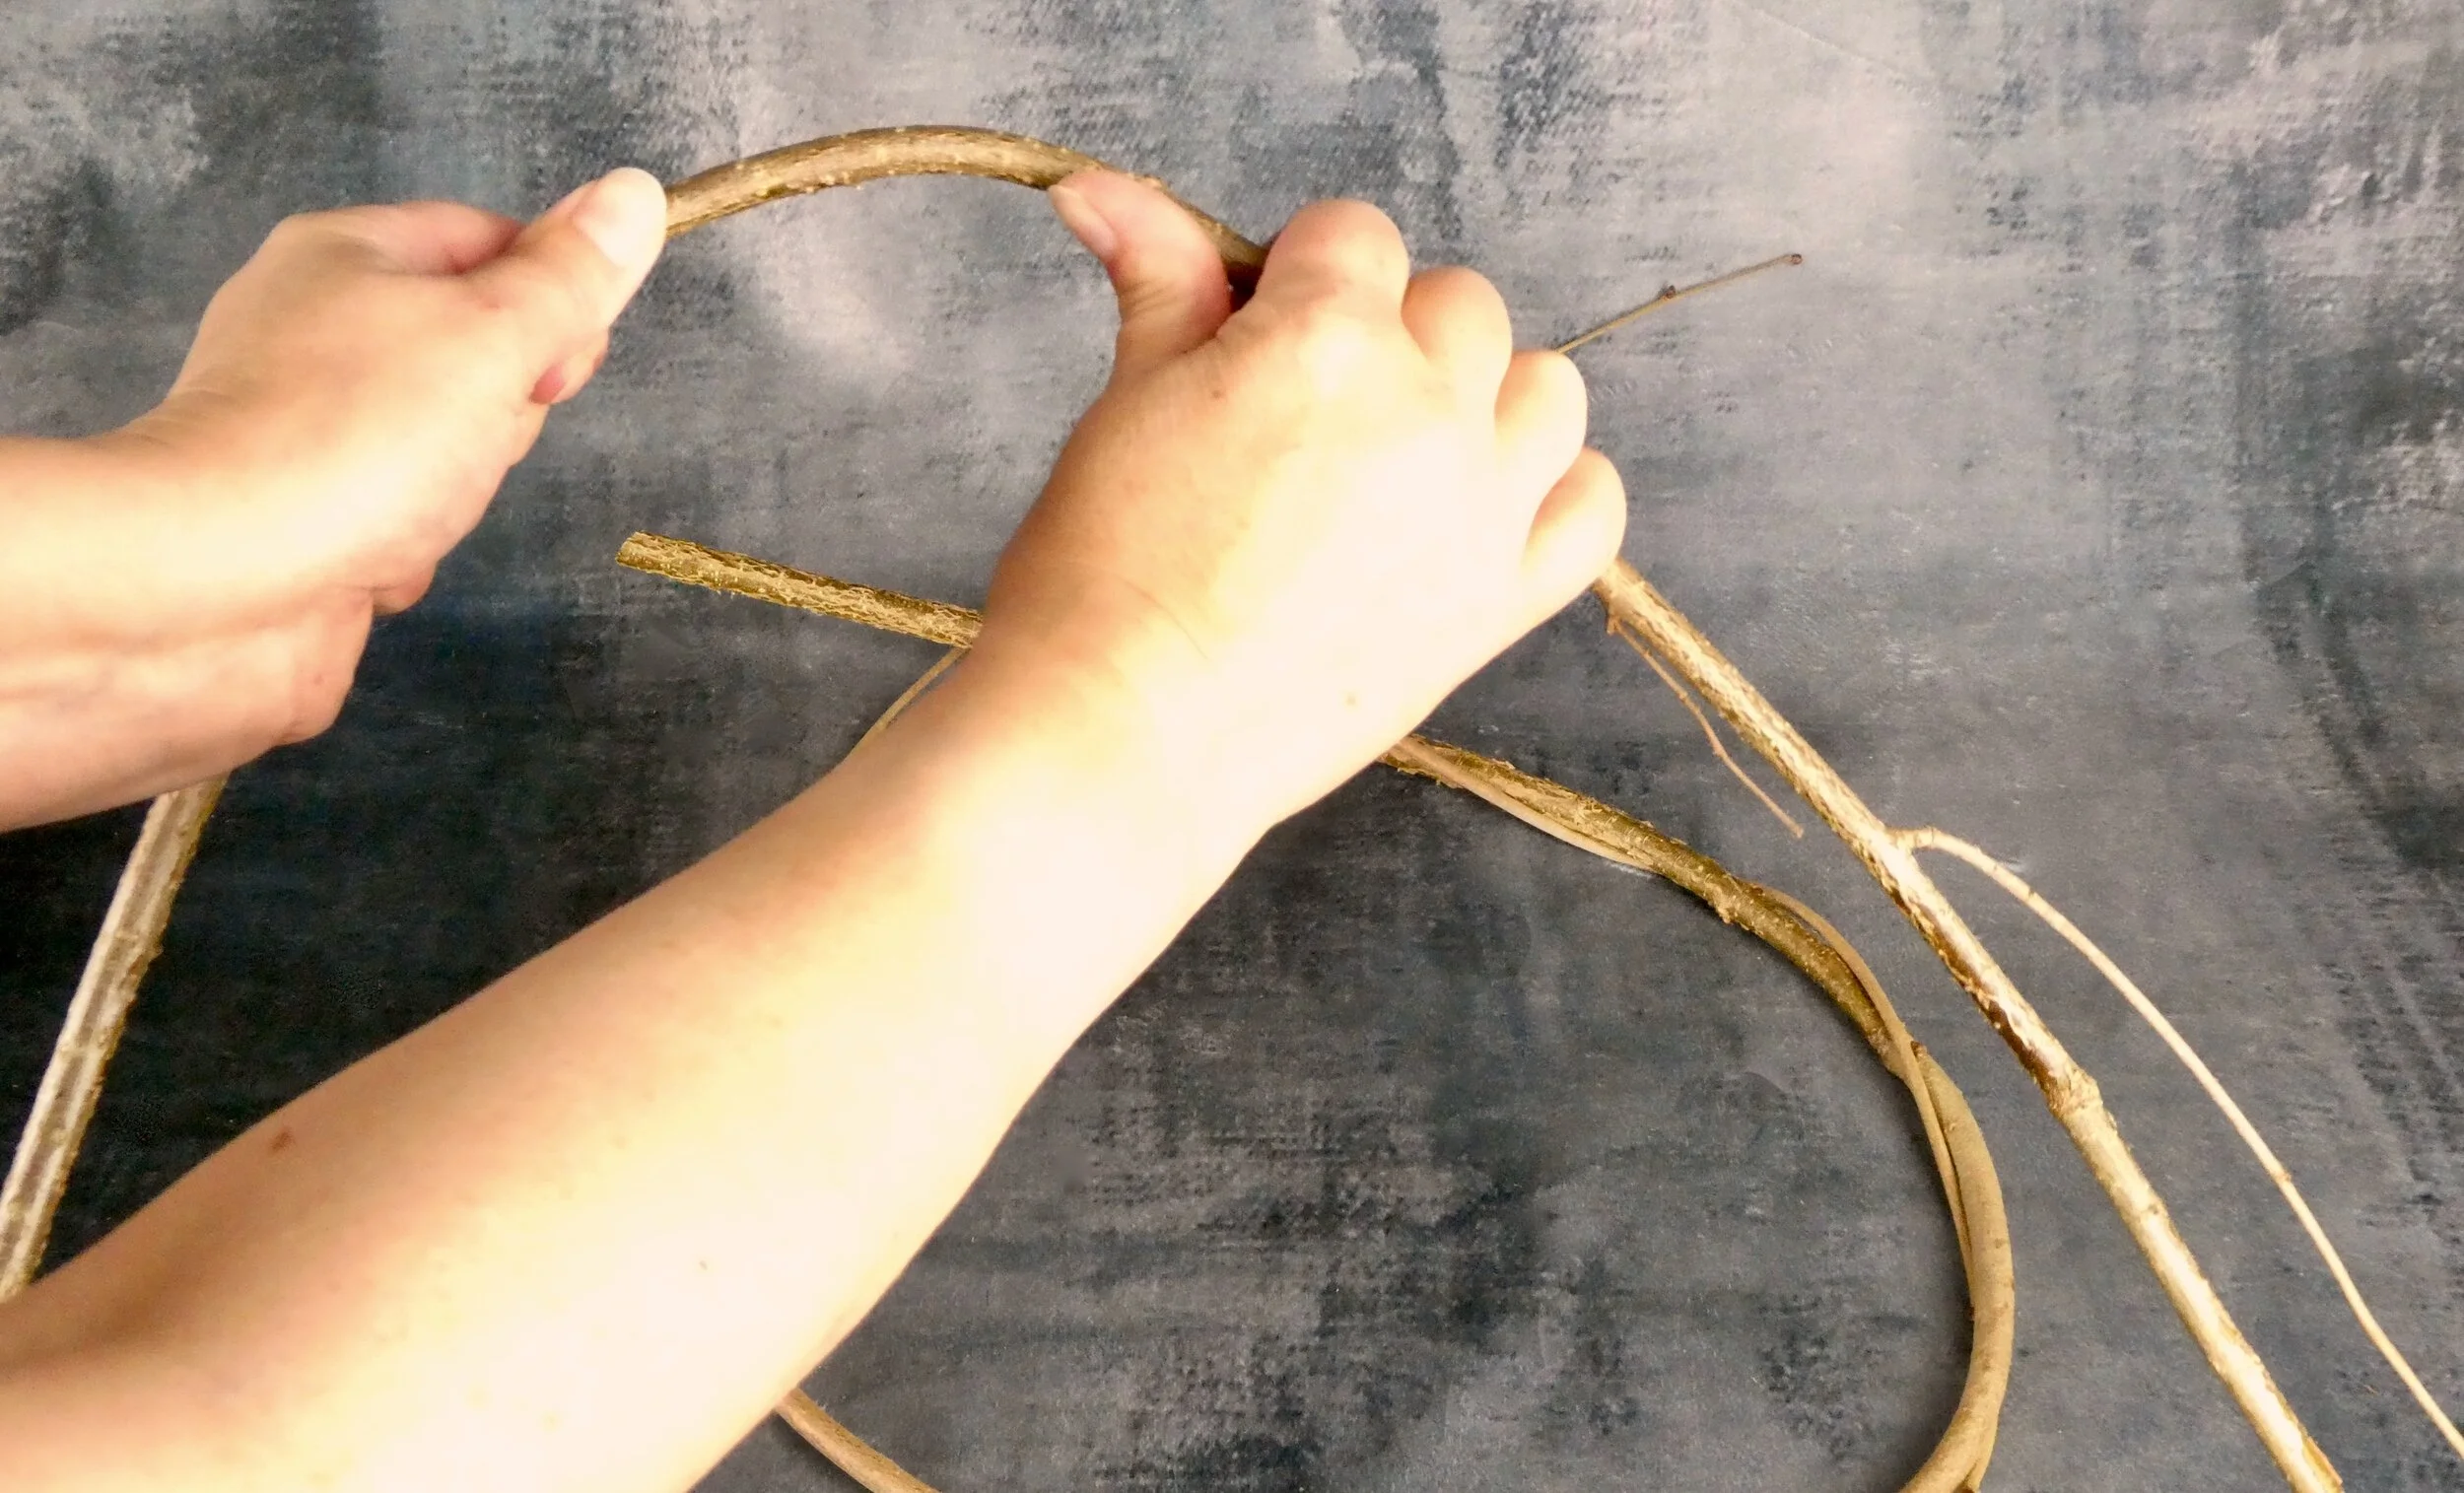
Before working with each hazel stem, bend it gently to start breaking the internal fibres in the direction you want it to curve. You will soon learn how much pressure is correct. Too much and it will break immediately, too little and it could break whilst you are adding that stem to your wreath.
Don’t worry about a few breakages. You can probably still use the stem (or part of it) and cut off any sections which break as you weave.
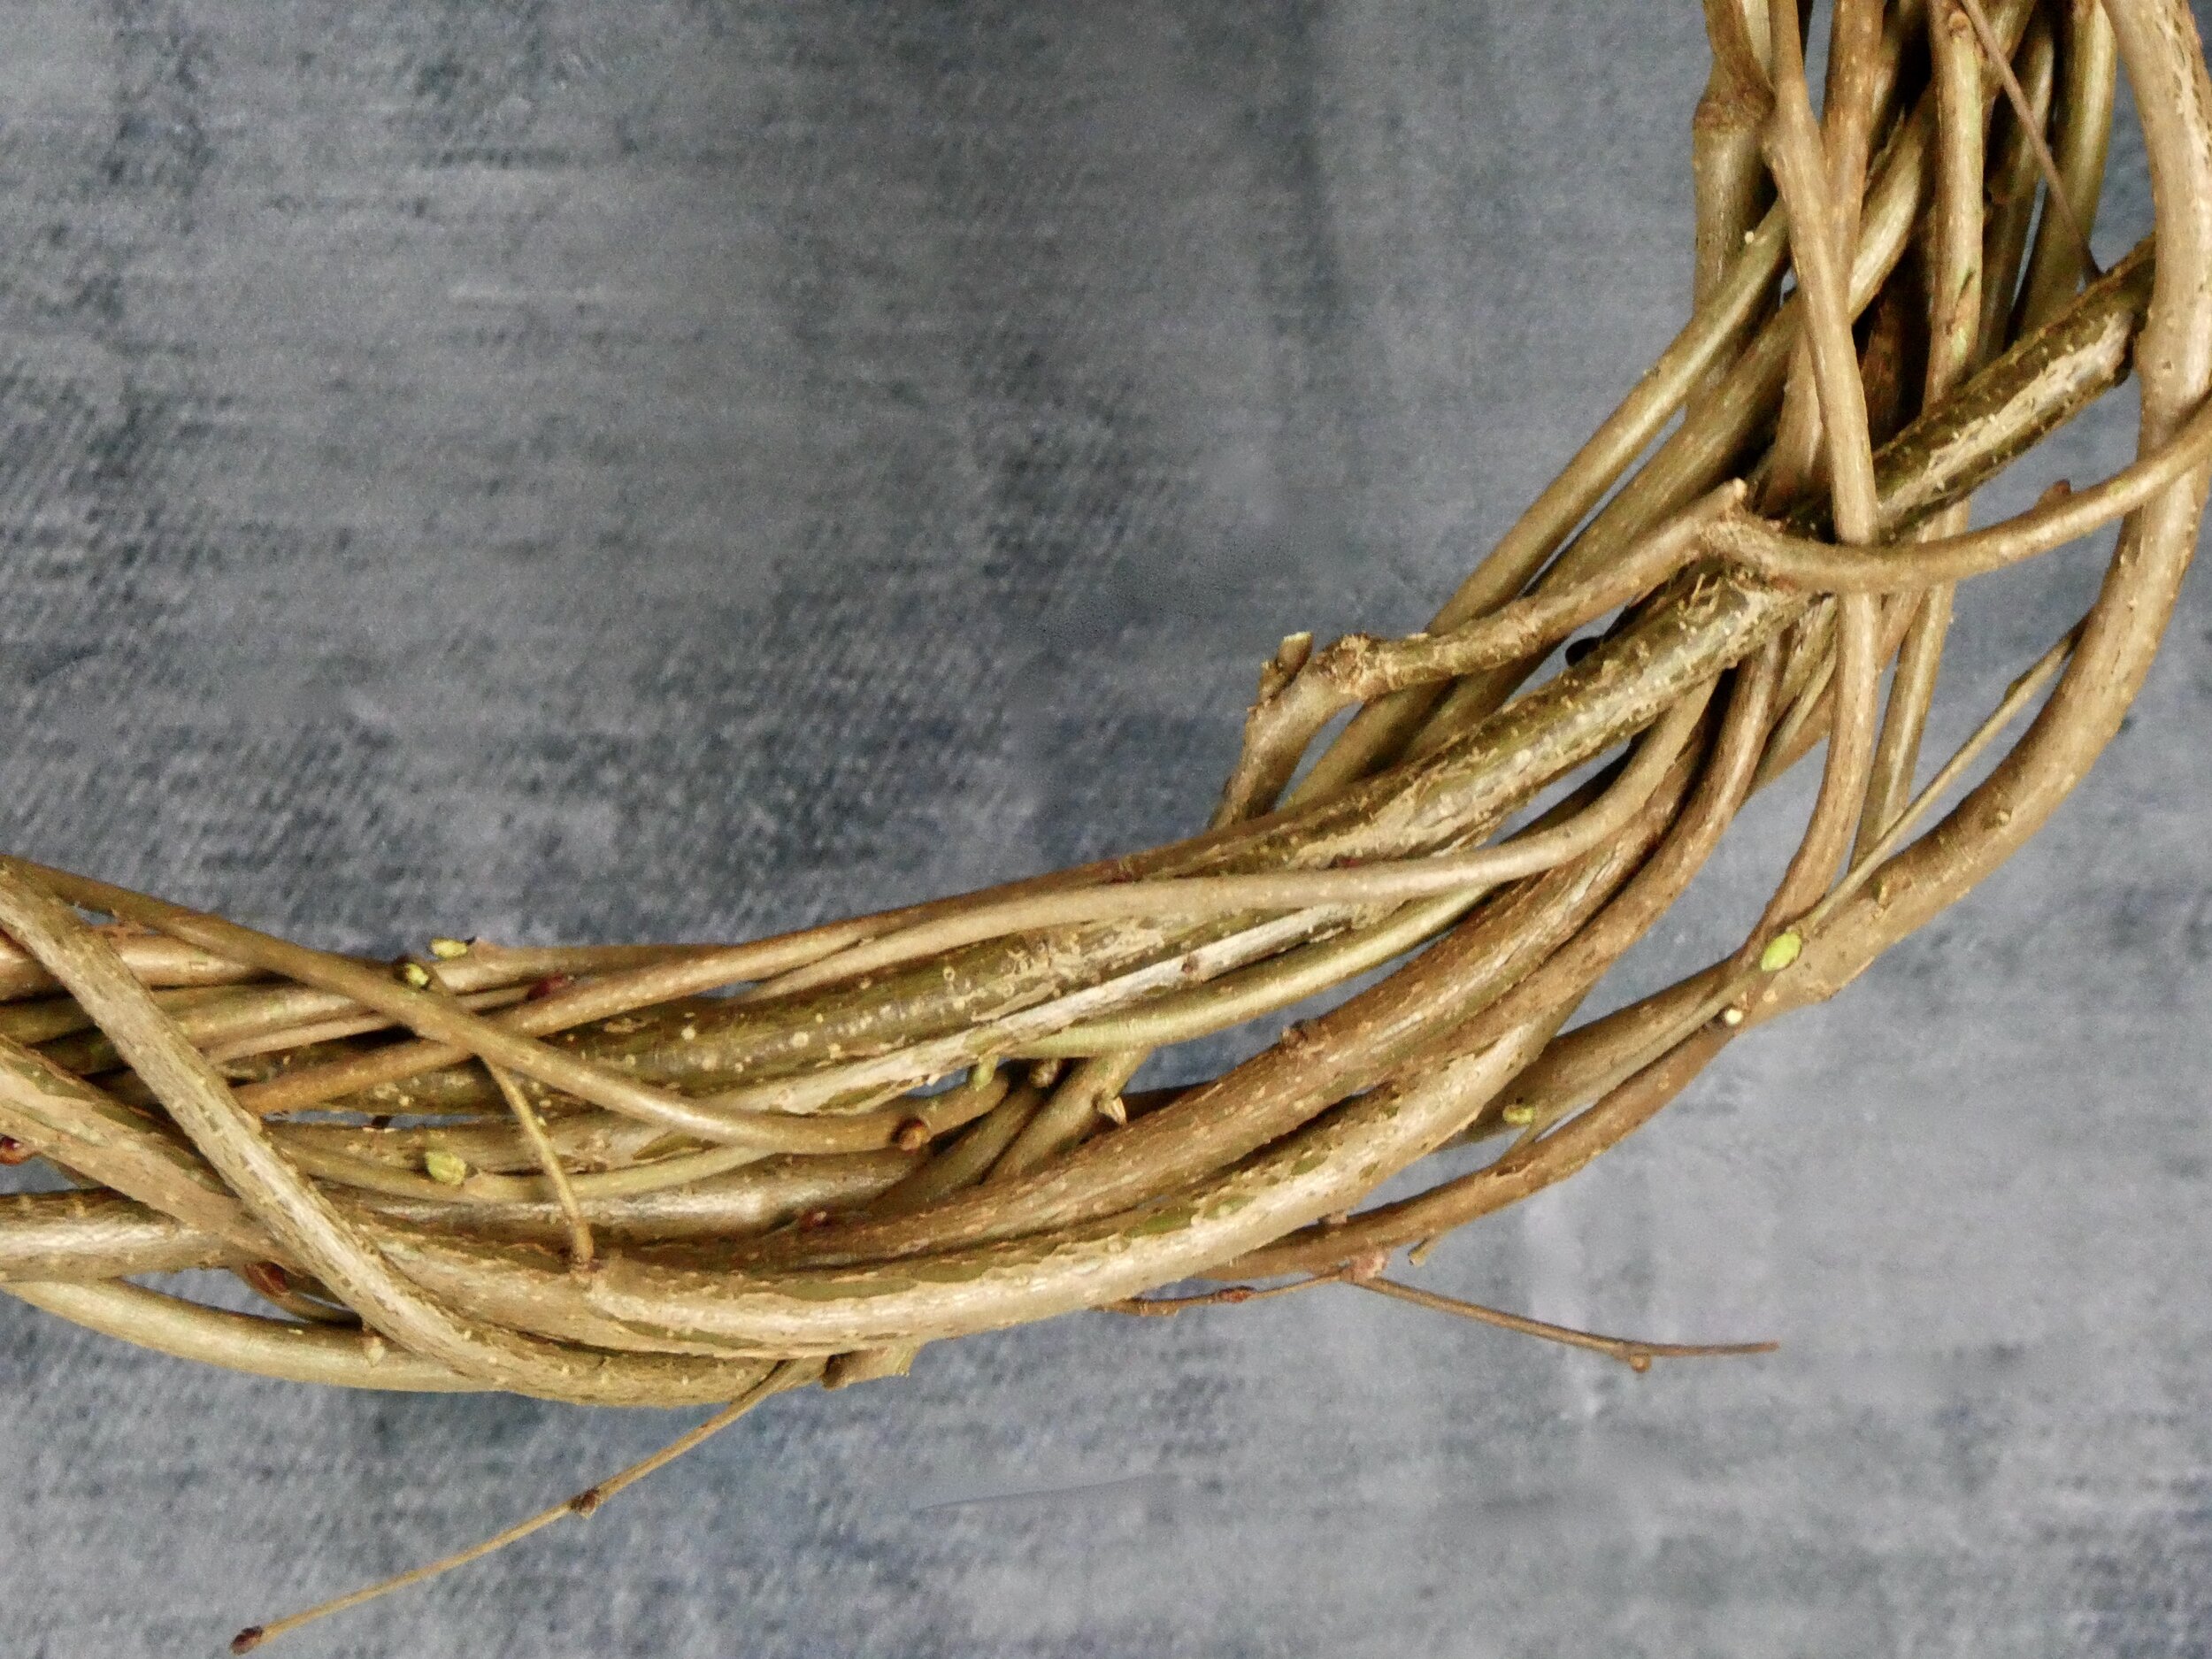
Decide whether to remove side shoots before you start work. I like to leave most on for a more rustic look. Cutting them all off will make your wreath smoother in finish.
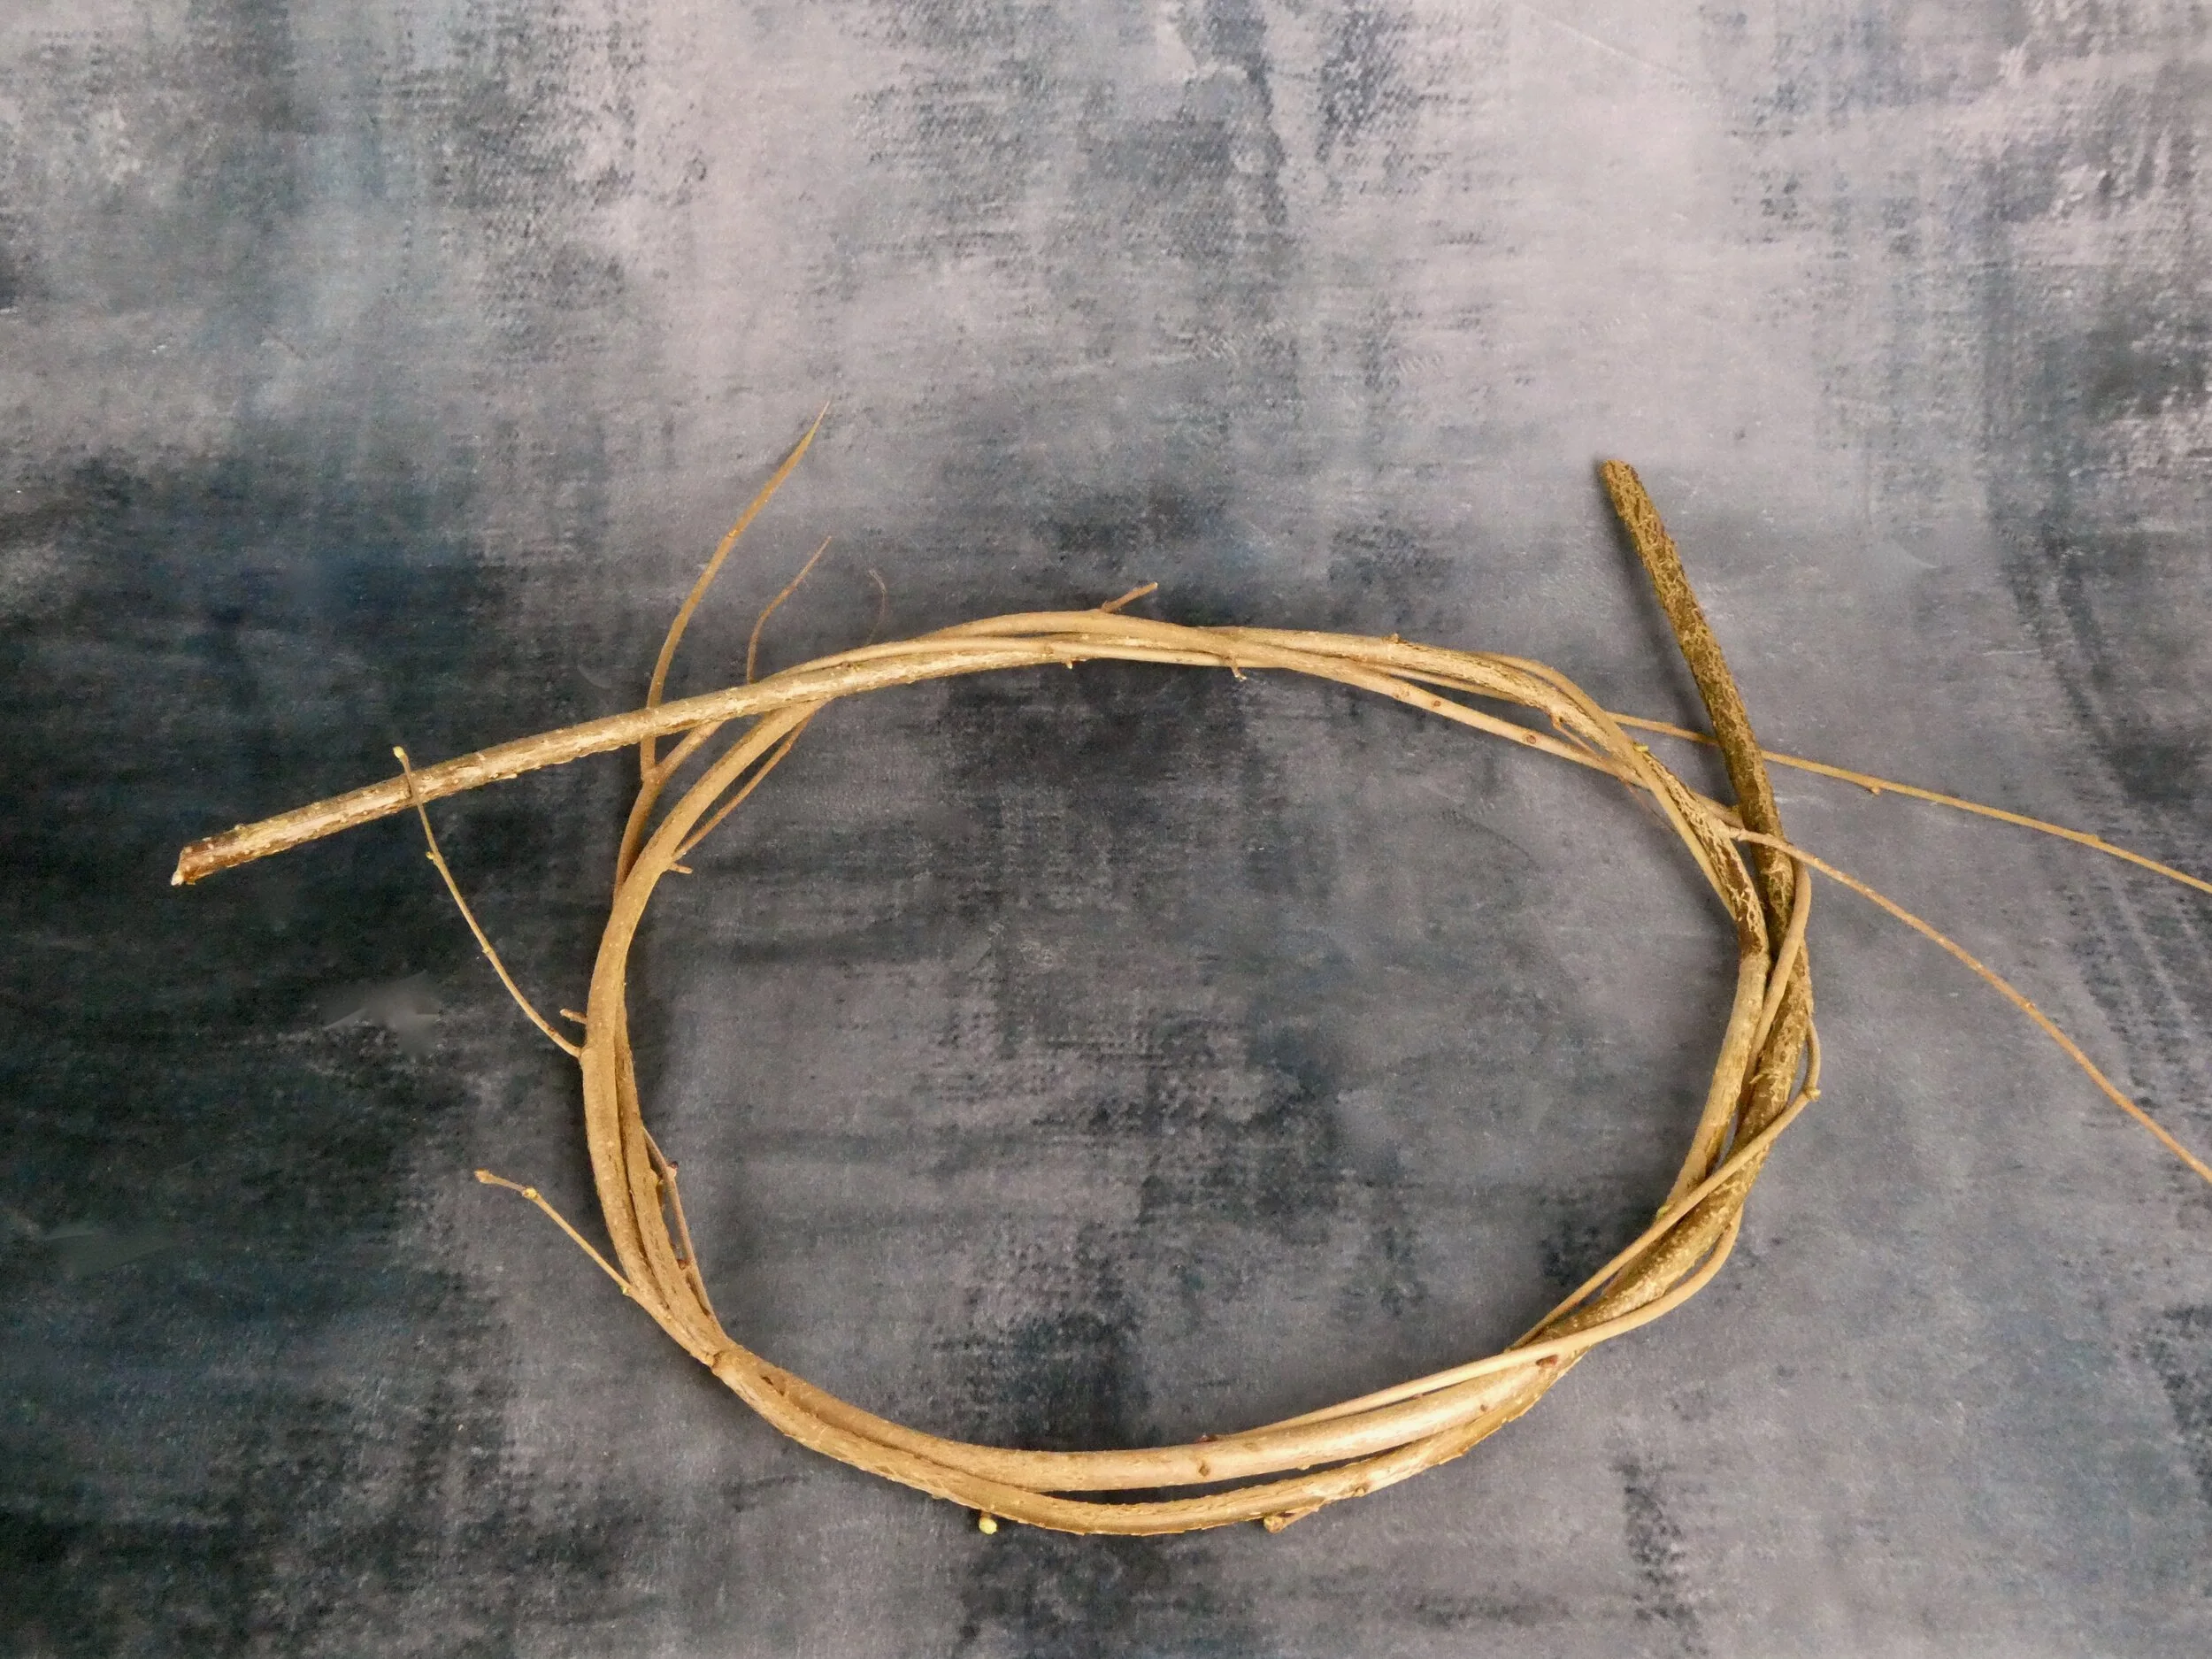
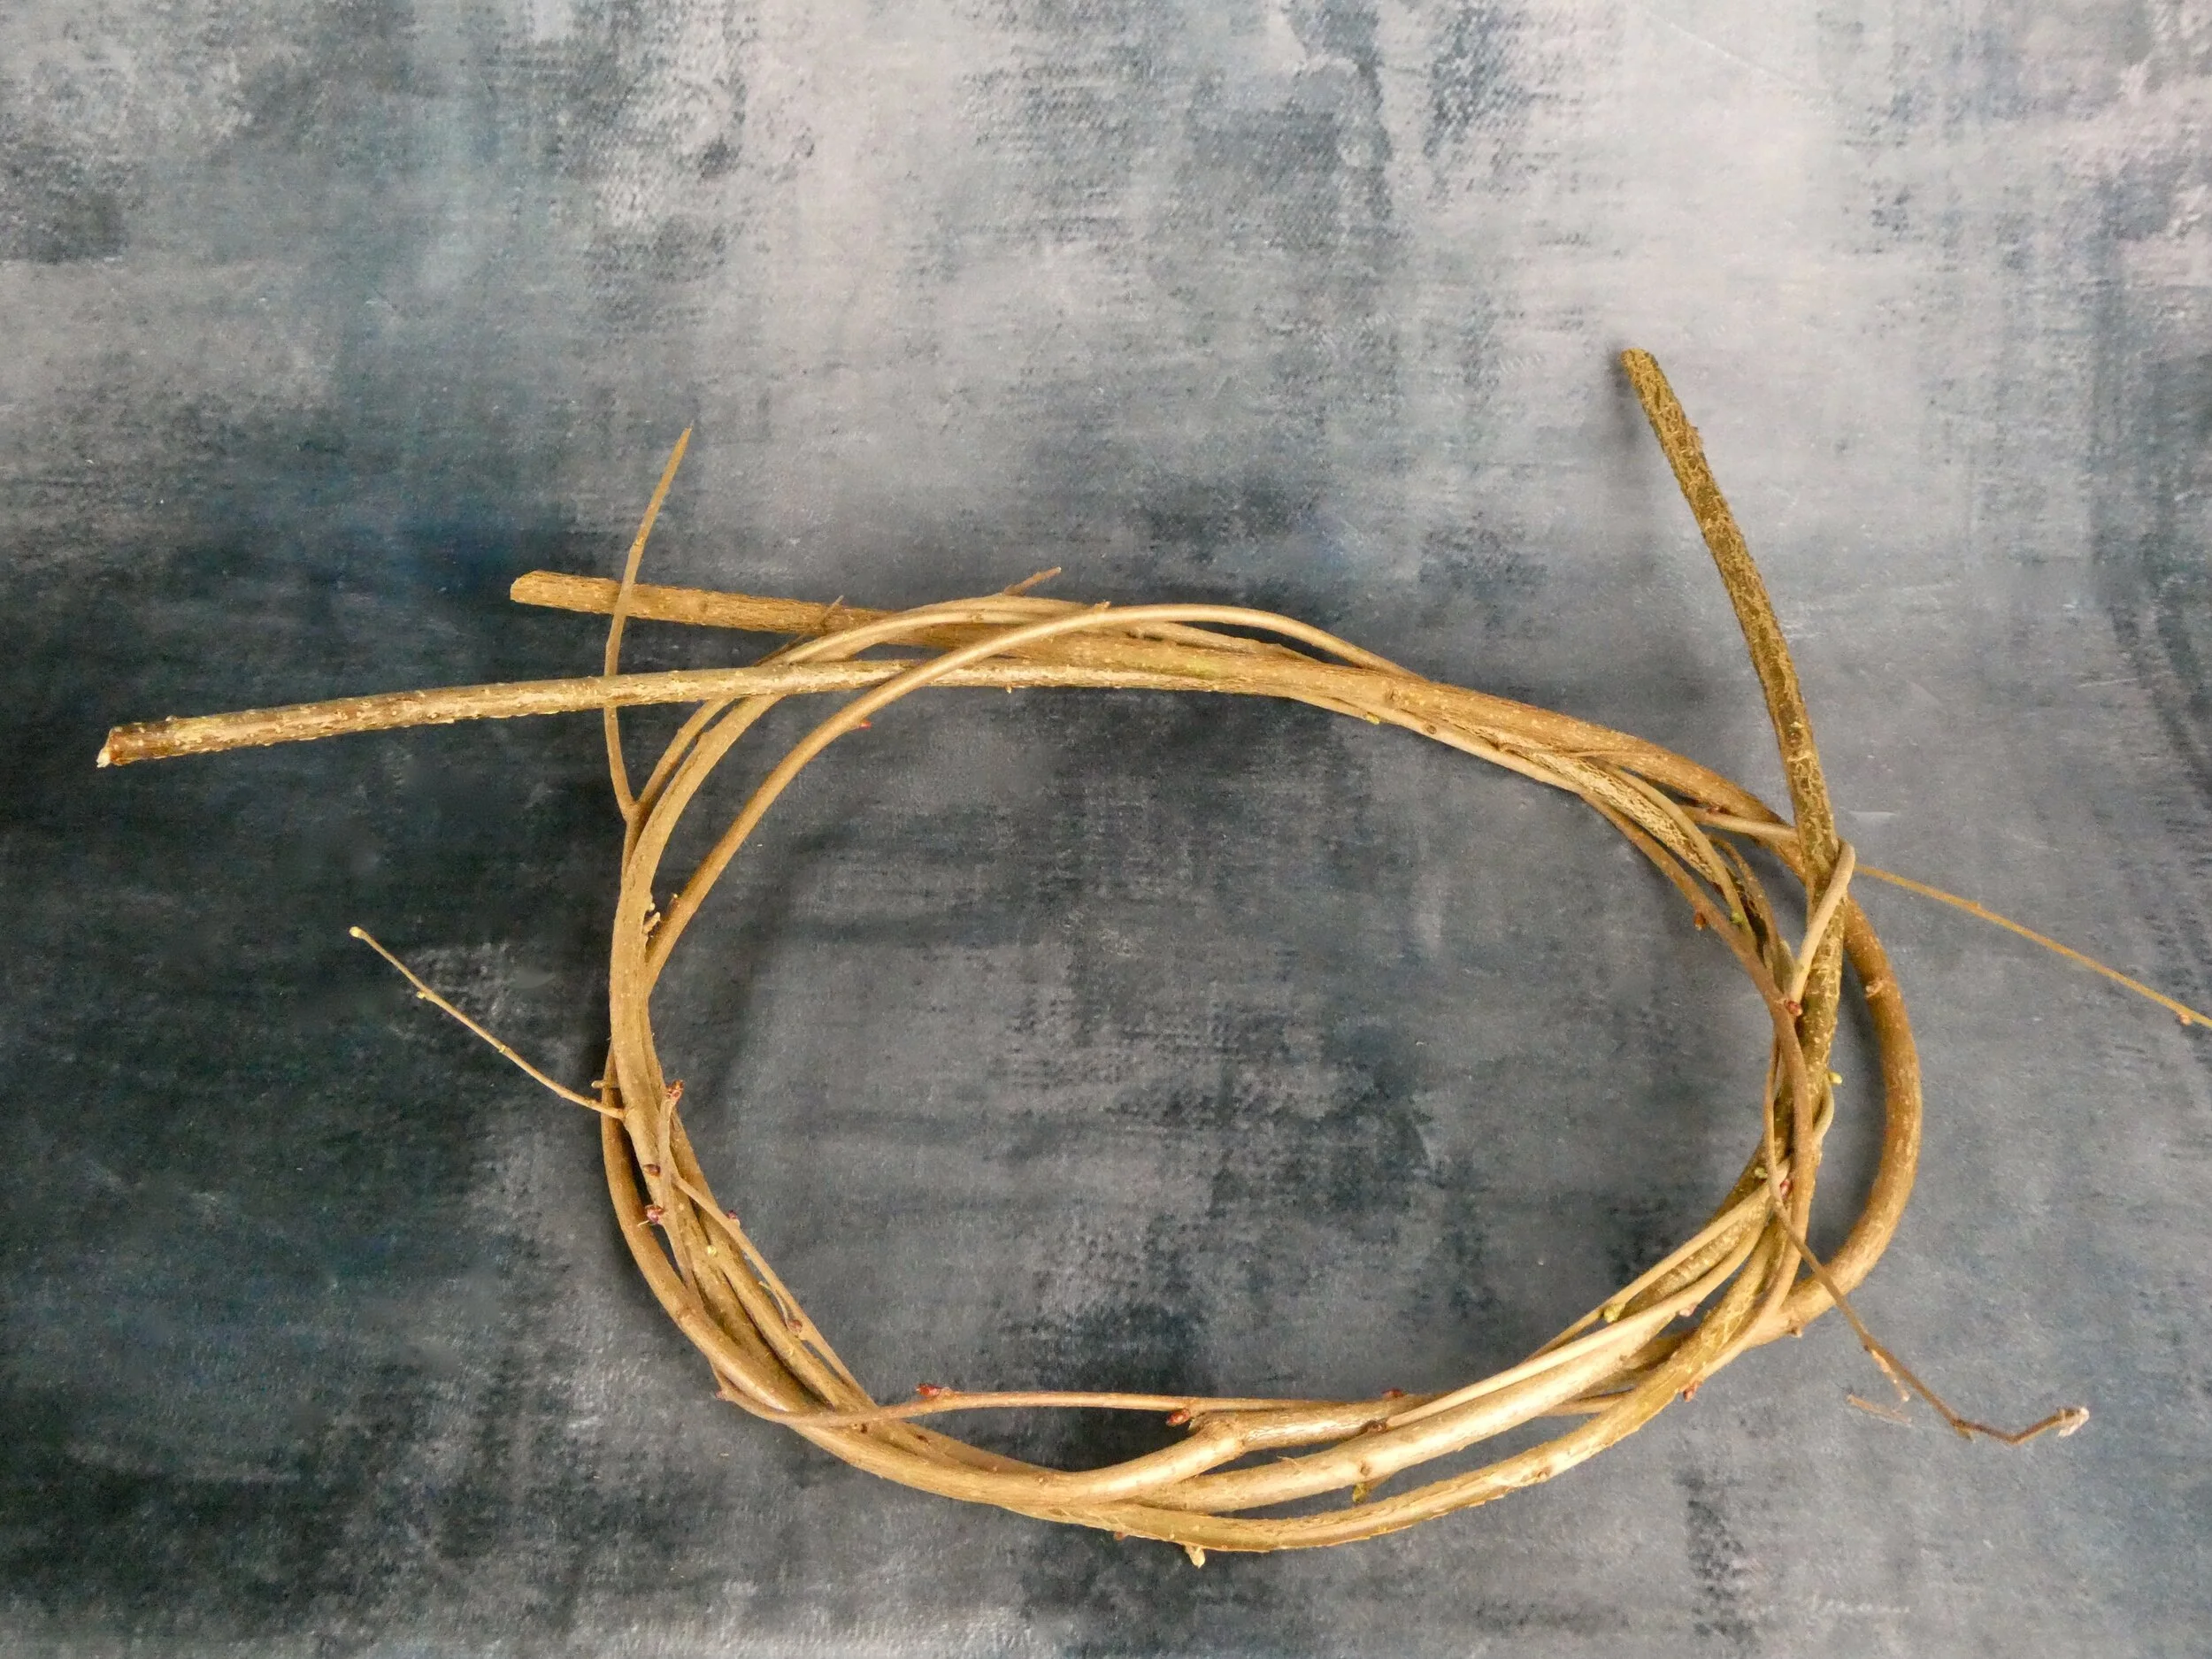
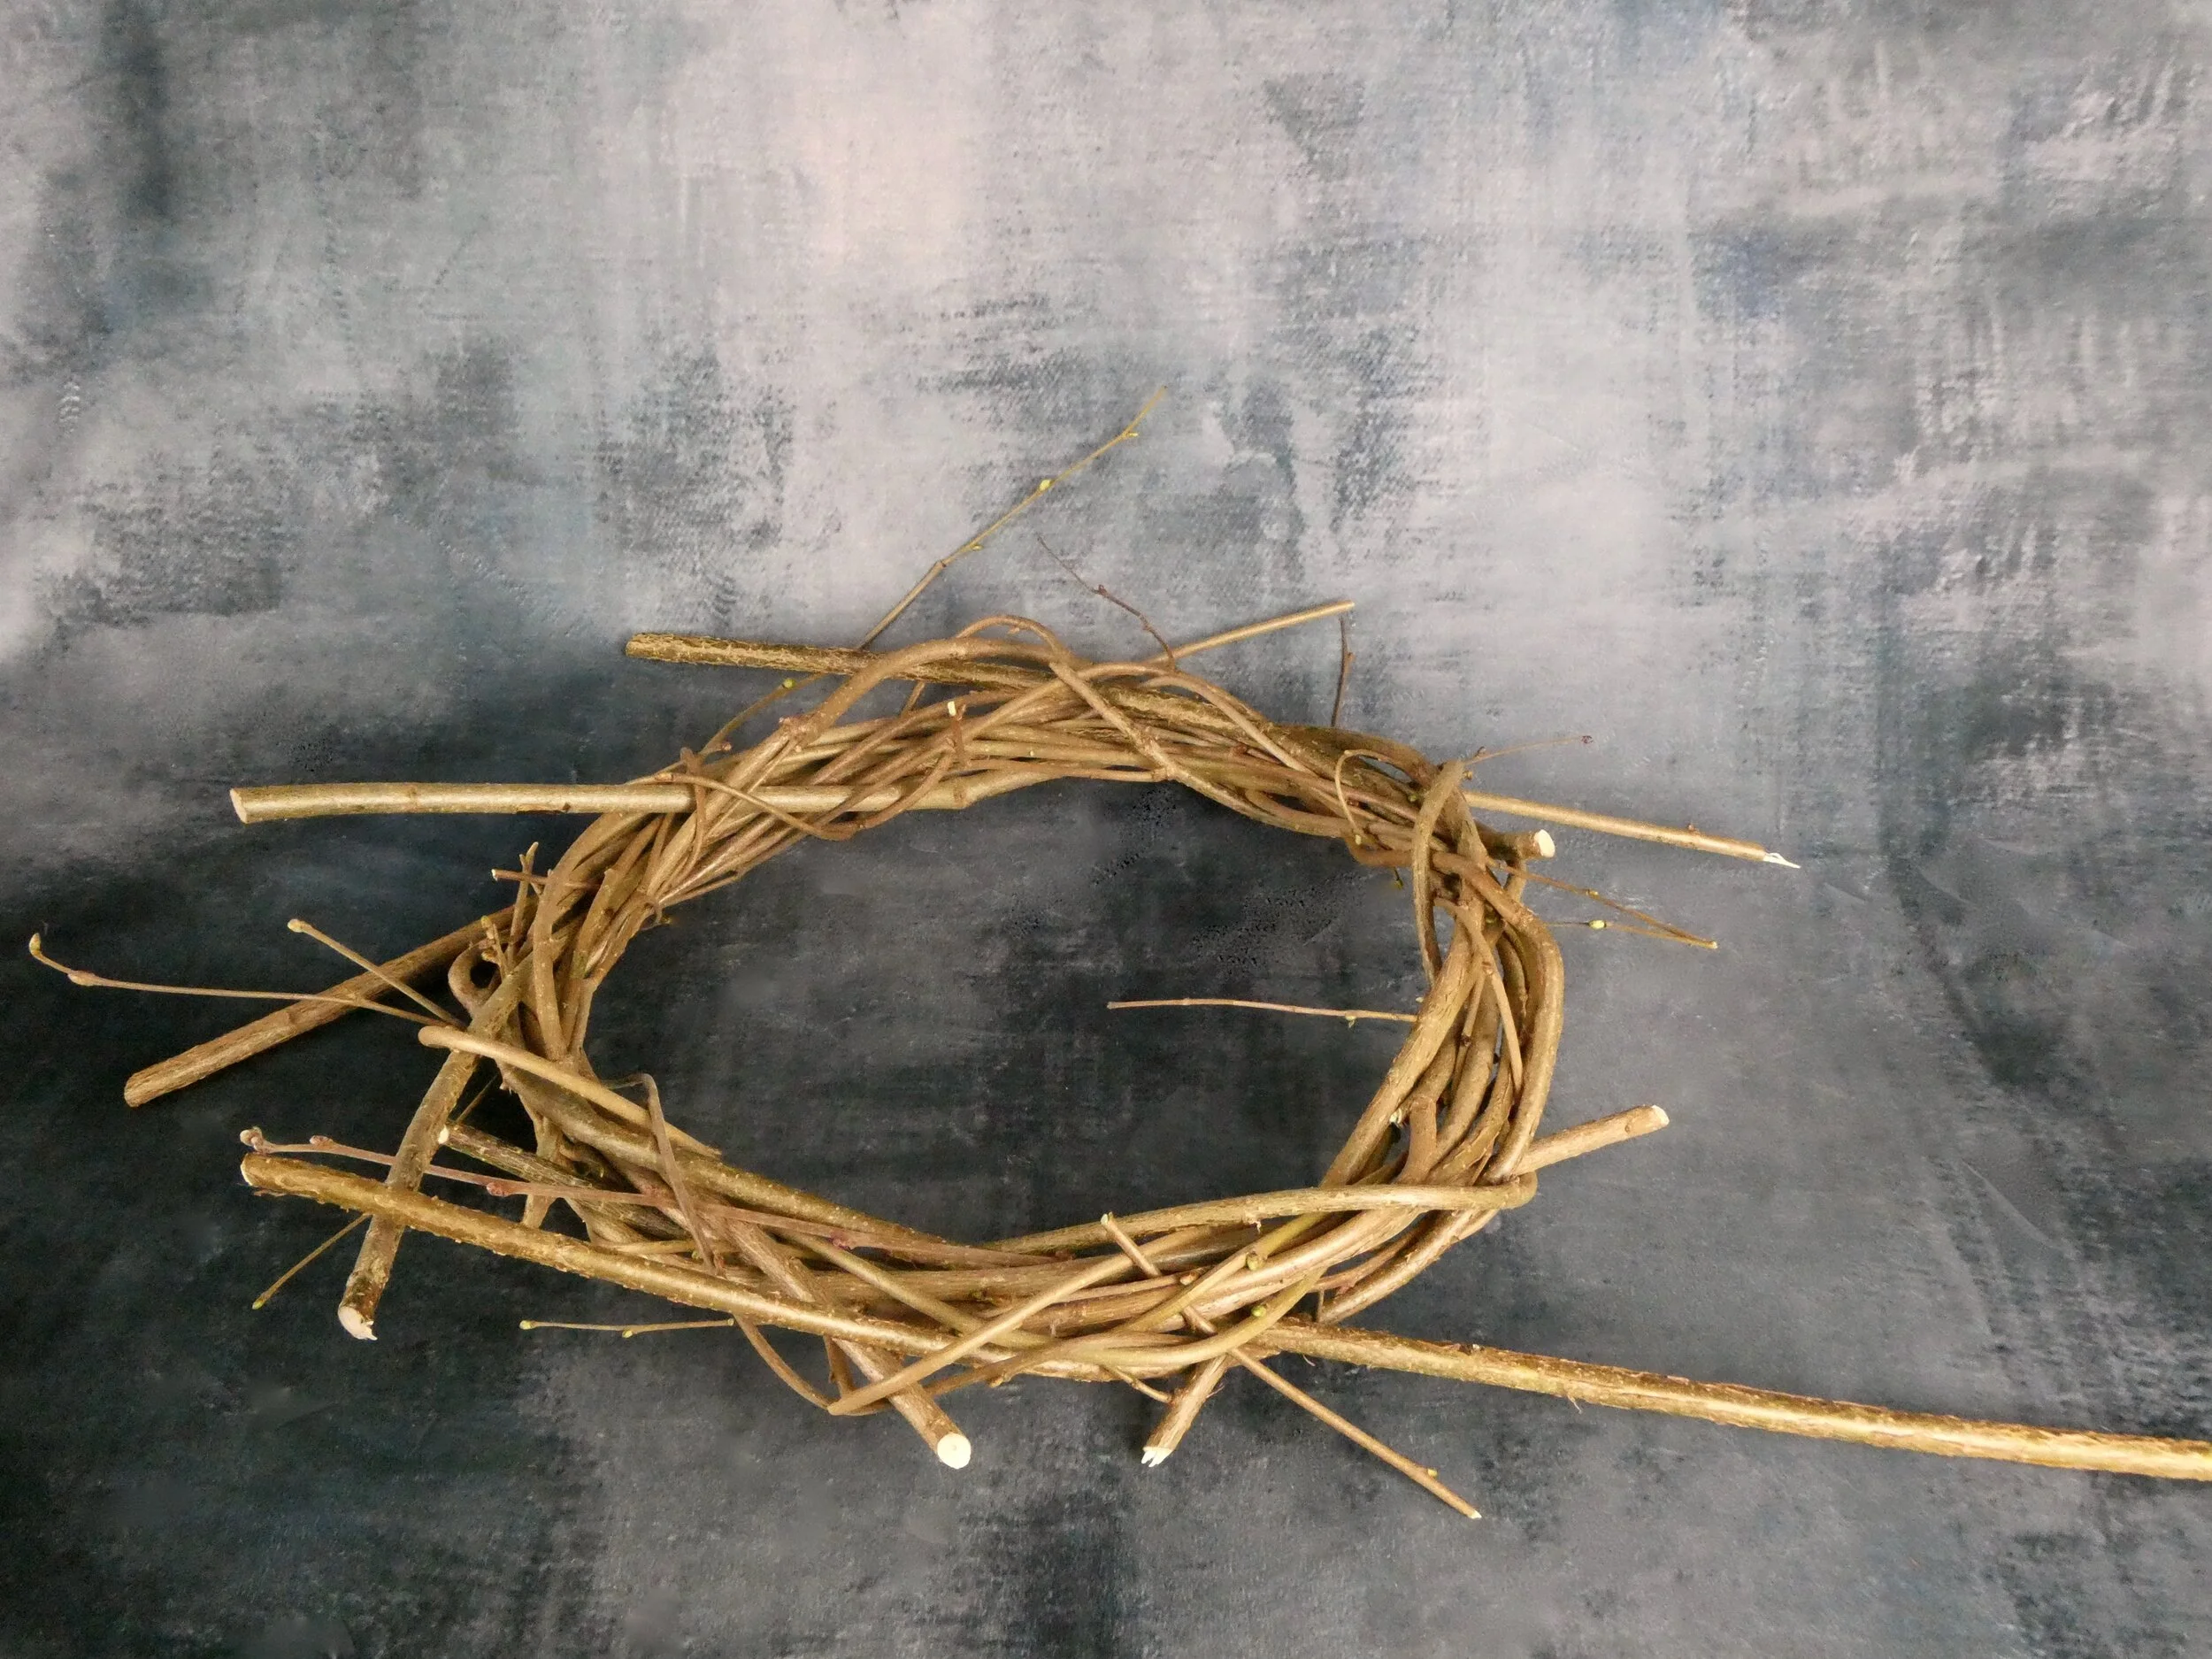
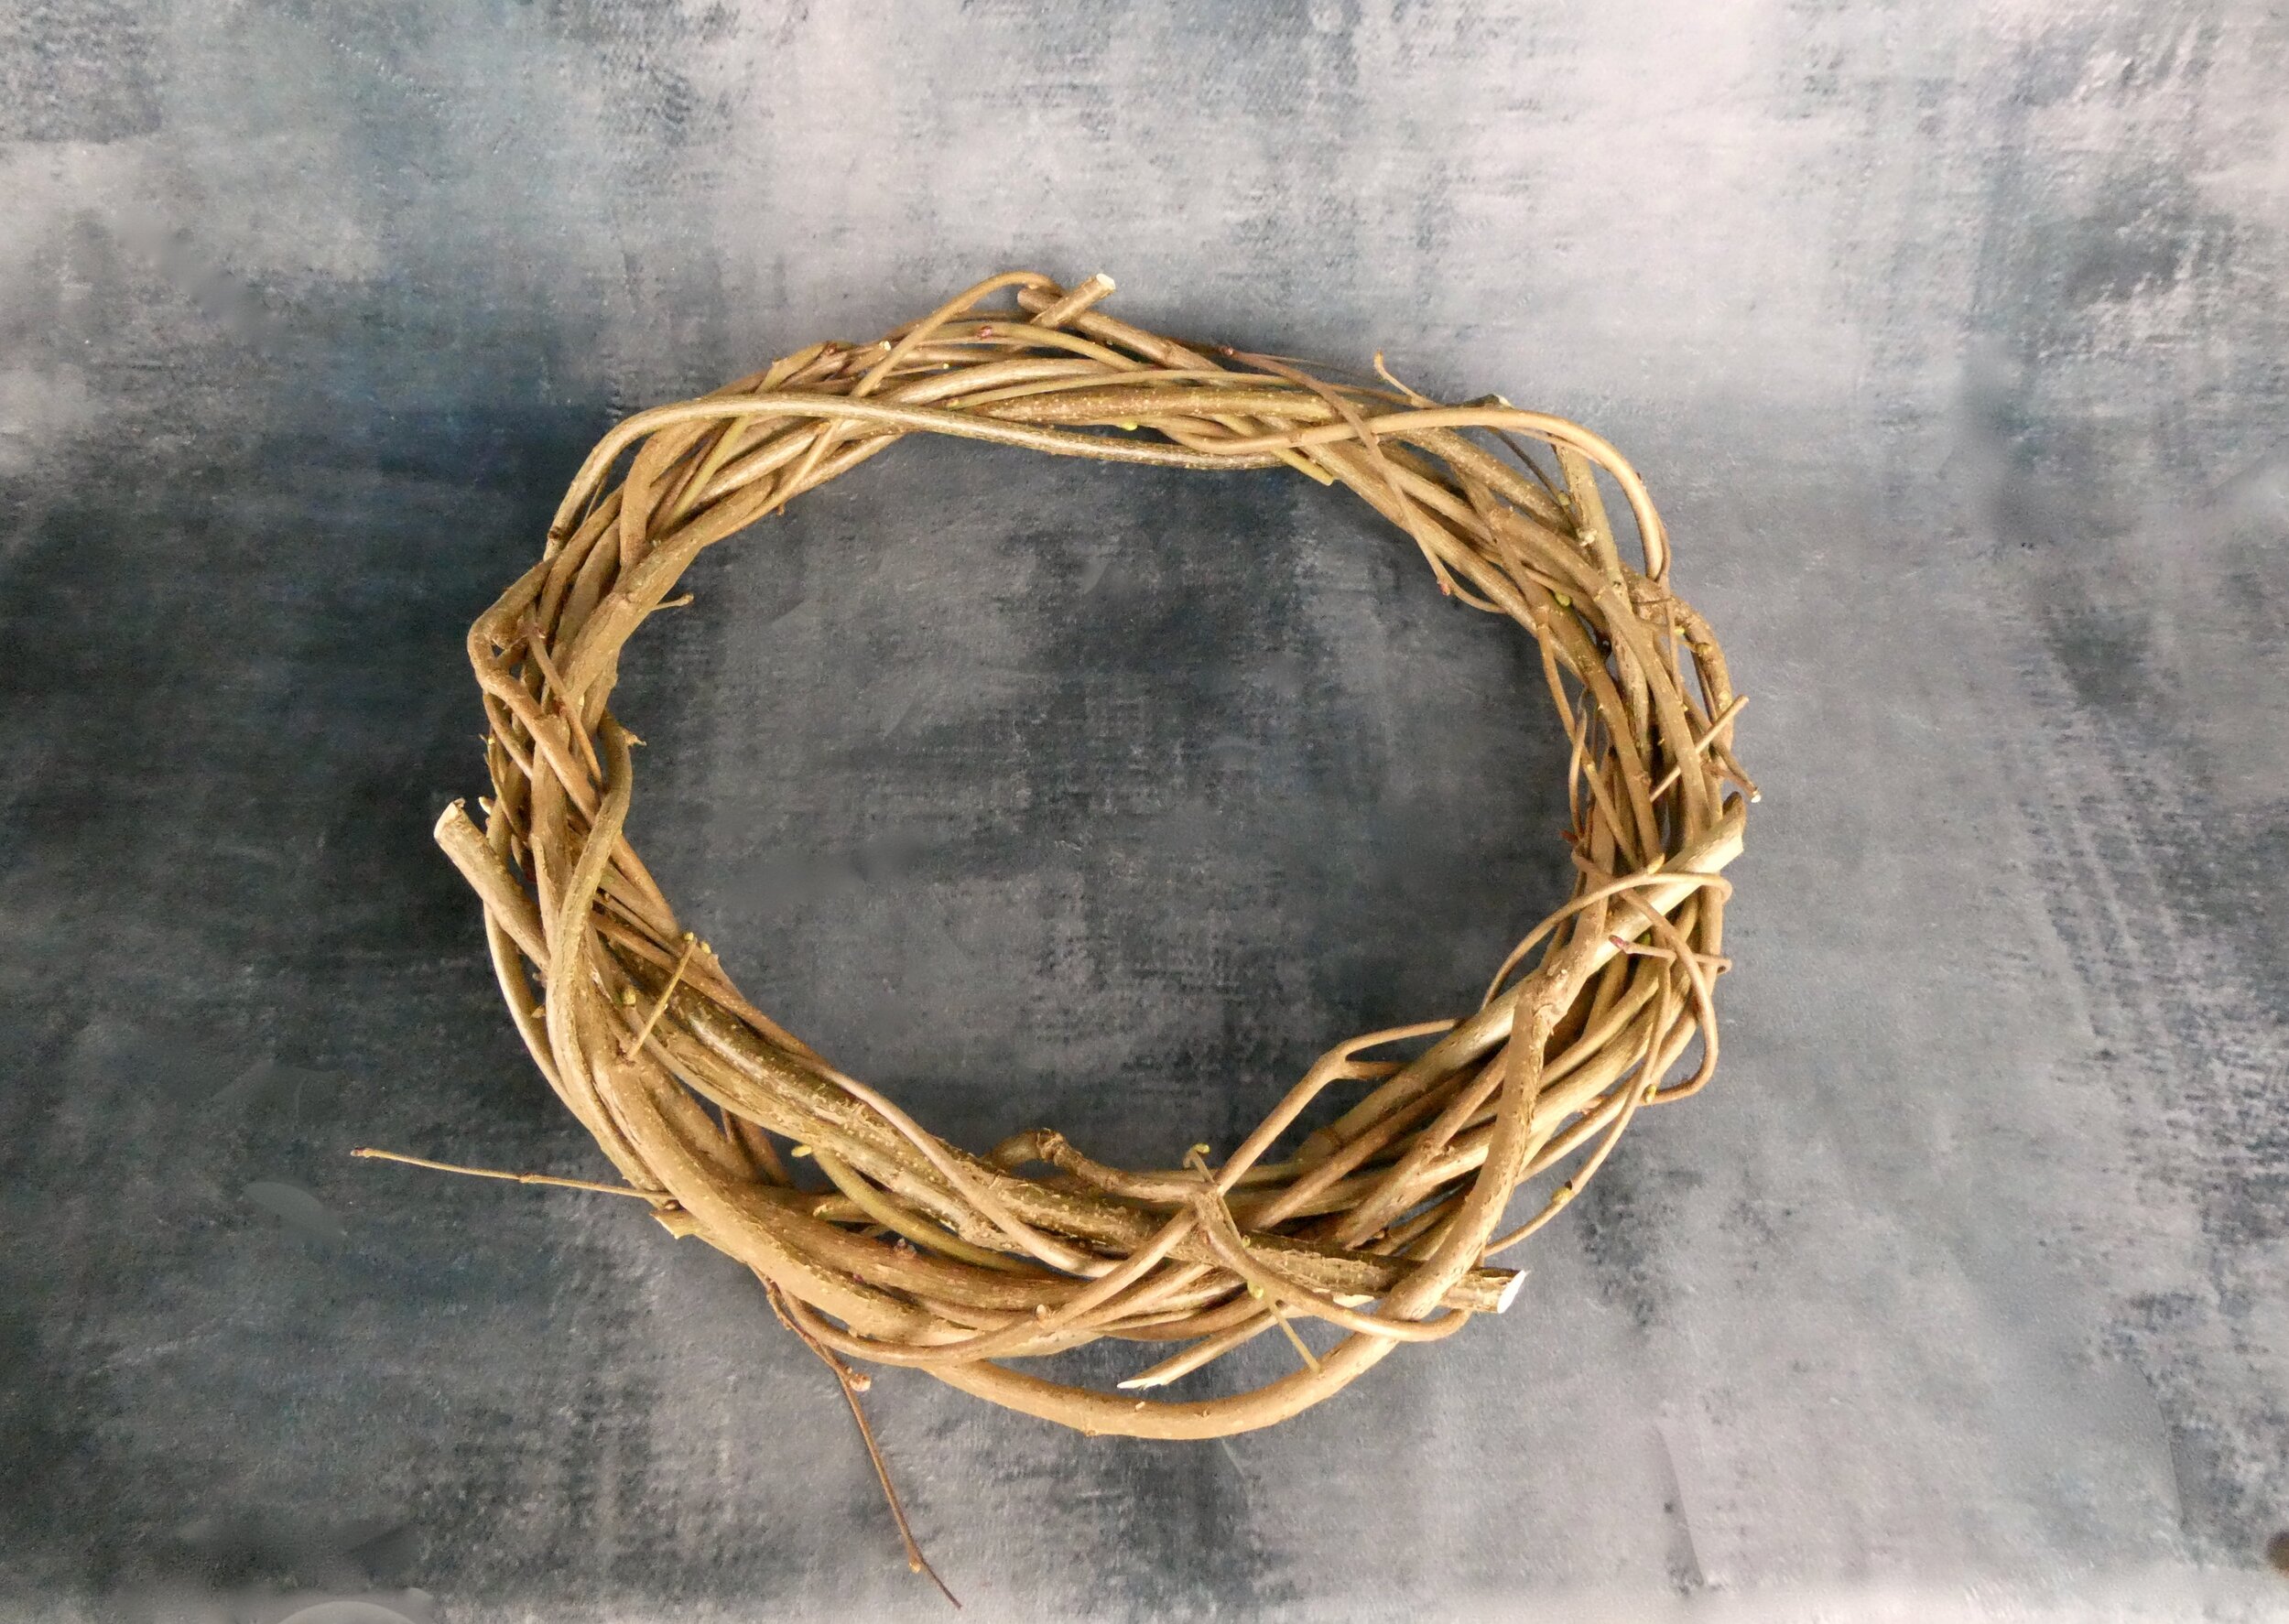
Now, take a look through the step by step photographic guide below:

A Little Trouble Shooting
My stems keep breaking
If your stems keep breaking they are too dry. It’s OK if the first few centimetres of the thickest part breaks off but if a stem keeps snapping it needs softening before you can work. Make stems more pliable by soaking in water. Usually this takes 24 - 48 hours but longer may be needed for thicker stems. If it is winter or simply very wet weather, I just store stems outside ands that is often enough. Otherwise I use a long shallow plastic tray intended for grow bags (e.g. the kind you grow tomato plants in). I lay the stems in, ensuring that the thickest parts get the most water if any stems are too long for the tray. Be careful what you use to soak the stems as the tannins from the wood could leach out (especially if soaking for several days) and stain the container - think twice before you soak stems in your bath! You can purchase specialist soaking bags, which are simply long tubes of clear, flexible plastic. Tie off one end securely and fill with water. Add your stems and tie off the other end. I don’t currently stock these but will reconsider should demand become high enough.
I can’t get my first circle started
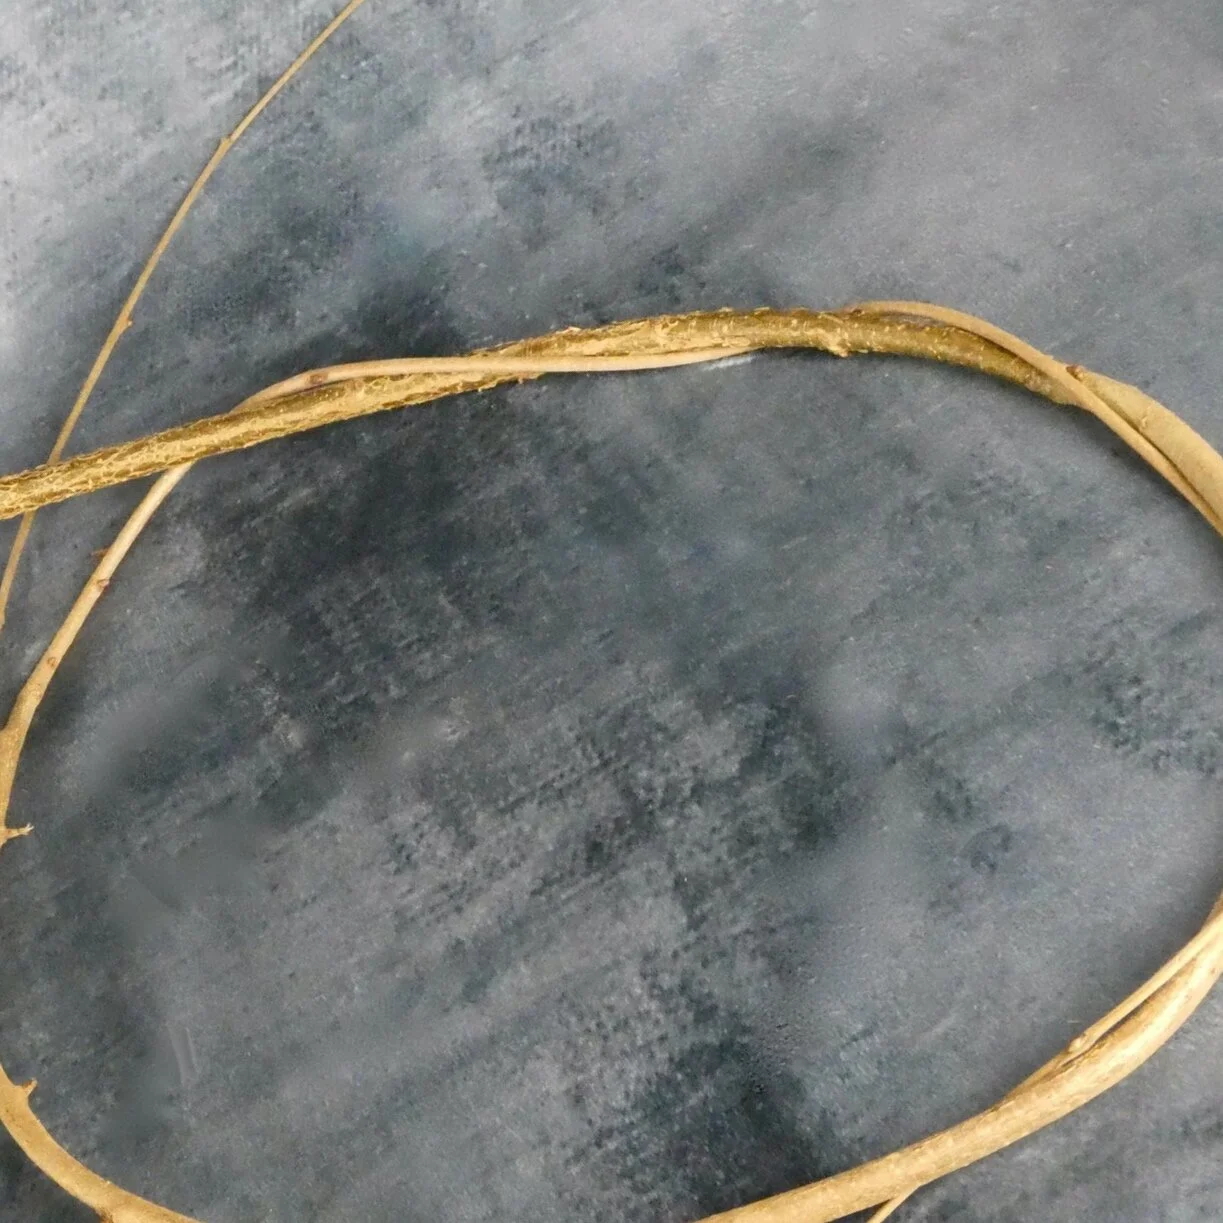
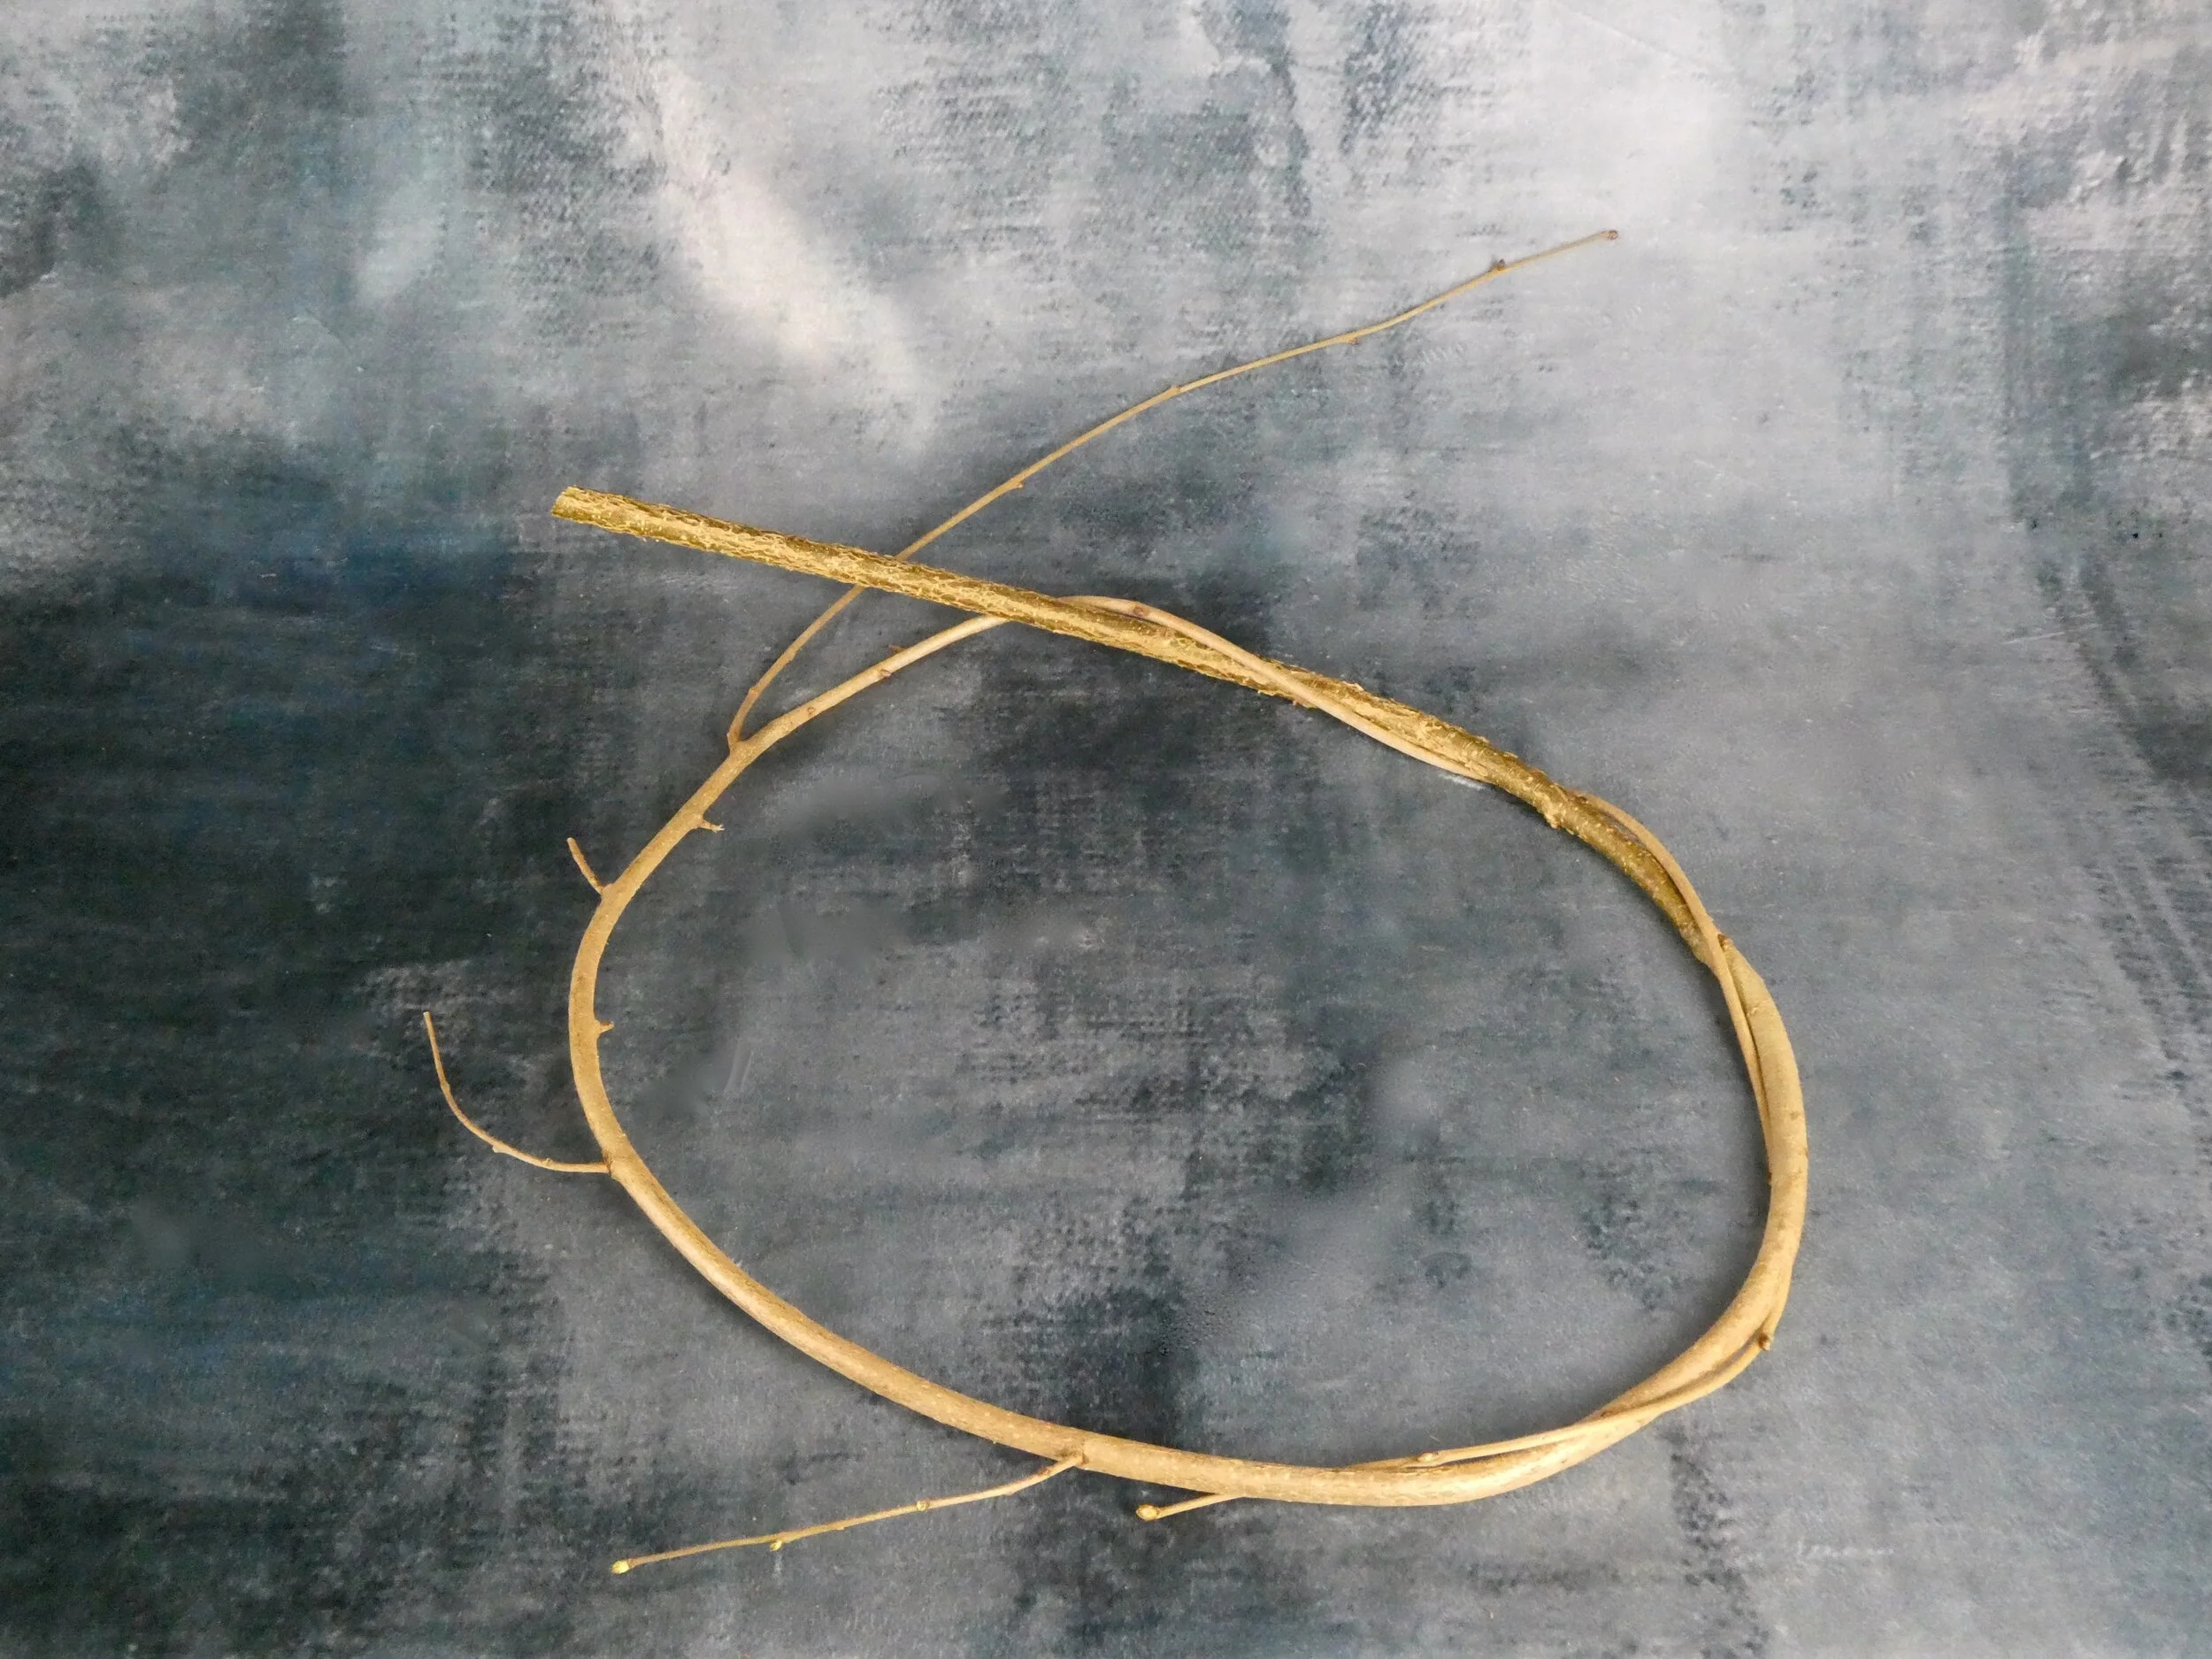
Firmly hold the section where the thick end of your first stem intersects with the section of stem where the circle will meet (part way down - NOT right near the end). Keep holding onto that intersection with one hand, whilst using your other to twine the rest of the stem around and around, until the circle holds its shape when you let it go.
My wreath is not circular
Don’t be afraid to leave lots of stem (the thick end) sticking out. Keeping adjusting the diameter of your first circle until it is looking a good shape. Only then start winding the thin end around to secure your circle. You can adjust the shape a bit at the end but it is important, especially with the first few stems, to keep trying for the shape you want. This can include carefully pressing down on your woven shape, for example to flatten out any pointy sections. Do this sooner rather than later and be careful not to be too rough and break the stems. The stems need to be eased into their new form.
My wreath has too many big gaps
You need to gently but firmly pull each stem more firmly against the ones already in place. Weaving a wreath involves some creativity, so look at how each stem is placed to try and achieve a pleasing shape. If you weave too loosely there will be lots of gaps. If you realise this early it is easy to sort out. It may be too late to correct this at the end as the stems will be intertwined. If this happens, just think about how to decorate your wreath to hid the gaps, or make a feature of them, rather than wasting your efforts.
My wreath has untidy stems sticking out
It’s a matter of personal choice whether you want to include the side stems in your design. I generally like the effect and weave them in. I leaving a few sticking out and cut others short when I tidy up my wreath. However, you can simply cut all side stems or twigs off before you begin for a sleeker look.
Finally … remember you will be decorating your wreath. If it’s not quite how you wanted it, most hiccups can be easily covered up and you can always change the design to fit your wreath base. Making your wreath should be enjoyable. You are creating a handmade piece of natural art, not aiming for engineering perfection (probably!).